What grabs the attention of your audience and keeps their eyes focused on what makes the dish so appealing? “Is it the food? Is it the styling? What makes this photo so intriguing? It’s the secret sauce of composition, my friends.
Great composition transforms ordinary food photography into masterful storytelling.
And that’s what this guide is for. To show you the beginner tips, artistic principles, and advanced grids. So, when you’re in the studio creating your storytelling masterpiece, you can strike the right notes of visual balance for better food photography composition.
Contents
The Foundations of Composition for Food Photography
When it comes to composition techniques, it’s good to think of them as building blocks for creativity. Whether it’s the Rule of Thirds or just thinking about balance in symmetrical or asymmetrical terms, a good foundation will elevate your food photography and take your audience along for the ride with you.
1. The Rule of Thirds
If you’ve never played with the Rule of Thirds, here’s an easy way to think of it: Imagine a grid with nine separate sections. And where the lines intersect is a focal point for the main part of your story.
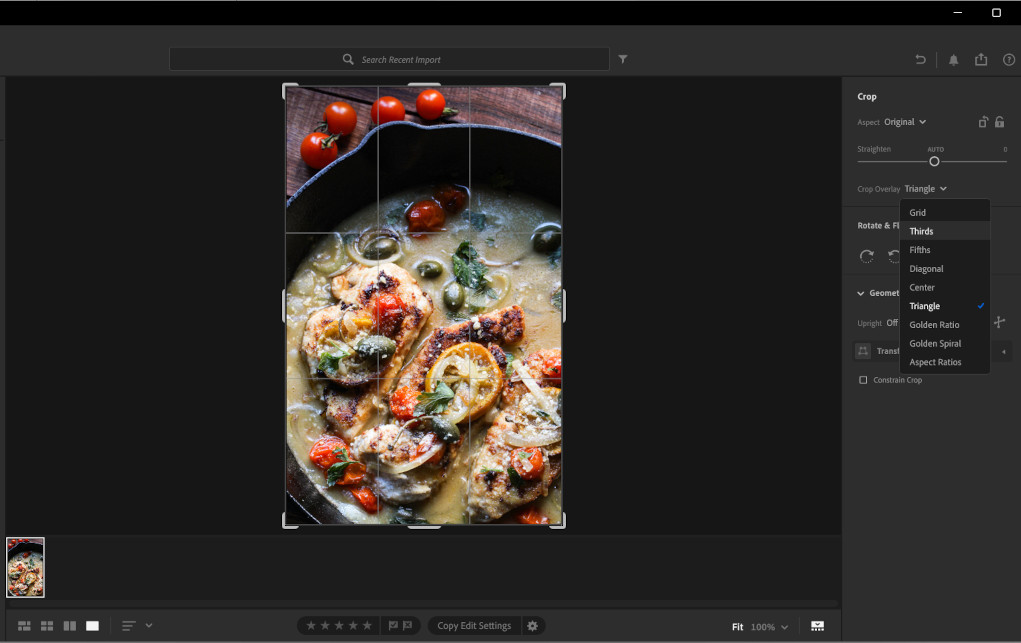
In fact, your smartphone cameras quite often come with grid overlays for the Rule of Thirds. Just go to settings in your camera and scroll down until you reach the “grid” prompt. Choose between different ratios and options. How cool is that?
For instance, if you’re in a restaurant, you could pull up the thirds grid on your phone, and it will help you shoot your plate in a way that gives the photo some immediate visual interest. That shot of the chicken piccata with roasted lemons is going to look great next to that glass of ice water resting on a sumptuous linen napkin!
2. Balance

When you’re shooting your food photography, one thing to keep in mind is whether you’re going for symmetrical vs. asymmetrical balance. Symmetrical balance would be (for instance) styling an equal line of tomatoes off of both sides of a plate of pasta. Whereas asymmetrical balance would be piling the tomatoes on one side of the plate for a pop of color and visual motion.
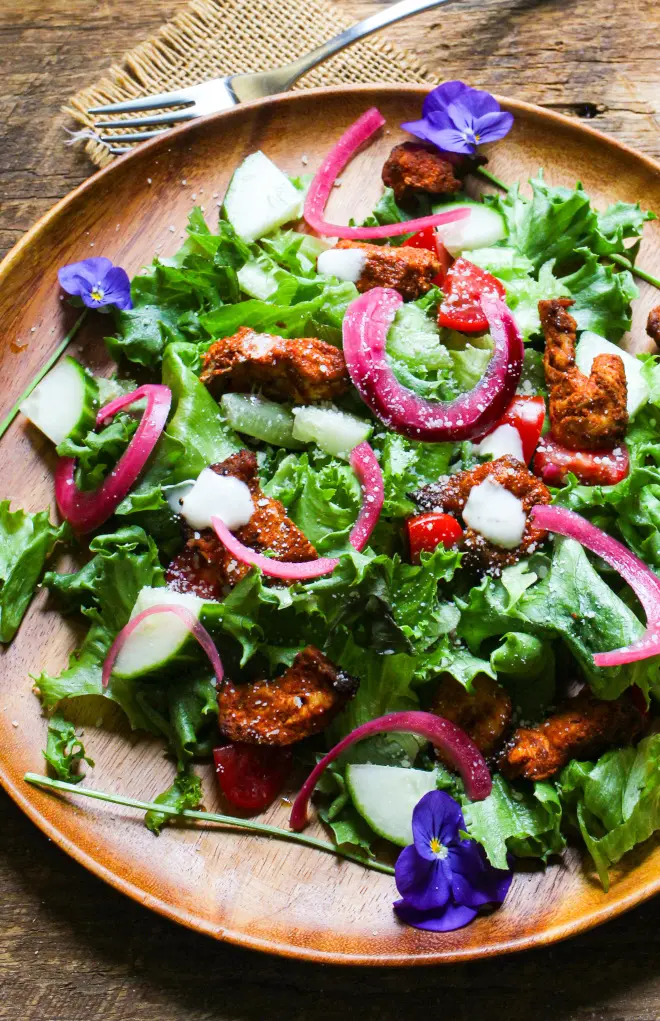
Another way to add balance is to make use of props, textures, and colors to weigh the frame. Grab those herbs, napkins, and textured silverware to make that bowl of salad shine, shine, shine!
A common beginner mistake is to try to center everything. Try extra bowls, herbs, or even crumbs to create interesting layers in your storytelling.
A photograph of a slice of pizza centered on a plate is fine, but having red pepper flakes in the foreground, a napkin in the middle by the plate, and a beverage in the background adds interest to the image.
3. Negative Space
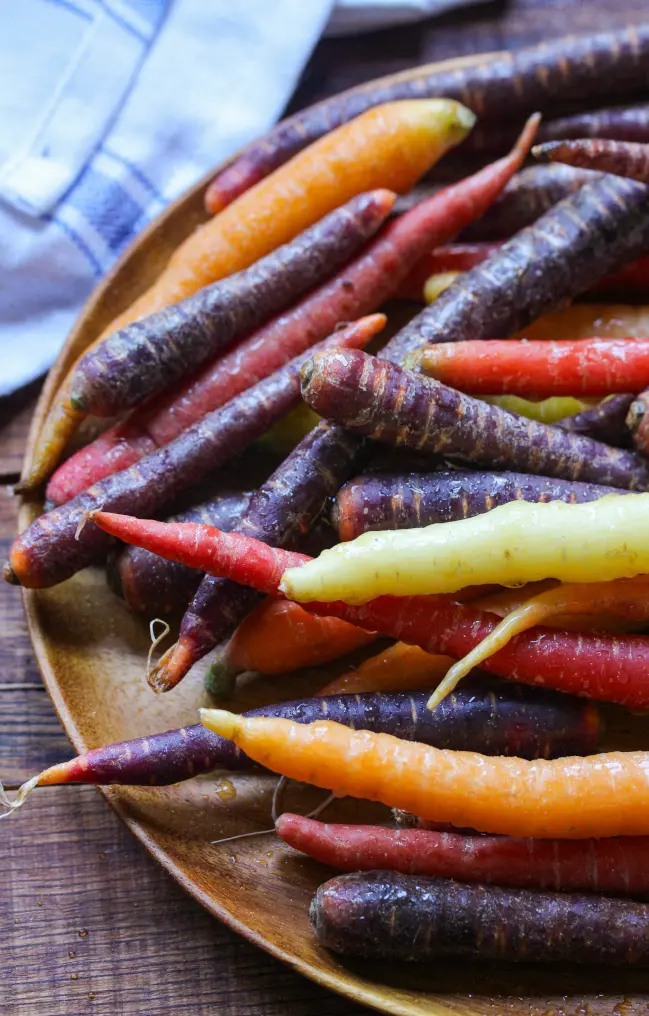
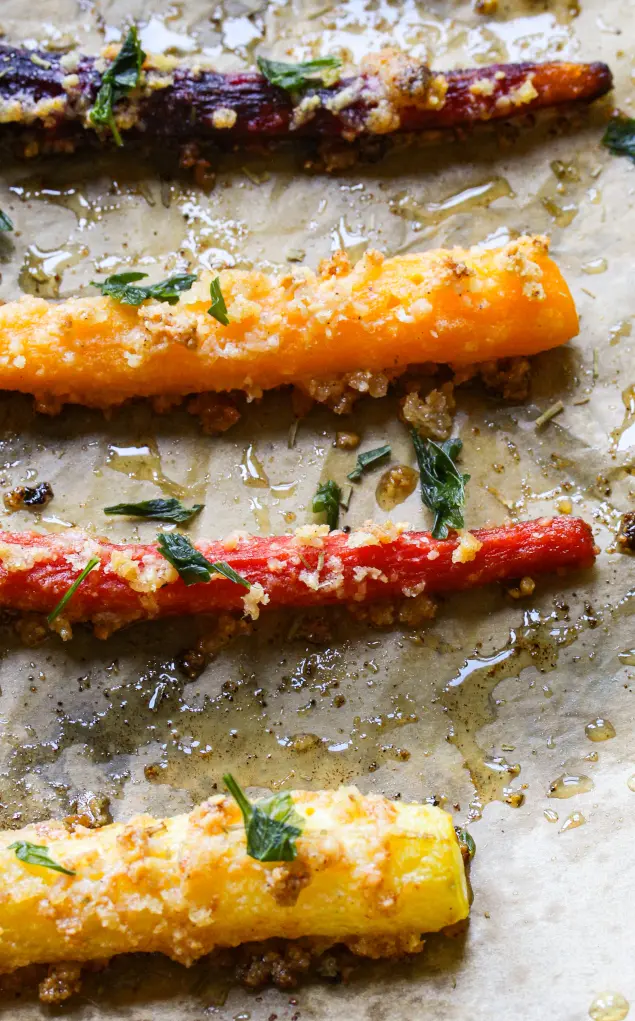
This is a fun technique that lets your food breathe and shine. A lone plate of salad drizzled with vinaigrette, with the cruet bottle way off to the side, gives your dish a level of sophistication, elegance, and luxury. Whereas a lone dish of carrots with a carrot off in the corner with a bite taken out of it can evoke whimsy, humor, and mystery. Negative space is a dramatic way to tell your food story.
Aside from pure aesthetics and storytelling, having negative space is a strategic use of empty areas for focus or text overlay for social media. It’s also a great way to show off your favorite background without any distractions while focusing uniquely on your dish. Win, win, win!
4. Leading Lines & Shapes
I love using utensils, linens, or fresh ingredients to guide the eye of the audience toward the subject of the food photo. It’s a subtle, but effective technique.
Curves, diagonals, and implied paths in food styling are also great techniques to engage and draw the eye to the final dish. It lets the audience feel like they’ve gone on a small but refreshing journey.
Creative Composition Techniques for Greater Impact
The right techniques won’t just grab the audience; they will jolt them, surprise them, and give them something to muse over. And we’ll talk about how to achieve that through emphasis, movement, layers, and depth.
5. Emphasis & Focal Points
Everyone needs a hero. And in food photography, the “hero” can be a cake, a drink, or that one freshly picked carrot on top of a mound of them. The hero is the main focal point of the story, surrounded by minor yet crucial characters.
Sometimes your hero just presents itself. It’s definitely going to be the pie you spent an excruciatingly long time fluting the crust for, or the cake you’ve shed tears of joy over.
Less obvious heroes, however, need a little coaxing. And in those situations, you create your main star by utilizing size, color, and placement tricks, like a well-positioned lemon wedge, or herbs subtly pointing on a platter.
6. Movement
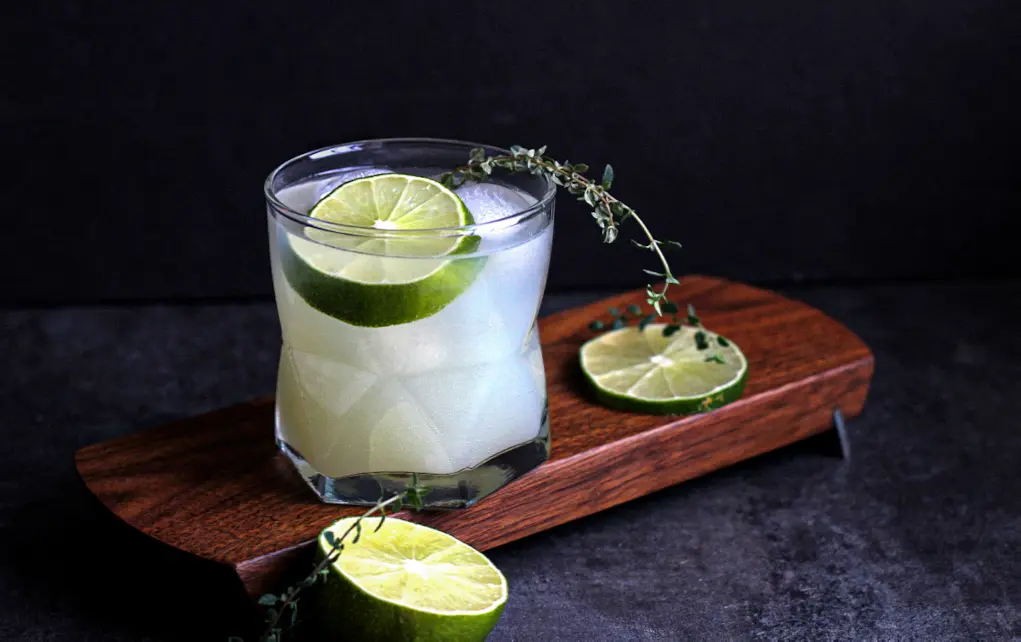
Even when you’re photographing things that are primarily square, for instance, the gin and tonic with edible flower ice cubes above, the composition can still give you implied curves and flow by offsetting objects to create visual movement. Your eye wants to travel naturally around the image.
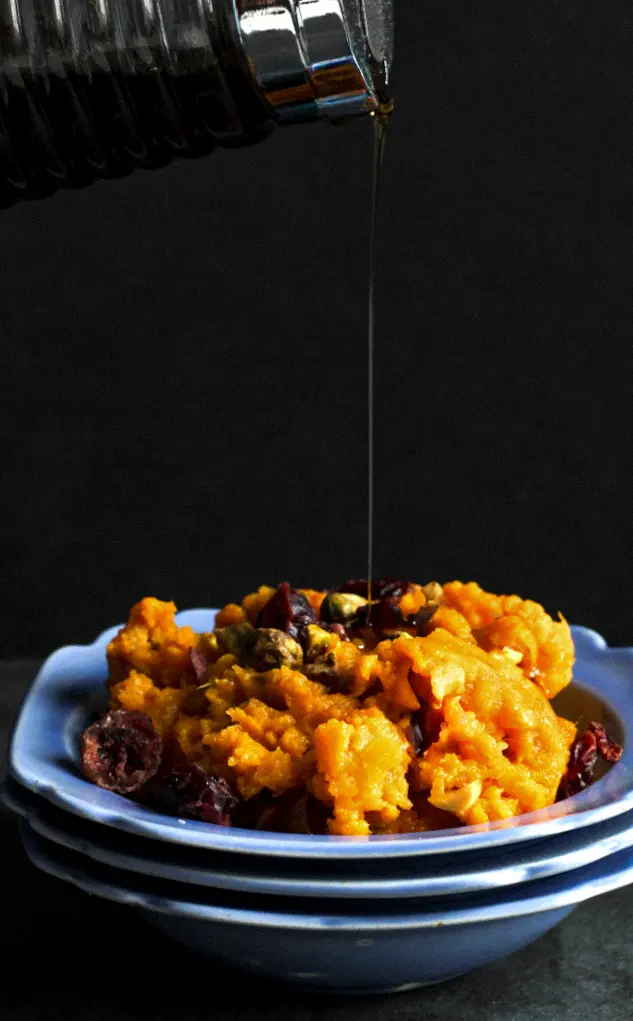
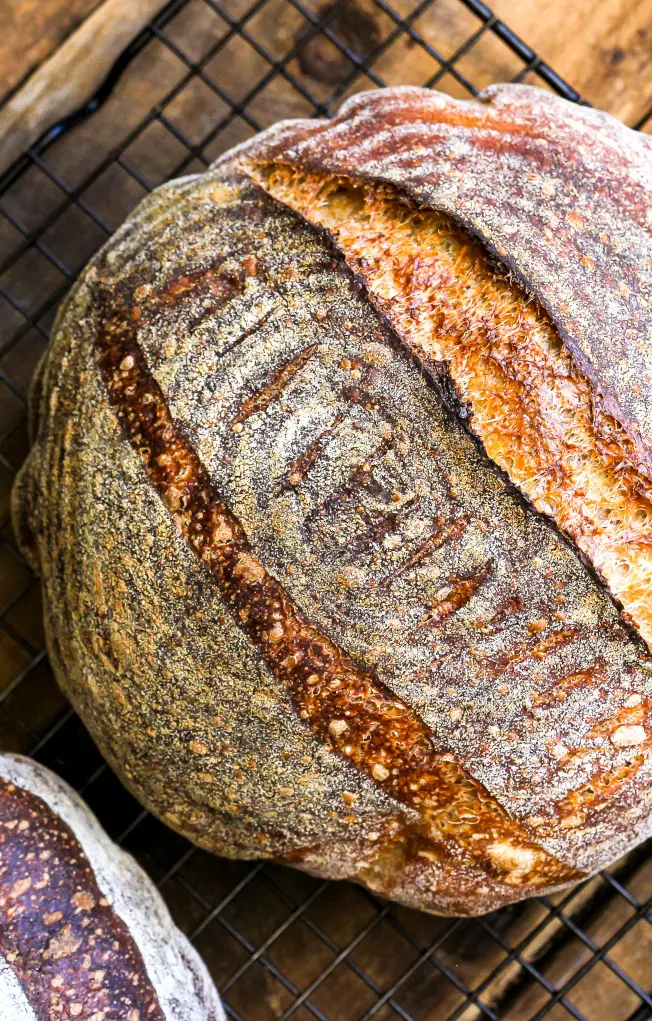
Speaking of movement, photographing food is quite often about capturing both light and action. Drizzling maple syrup, pouring coffee, stirring soup, kneading bread, and grabbing that perfect mozzarella cheese pull are all things that are happening in motion.
7. Layers & Depth
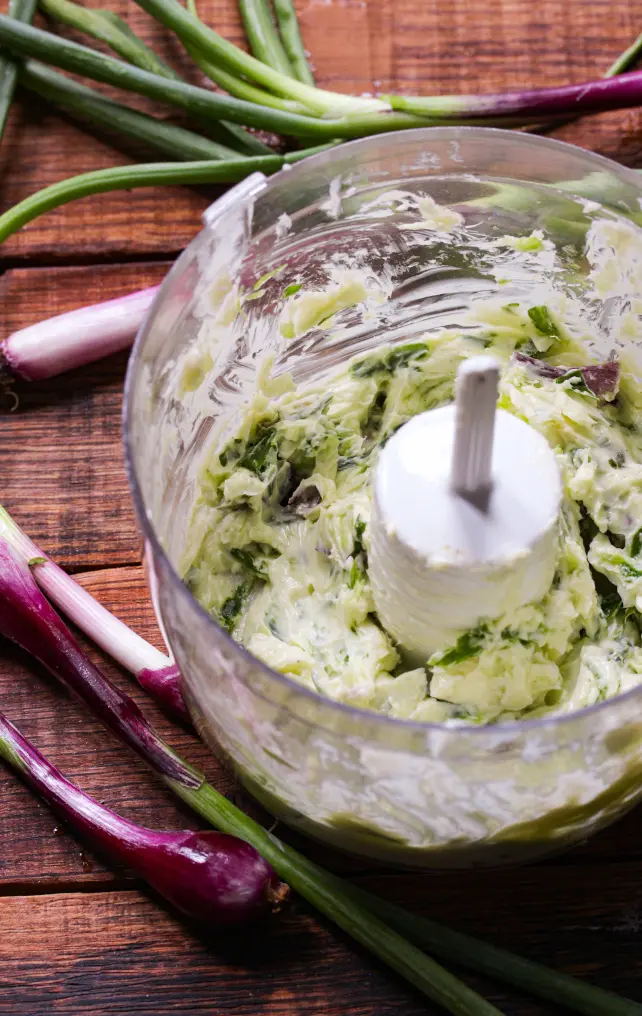
Foreground, midground, and background all have their own stories to tell in food photography.
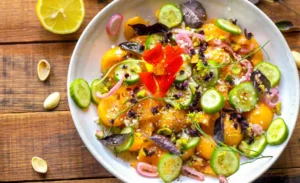
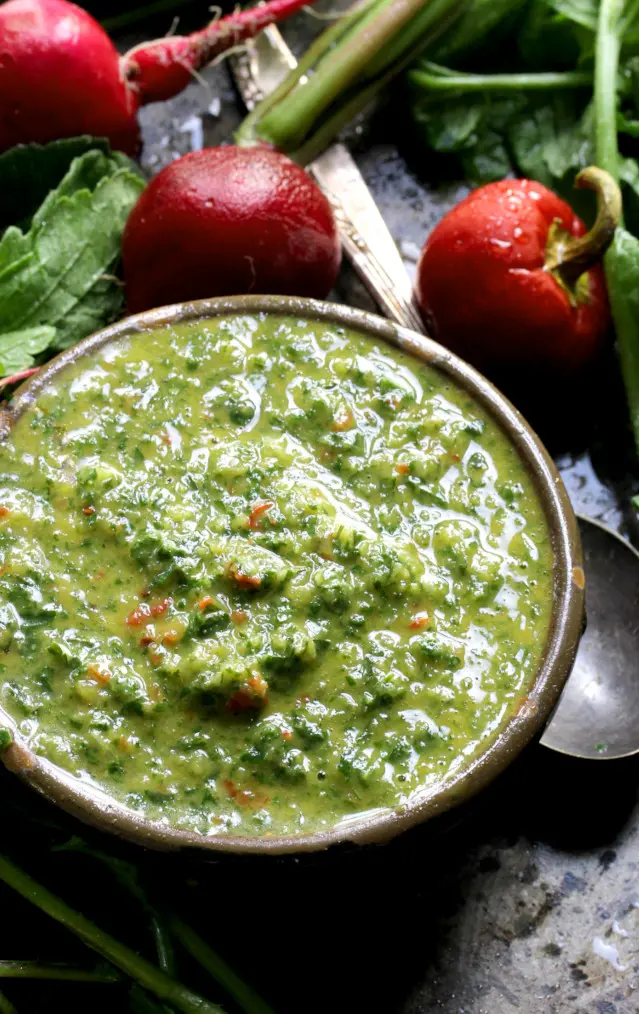
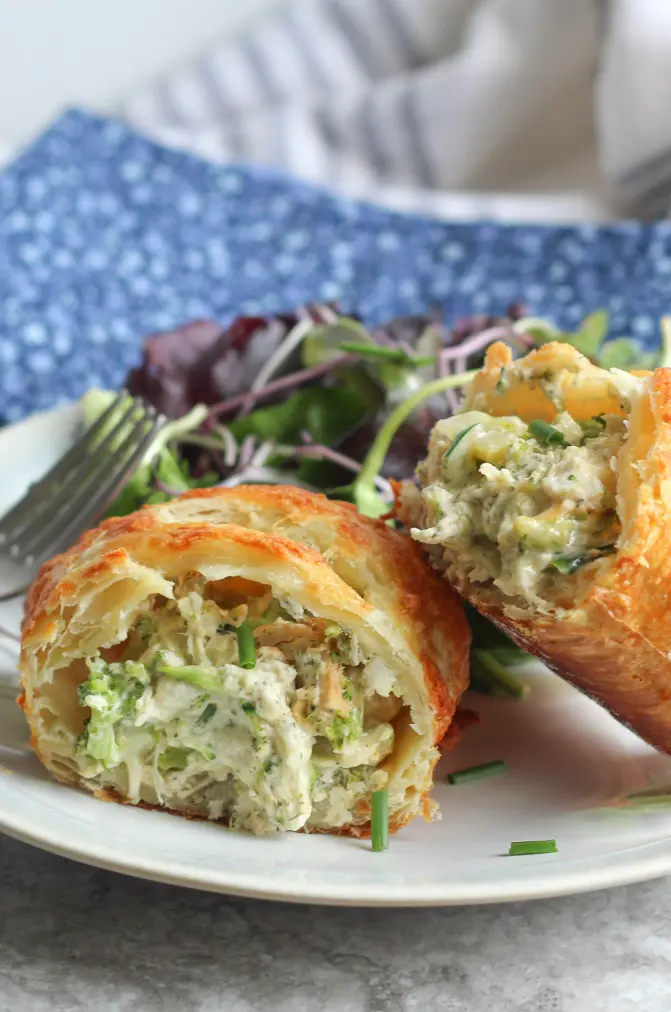
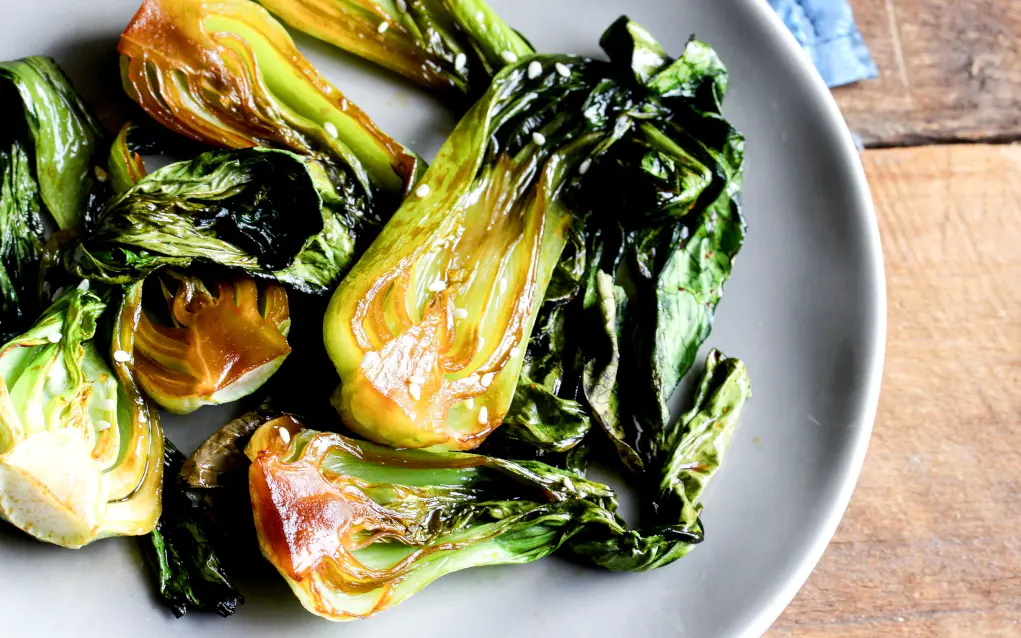
You might simply have subtle greens in the foreground, a chimichurri in the middle, and a riot of other ingredients in the background. You’re leading the audience through the recipe, the dish itself, and an explosion of ingredients, celebrating in the background.
Cooking is a messy and joyous affair. And there’s something incredibly cheerful about seeing layers of ingredients looking carelessly tossed on a cutting board. It’s frenetic and immediate, bringing a layer of realism and intimacy to your images.
8. Framing

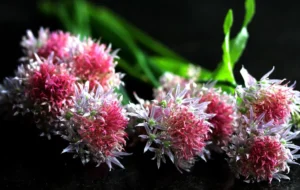
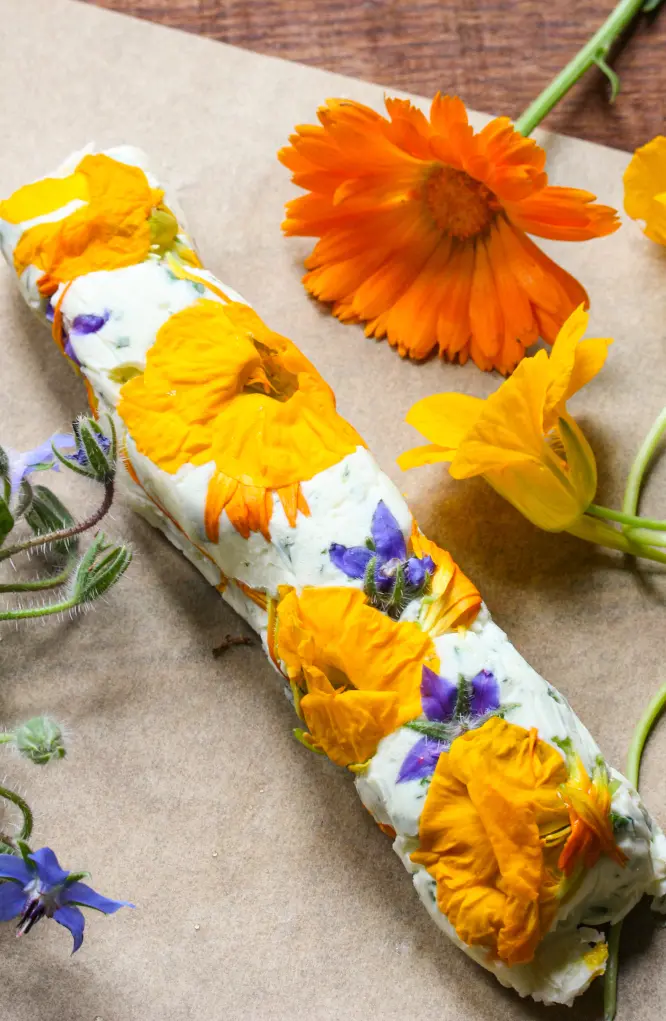
There are a ton of ways to create striking framing for your images. You can use props like utensils or vertically interesting objects like spice shakers to create lines. You can use objects with natural edges, like hands, flowers, or herbs, to delineate the border of your photo.
Subtle border framing like this is far more pleasing to the eye than just the edge of your backdrop. That flat edge can keep the eye from moving. But, using things like hands or flowers keeps the eye moving around the frame and back to your food!
9. Repetition & Patterns
Repetition and patterns can awaken the imagination. Remember when you were a kid and you’d lie on your back looking at clouds and picturing animal shapes or faces? The same is true for your viewer when you lay out multiple food items.
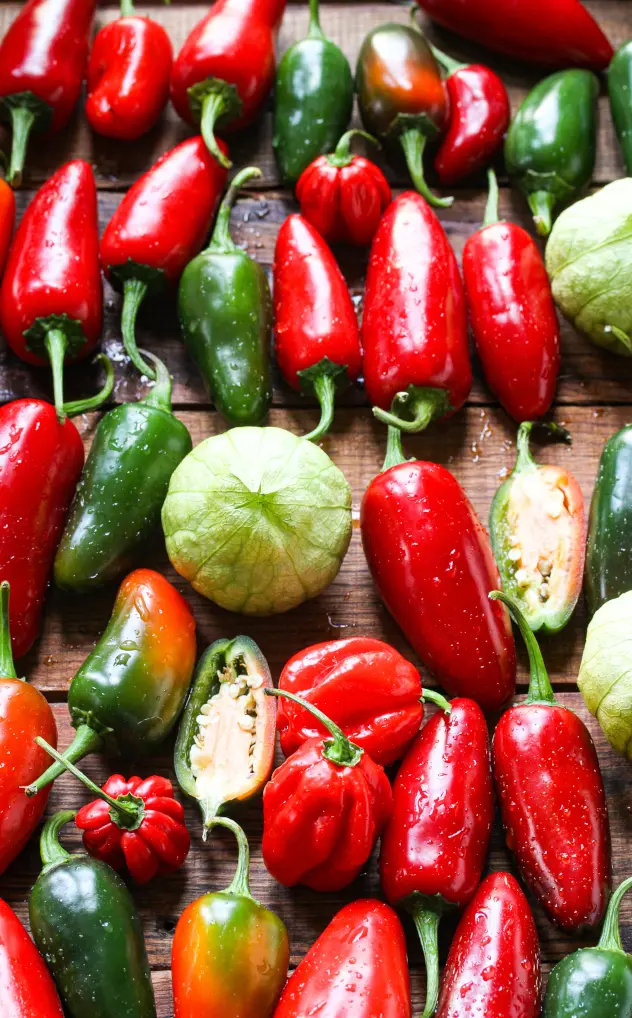
Aside from the visual interest of repetition in something like cookies, petits fours, fruit, or vegetables, it creates a ton of visual impact to have one sliced open or quartered.
Your viewer’s eye will be looking along the pattern expecting repetition and then, bam! Something different and unexpected.
Advanced Composition Systems
Now that you’ve played with the Rule of Thirds, it’s time to get into even more artist tools with different ratios, layouts, methods, and principles to really make your food photography shine!
10. The Golden Ratio (Phi Grid)
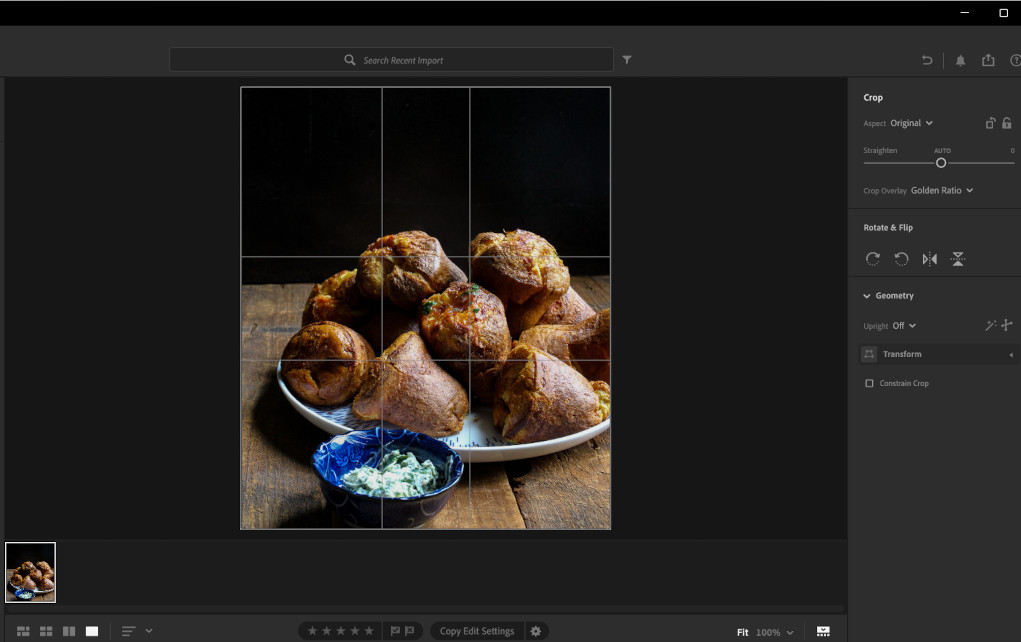
The Golden Ratio is more refined than the rule of thirds, but it works with the same concept. In this case, the intersecting lines create a narrower middle section, encouraging more negative space.
This works incredibly well for straight-on food photography, when you’re “eye to eye” with your food.
11. The Golden Triangle
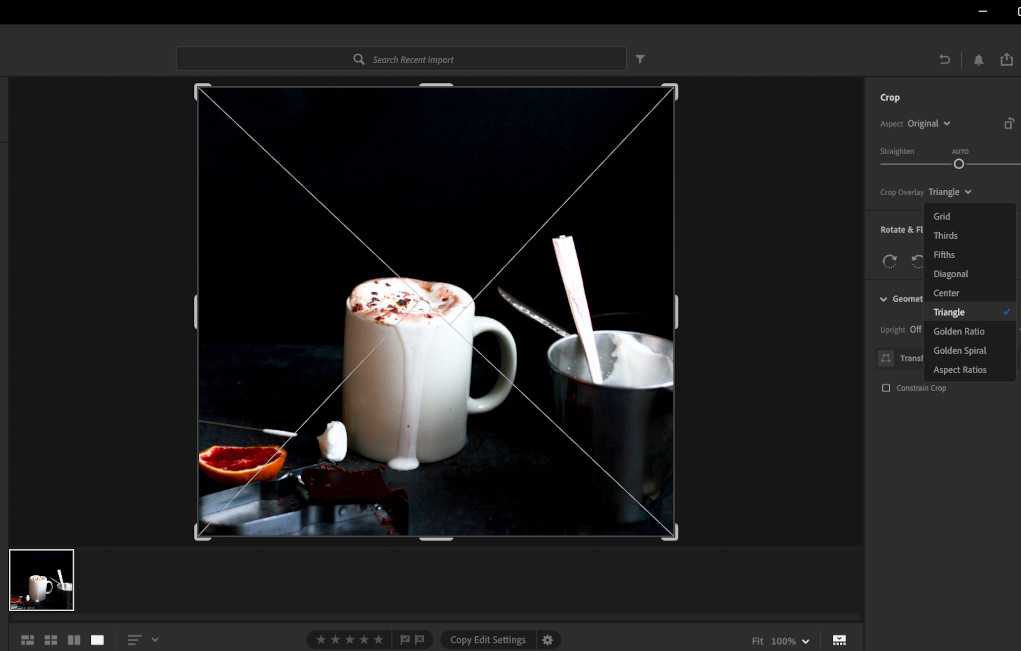
The Golden Triangle is fun for dynamic photos! Basically, what you’re doing is dividing your frame into triangles.
Picture your photo divided diagonally from one corner to the other. Then, you’re going to imagine lines in the remaining corners until they touch the midpoint of the original diagonal line.
This is useful for dramatic photos like pouring syrup, dusting flour, or photographing something angular like pies or turnovers. It works equally well for straight-on photography as it does for an overhead shot. And it loves a shallow depth of field for straight-on photography.
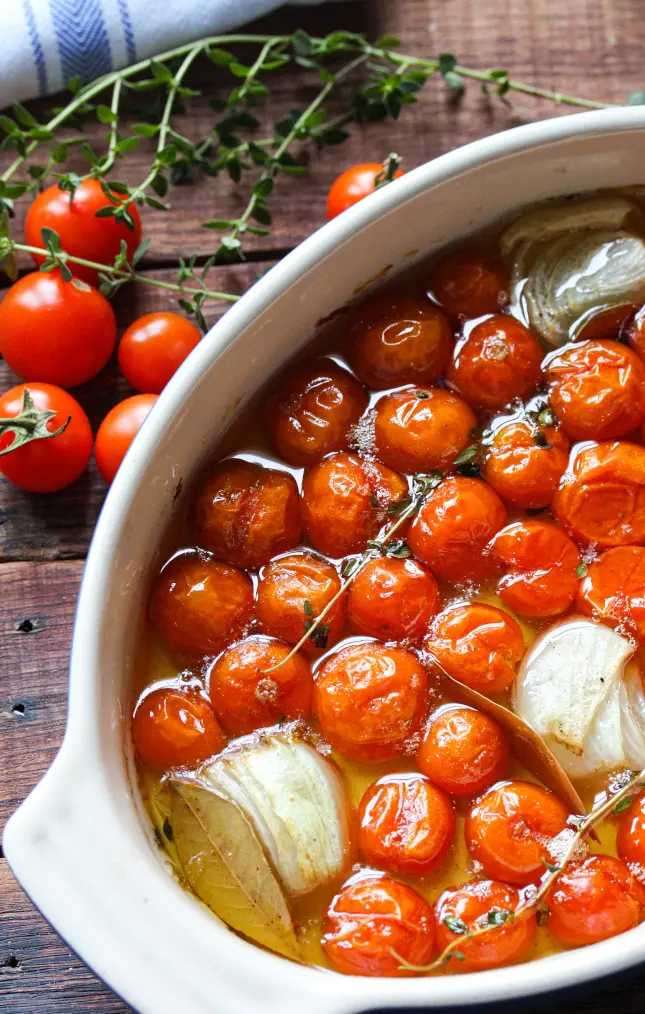
12. The Golden Spiral
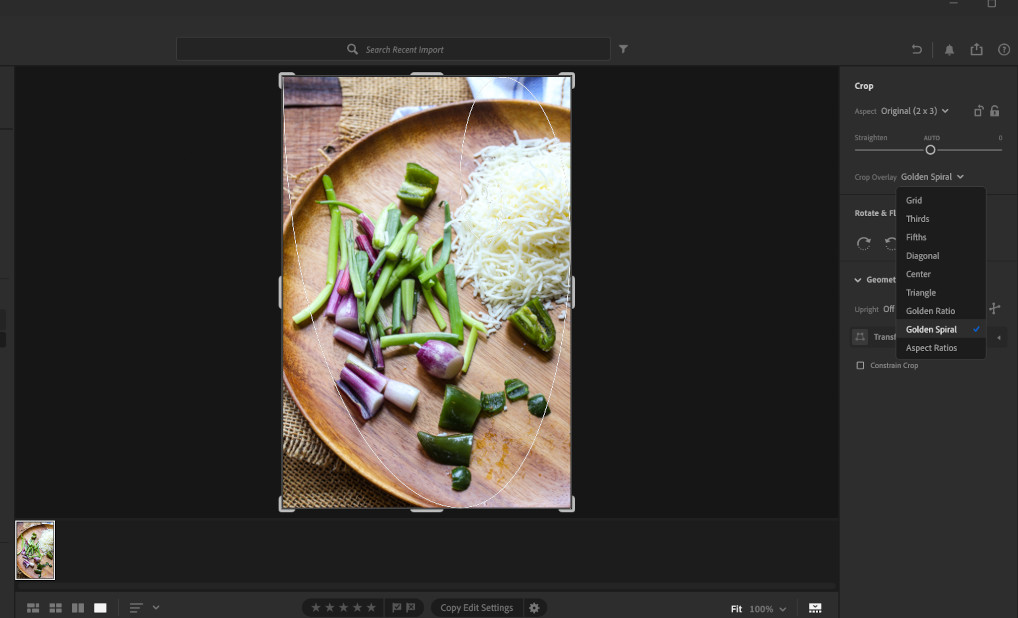
I really love this compositional tool. It gives food photos a sense of natural flow and movement. Once you place your main dish in the center of the spiral, work out from there with props and ingredients. Swish and whirl!
The Golden Spiral really works well for circular props and busy scenes. Picture a shepherd’s pie and then around it a swirl of chunked potatoes, onions, carrots, celery, serving spoons, a ladle, and bowls. A beautiful order in the scene of chaos.
13. Dynamic Symmetry
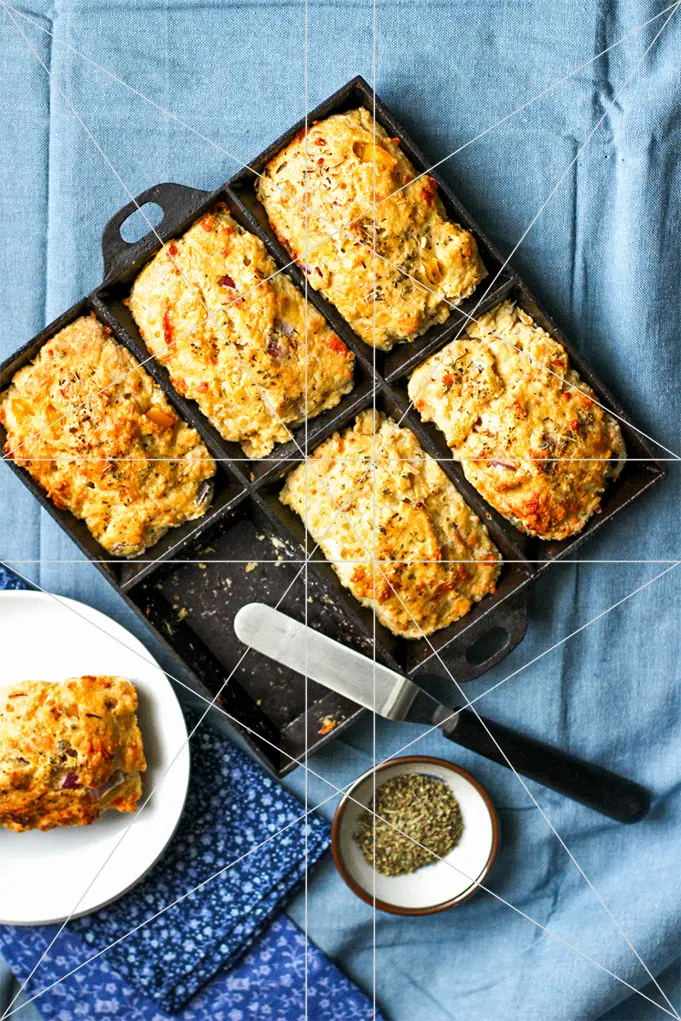
This bad boy isn’t as simple as imagining food in between straight lines. It’s a complex but insanely powerful grid that works with straight lines that at first blush appear to be drawn willy-nilly-ish across the frame.
Look at it more closely and you’ll realize there is a powerful symmetry that can balance multiple elements without clutter. Use the center of the grid for placement. Venture further away from the center for an elegant positional guide for props and ingredients.
14. When & How to Break the Rules
So, those are some advanced composition techniques for you to play with and take with you. But, remember, always remember, not only are you “the boss of you,” but let your eyes be the guide.
You know what looks right to you after planning for the moment, or even just stumbling on it by accident. Now that you understand the principles, you can bend them effectively.
Angles & Perspectives
The photographic angle you choose tells its own story. Is there going to be a lot of action? Try a bird’s-eye-view overhead shot peering over busy hands on a crowded table.
Are you going to spotlight a towering hero? A dramatic straight-on shot will set you up for soaring success (as that mocha latte or 5-tiered cake can attest to).
I’m not going to say that angles do half the work for you, but they definitely deserve a metaphorical back rub at the end of the day.
15. The 90° Overhead Shot
This is the classic shot. It’s graphic and clean for flat lays and cookbooks. When you want the whole table, and not just a section of it, when you want people around the table, when you want an abundance of food on the table in a party atmosphere, this is the go-to.
It’s great for getting all your props, ingredients, and other elements around the hero component of the image.
16. The 45° Hero Shot
When it comes to really getting into a dish and seeing the side, this works very well. It’s natural, descriptive, and incredibly versatile. It’s an angle that wears many hats.
But this angle really shines when it comes to height. For example, if you want to photograph a burger with a ton of layers, and you want to see the top of the bun too, this is your angle. It highlights height, but it also gives your food photos context.
17. The Straight-On Shot
However, if you’re going for pure drama and context isn’t as important as a “wow factor,” get eye-to-eye with your food with a straight-on shot! This is great for layered foods and multi-hued cocktails.
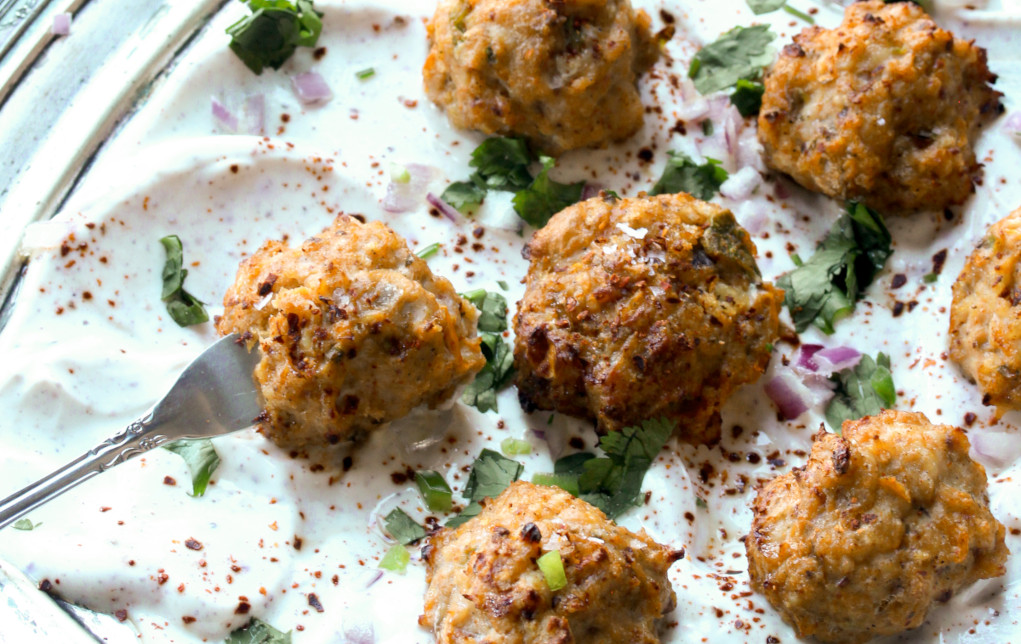
For example, if you’re looking at falafel burgers drizzled with tahini and piled high with arugula, this angle will take you where you want to go. Other examples would be stacked pancakes with maple syrup dripping down the side, layered cocktails, and an old-fashioned tall and proud parfait.
18. How to Choose the Right Angle
The right angle depends on a few considerations. What type of dish are you photographing? Is it tall, or is it flat? Do you want a lot of props and ingredients? Do you want the photograph to be dramatic, but with context? Those are all useful questions to mull over when you’re planning your own images.
Styling & Practical Applications
When it comes to styling, it depends on a multitude of variables. For example, maybe you’re looking to start a career as a commercial food photographer and you want to bolster your resume. Or you’re looking to pick up more followers on social media. Maybe you just want to give your food blog a refresh. In each scenario, there’s a lot to mull over before chopping those vegetables.
19. Orientation (Vertical vs Horizontal)
Whether you’re shooting for your own website or are looking to post your work to more social media sites, you’ll want to consider the orientation of your food images.
If I’m shooting something I’m madly in love with, I’ll hedge my bets by shooting it both horizontally and vertically.
Instagram loves square images, Pinterest adores verticals, and depending on your website theme, you may need to choose one over the other in the header.
20. Props & Ingredients
Along with what angle is best for photographing your beautiful creation, you also want to determine if you’re going for minimal or maximalist styling. Do you want a lot of negative space, or do you want every square inch of the frame filled with props and ingredients telling the story?
The main rule of thumb is to choose props that enhance and don’t distract. As hard as it is, don’t fall in love with your props to the exclusion of letting your dish shine!
That’s a temptation I fight against constantly. My husband is a woodworker who makes me beautiful props, but my job is to photograph the food, not the walnut bowl that just happens to have food in it. So, as much as you love that elegant piece you picked up at a lawn sale for a nickel, that burnished steel slotted spoon probably won’t really work with a tureen of soup.
21. Surfaces & Backdrops
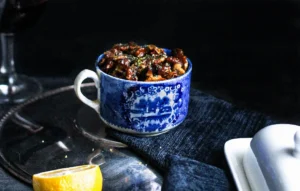
Also, keep in mind the mood you’re trying to evoke. Light or rustic backdrops make the viewer feel airy, light, and relaxed. Darker backdrops create a sense of mystery through shadows and allow the food to have dramatic richness that pulls the viewer’s eye in. It all depends on what emotions you’re looking to generate.
And when it comes to backdrops, there are a ton of affordable DIY backdrop options. You can get thick foam poster board or large rolls of paper inexpensively. Try hunting for old wood at architectural warehouses or at secondhand stores.
And don’t forget your old friend, linen! Those can be draped or tacked up easily.
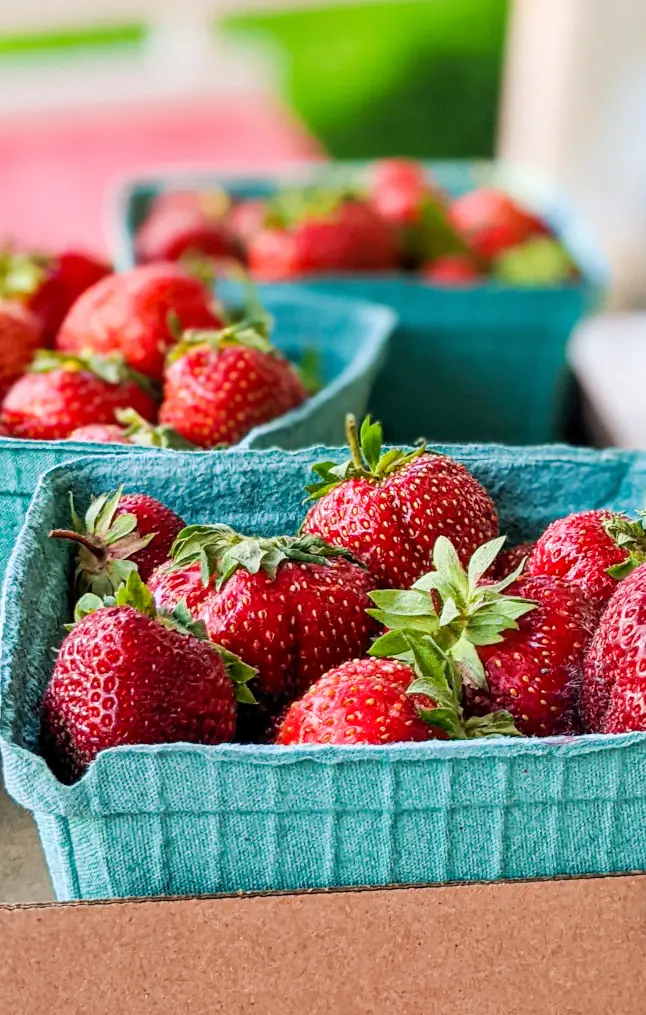
22. Color Theory in Food Photography
When you think of warm colors, you think of yellows, reds, and oranges. Yellow is energetic and peaceful like a sunny day at the lake, red makes you think of ripe foods like cherries, tomatoes, or strawberries, and orange is homey and comforting. All of those colors uplift your viewer as their eyes wander around the frame.
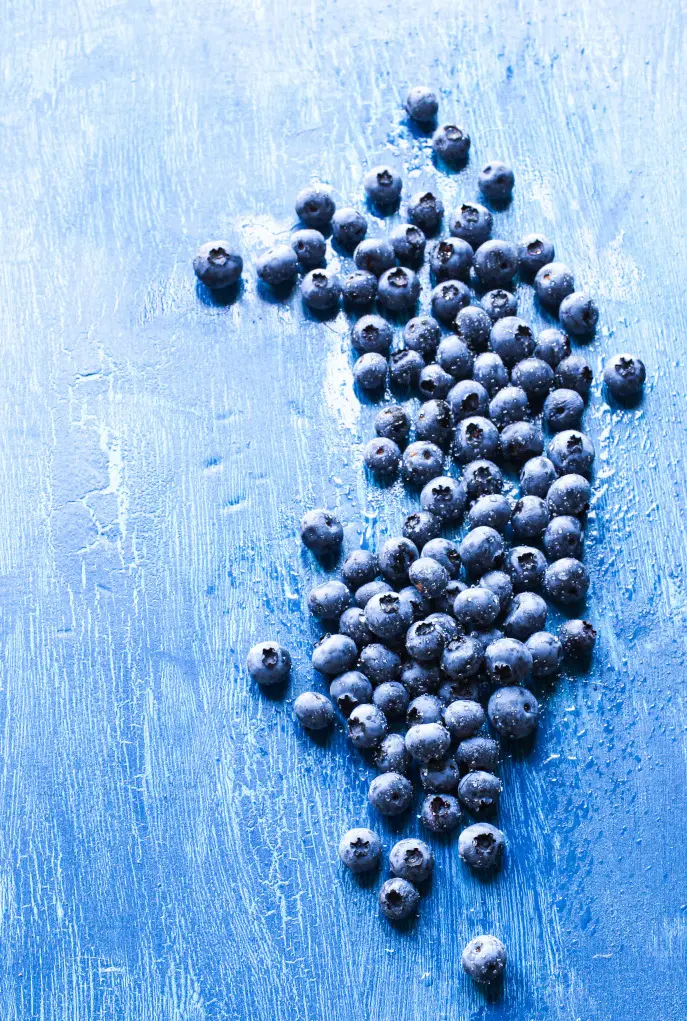
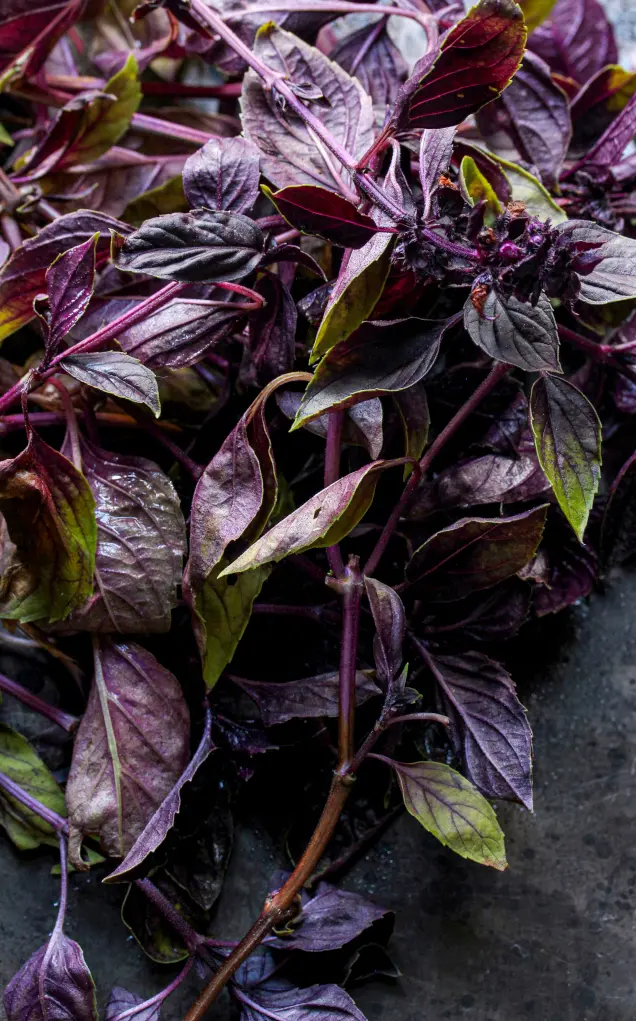
When you think of cool colors, you’re thinking about blue, purple, and green. They’re sophisticated and calming. And of course, there’s also monochromatic, complementary, and analogous schemes.
Monochromatic colors would be using the same shade of color with slightly different hues, complementary colors are opposite each other on the color wheel, and analogous colors are next to each other on the wheel.
So, thank your childhood art teacher the next time you’re thinking about color theory in food photography!
23. Depth of Field Choices
Who doesn’t love a great shallow depth of field photo? So dramatic! But, while that’s fun, using a deeper DOF gives you crispness all the way around (or most of the way around) your image.
And with DSLR and mirrorless cameras, you can control that DOF much more accurately and to your eye. Smartphones do let you go for a shallow depth of field, but you have much less control over how extreme it’s going to be.
Step-by-Step Workflow for Better Compositions
When you’re coming up with a plan for yourself in the studio, or if you’re pitching an idea to a client, having a firm grasp on composition is an important tool when translating the ideas you have in your head into reality.
And it’s invaluable when you’re working with time-sensitive foods like ice cream, a glass with perfect condensation, or keeping hot dishes looking vibrant. With that in mind, here are some food photography tips to keep things moving efficiently in the studio.
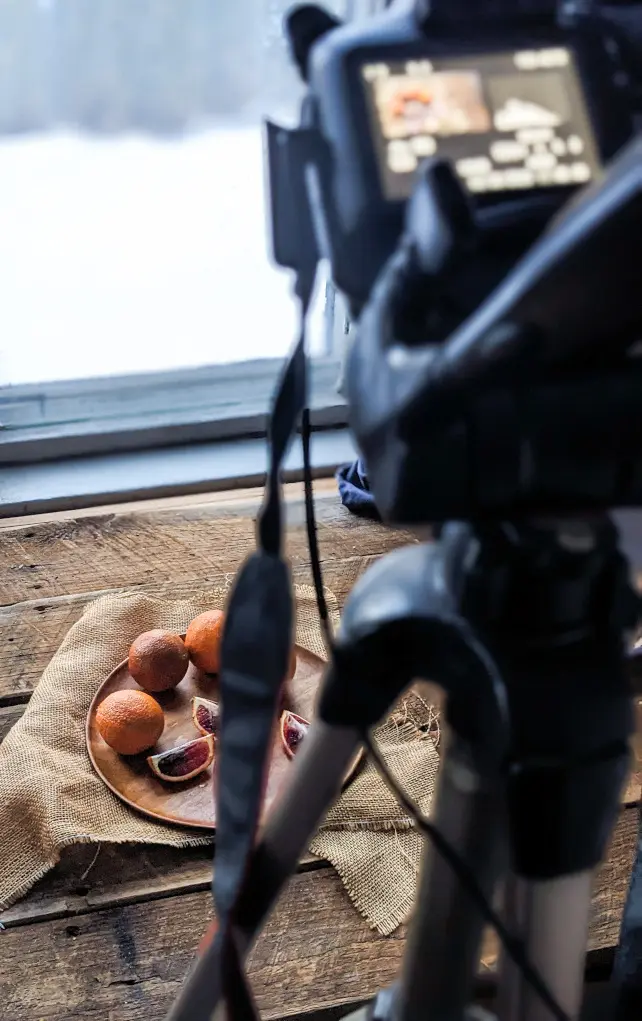
- Pre-visualize or sketch your shot by using storyboarding apps or even a pen and a notebook. You definitely want to have a plan when you walk through the door.
- Lock your camera on its tripod and set up your shooting table with props so that you can determine if you’re going to get everything you want in frame.
- Choose your preferred angle based on the type of food you’re going to be shooting.
- Still without your main dish on the table, try 1-2 composition techniques to make sure they’ll work the way you want them to.
- Adjust props and lighting to make sure you have the look and lighting you’re going for.
- Once you have your main dish on the table, shoot tethered to a computer or use a smartphone preview to double-check you’re getting everything in focus and in frame.
- Reshoot if needed, and then edit in post-production for balance and emphasis.
Conclusion
Whether you’re starting off with The Rule of Thirds and moving on from there, playing with negative space and balance, working your way into leading lines, movement, and framing, it’s all about practice + experimentation.
So, start small with the basics and then start to layer on different approaches. You’re going to find your voice and your eye merging in new ways that you didn’t think were possible.