If you’ve been looking into ways to improve your landscape photography, portraiture, or even your videography skills, you might have come across the term ‘dynamic range’.
To a photographer just starting out, the meaning behind those words and their significance to your workflow might not be very clear from a basic definition.
Let’s fix that. In the following guide, we’ll take a very detailed look at the idea of dynamic range and how you can use it to improve the look and feel of your images. Most photographers, no matter their specialization, will definitely benefit from a solid grounding in dynamic range principles, so keep on reading to find out more!
Contents
What is Dynamic Range?
Dynamic range describes the difference (the ‘range’) between the darkest blacks and the brightest whites that your camera sensor can measure. More specifically, it is the highest possible range between these maximums where detail rendition remains at a useful level.
At its smallest values, dynamic range (or rather the lack of it) can make the image quality suffer greatly, modifying your contrast ratio. Working with a very low dynamic range often means resigning yourself to having certain areas of your frame over- or underexposed, potentially creating ugly hotspots or murky dark areas lacking shadow detail.
On the flip side, a high dynamic range increases image information greatly by smoothing out the highlights. Colors will appear more natural, with finer gradation and a more pronounced visual ‘pop’. At a high dynamic range, you’ll also be able to regain much of that lost detail and work with a much higher contrast ratio without overexposing or underexposing the image.

Subjective Dynamic Range
Before we go on, it’s worth also knowing that dynamic range always exists in two spheres at once. On the one side, there is a subjective dynamic range.
This describes the gamut between light and dark areas in your scene. For instance, a sunset will generally display a very wide dynamic range. At the same time, an evenly-lit interior shot might feature a much narrower range.

Knowing Your Camera’s Dynamic Range
The human eye is generally very good at processing varying degrees of dynamic range. However, your camera’s dynamic range is not infinite, and in fact, it can be quite limited in certain situations.
Every camera sensor has its own dynamic range ceiling. There’s not much you can do to modify your camera to squeeze more detail rendition out of it – what’s there is what you’ve got to work with.
This inherent camera-based limitation is your camera’s own dynamic range. If your camera can “see” up to 14 stops of dynamic range, for example, then any scene where the difference between light intensity and the contrast ratio exceeds that gamut will come out looking a shade duller than its real-life counterpart.
That’s why it’s important to have a good idea of your camera’s ability to register dynamic range. It’s much easier to bring out great images when you know what you’re working with!
The Difference Between SDR and HDR Photography
Two labels feature very heavily in photography-related media when describing dynamic range. They are SDR and HDR, which stand for Standard Dynamic Range and High Dynamic Range, respectively.
As the names imply, SDR refers to the ‘standard’ dynamic range offered by most consumer electronic equipment. It is actually not standardized by the specs of any particular camera sensor but rather by what common LCD screens, especially TVs, are capable of displaying.
Unlike the realm of home video, where there are many standards for what qualifies as HDR, there is no regulated system for measuring or defining HDR photography.
With most digital cameras, HDR photography simply means capturing images at a higher dynamic range than what the industry average provides. Today’s DSLRs and mirrorless cameras average at somewhere between 10 and 15 stops of dynamic range, so anything far beyond that would count as HDR.

Film vs Digital Photography
Take two different exposures of the same scene, captured on film and on digital cameras, respectively, and you might be in for a big surprise. It’s well-known that negative film has a significantly higher exposure latitude than digital sensors, meaning it resists underexposure and overexposure much better.
However, not many people know that film can also express truly huge dynamic ranges!
Measuring these kinds of values accurately is difficult, but estimates place regular store-bought 35mm film at anywhere from 12 to 20 stops of dynamic range. Of course, different films will perform differently, so take these values with a grain of salt. Not to mention that film can be pushed or pulled further in development, which can further extend that range!
Compared to that, you need to be a lot more careful in digital photography. A digital camera sensor simply can’t capture the same contrast ratio as film can. You also don’t get the benefit of simply changing to a different recipe or a different roll when you don’t get the results you want!
If you started out in film photography, you therefore need to adjust your exposure settings as well as your expectations. Many compare the small dynamic range of a digital image sensor to that of color slide films, notorious for the same limitation.
Color reversal film also requires you to tend towards underexposure if possible. Negative film is the opposite, favoring overexposure.
Since digital photography acts the same way as the former, meaning recovering dark shadows is much easier than fixing bright highlights, you may think of it as “digital slides”.
Why is Dynamic Range Important in Photography?
Your usable dynamic range is one of the most important factors in determining your aesthetic and technical approach. Correctly exposed photos can only come from at least a broad understanding of the dynamic range and its limits. Hence, knowing how to use your overall dynamic range to your advantage is important if you want to avoid mishaps.
Understanding the Limits of High-Contrast Pictures
The largest and smallest values of light intensity that define your dynamic range are not always easy to find in nature. You might encounter plenty of scenes where the total dynamic range (or at least the vast majority of it) in your frame falls within your camera’s ability to capture.
However, there will also be plenty of cases where the opposite holds true. On a bright, sunny day, the harsh incident light can make your final image easily overexposed if you don’t carefully watch your settings.
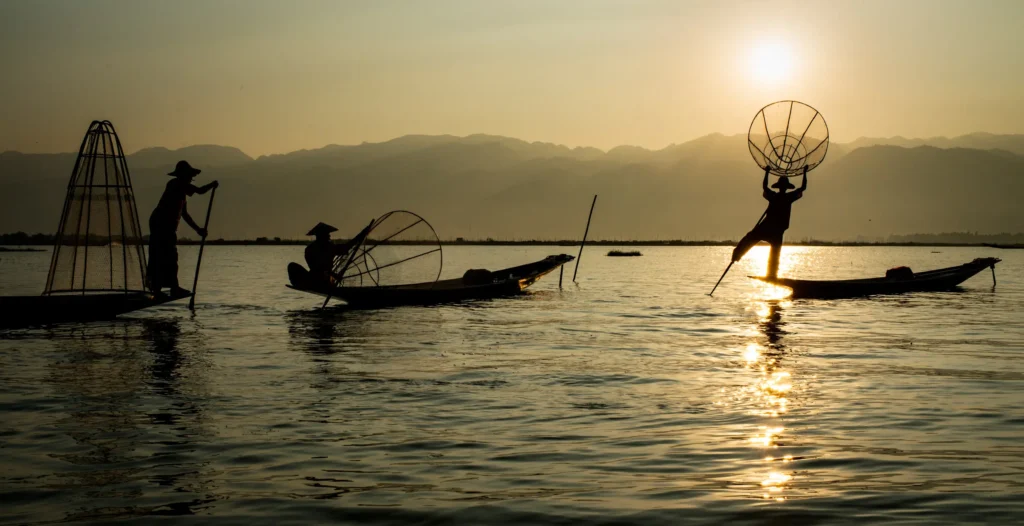
Similarly, scenes with a bright sky and a greater range of contrasts are also very tricky to meter correctly. Think of sunrises and sunsets, as well as shadowed subjects surrounded by bright highlights. All of these kinds of scenes are a real test of your camera’s dynamic range.
That’s why it is so important to be in control of the dynamic range and understand how it works!
How to Use Your Camera’s Dynamic Range Limitations to Your Advantage
Now, let’s take a look at what you can do to get a greater dynamic range out of your images and maximize your camera’s capabilities. Not all of these techniques are always applicable in every kind of situation, but most of them should come in handy relatively often, so they’re great to keep in mind and be aware of!
Make Smart Use of Neutral Density Filters
Filters can be a real godsend when shooting scenes with a high dynamic range. No filter can magically give your camera a wider dynamic range than what its sensor limits it to, but that doesn’t mean that filters can’t be useful for HDR photography in other ways!

For example, take a look at ND filters. Humble and often neglected, the ND filter is actually one of the most useful that you can have in your camera bag.
By decreasing light intensity across the frame, it can allow you to shoot at a lower shutter speed or at a higher ISO than normal, even in bright sunlight. This opens up exposure possibilities that can allow you to get the most out of your camera’s theoretical dynamic range.
Especially as most digital cameras reach their maximum possible dynamic range at a high ISO, you should always keep a neutral density filter at the ready.
Utilizing Graduated Filters for More Advanced HDR Effects

However, plain ND filters aren’t all! There’s also a more advanced variant known as the graduated neutral density filter. Like its plain sibling, this filter also lowers the overall exposure of your shot. However, it doesn’t do so in a uniform manner.
Instead, one half of the filter is clear, whereas the other blocks a certain quantity of light intensities. In between those extremes, there is a graduated range that blends together if you look through the filter head-on.
These special ND filters can be extremely useful. For example, try mounting a graduated neutral density filter such that the filtered side covers the sky and the clear side the foreground of your exposure.
You’ll notice that the filter clears up the bright highlights of the sky, bringing out more detail. At the same time, the rest of your exposure will remain mostly unaffected.
In a sense, such a filter actually decreases dynamic range since it reduces the EV of the sky to bring it closer in line with the rest of the exposure. Some might scoff at the idea, but sometimes it can actually be useful to actively bring your dynamic range down so as not to overwhelm your camera sensor.
Avoid Shooting Directly into the Sun
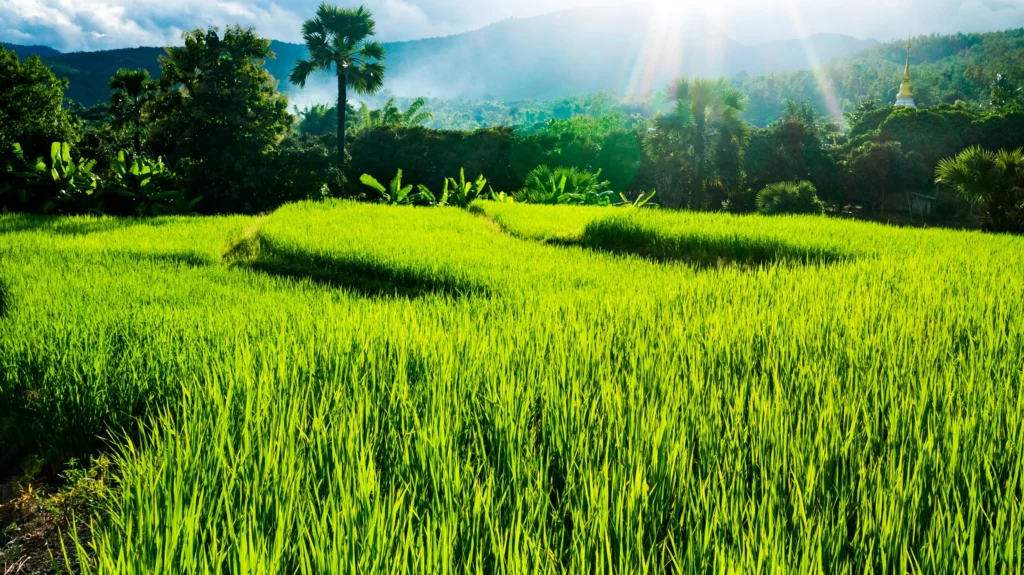
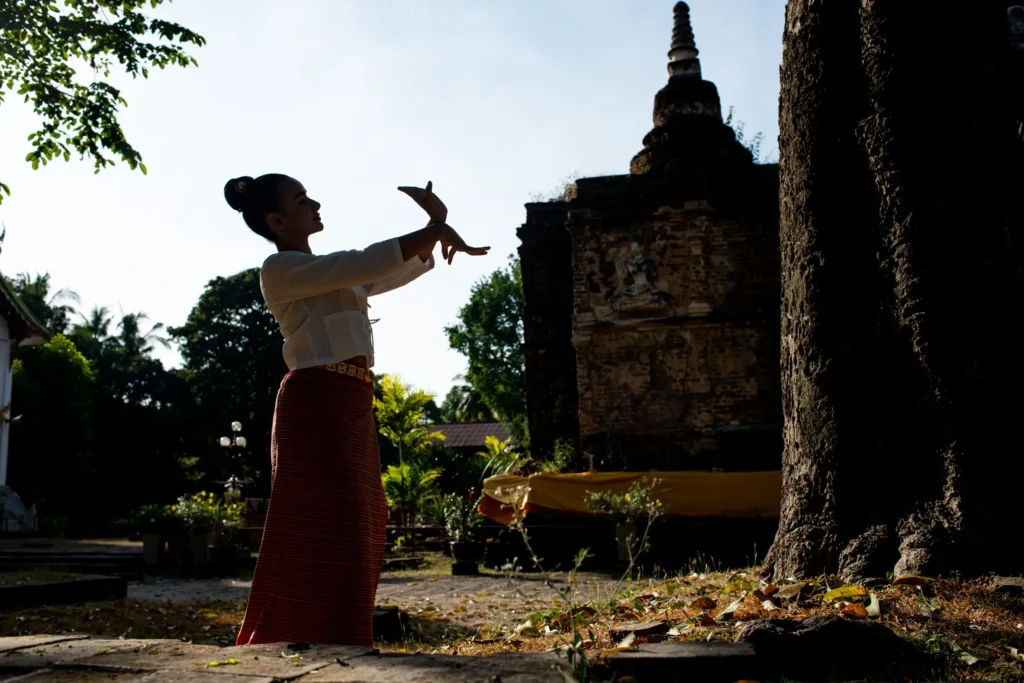
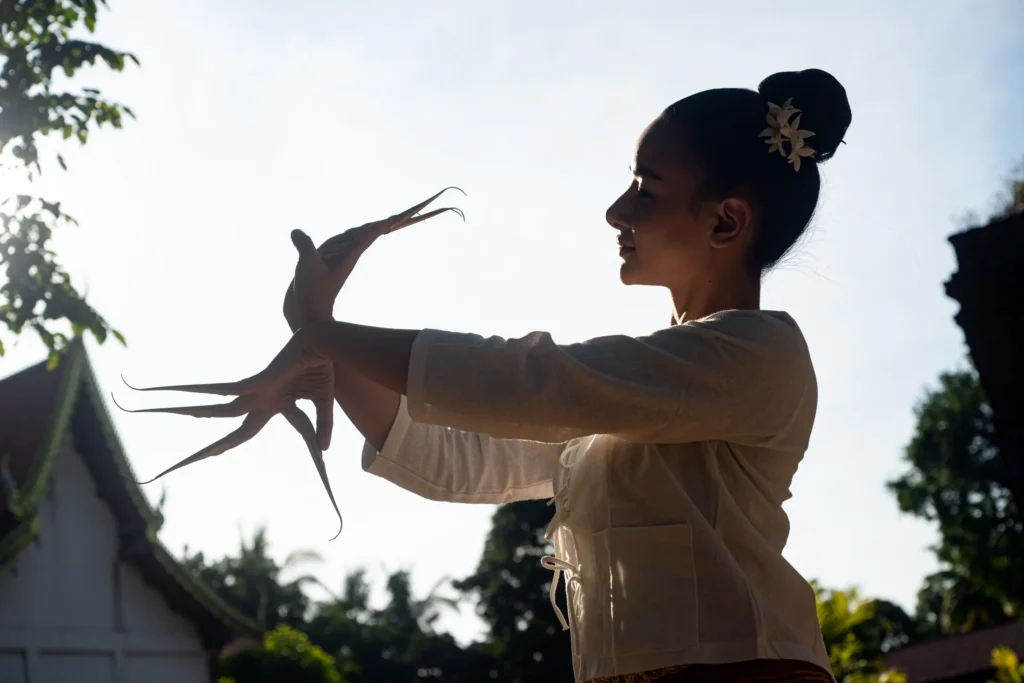
No matter how capable your gear is, you want to avoid faux pas. Contre-jour compositions, where your subject is between the viewer and the sun straight ahead, are notoriously difficult to meter and shoot without losing balance. That’s even the case on a relatively forgiving negative film.
Unless you’re going for a particular artistic effect and can risk the shot coming out overblown, avoid shooting in lighting conditions where the sun is facing you directly.
Learn to Read Your Histogram
Knowing how to read a histogram is an invaluable skill for any photographer. That goes not just for improving your dynamic range usage but for plenty of other purposes as well!
The histogram shows you the whole gamut of light intensities and exposure values across your frame in the form of an easy-to-understand graph. By utilizing it carefully, you can quickly and easily assess the exposure value of your shot in very fine terms.
Not only will it help you understand whether you’re close to hitting the dynamic range limits of your camera. Understanding the histogram also makes editing and correcting for better dynamic range in the digital darkroom a lot easier.
Shoot RAW Whenever Possible
In recent years, it’s become fashionable to forgo finicky RAW files in favor of smaller, easier-to-use JPEGs. That’s understandable, especially as JPEG image quality has really come a long way since the beginning of the millennium.
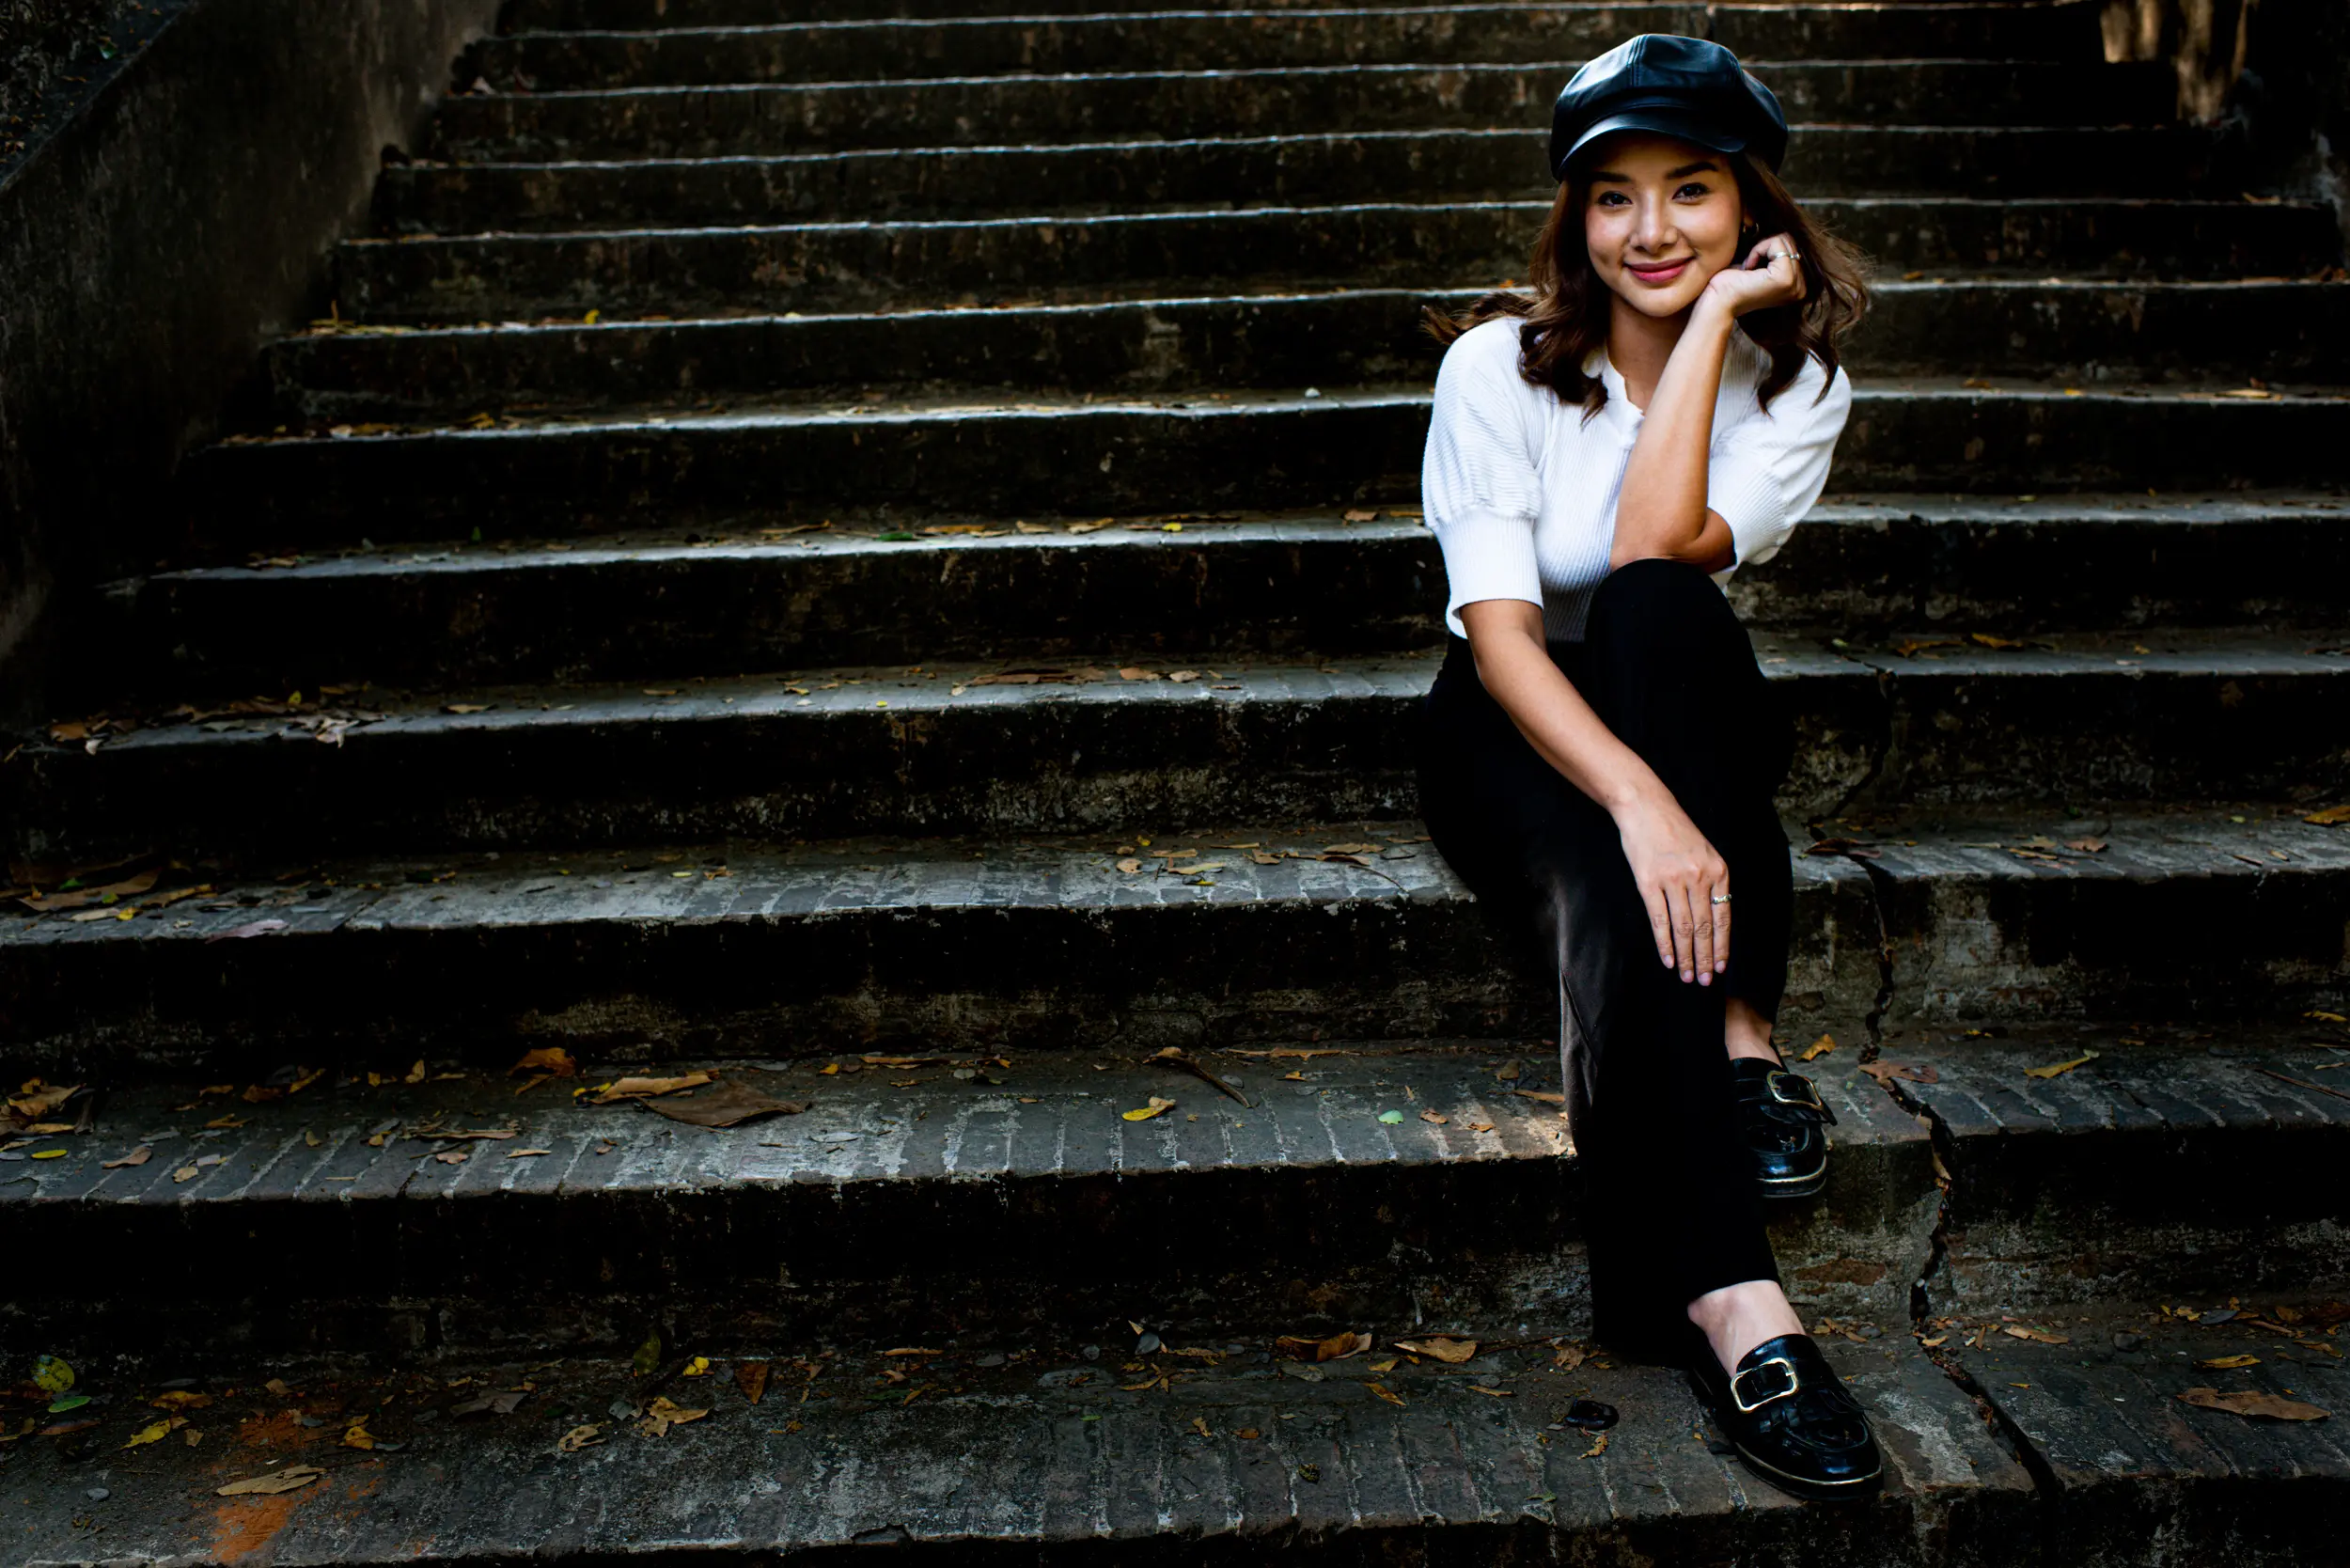
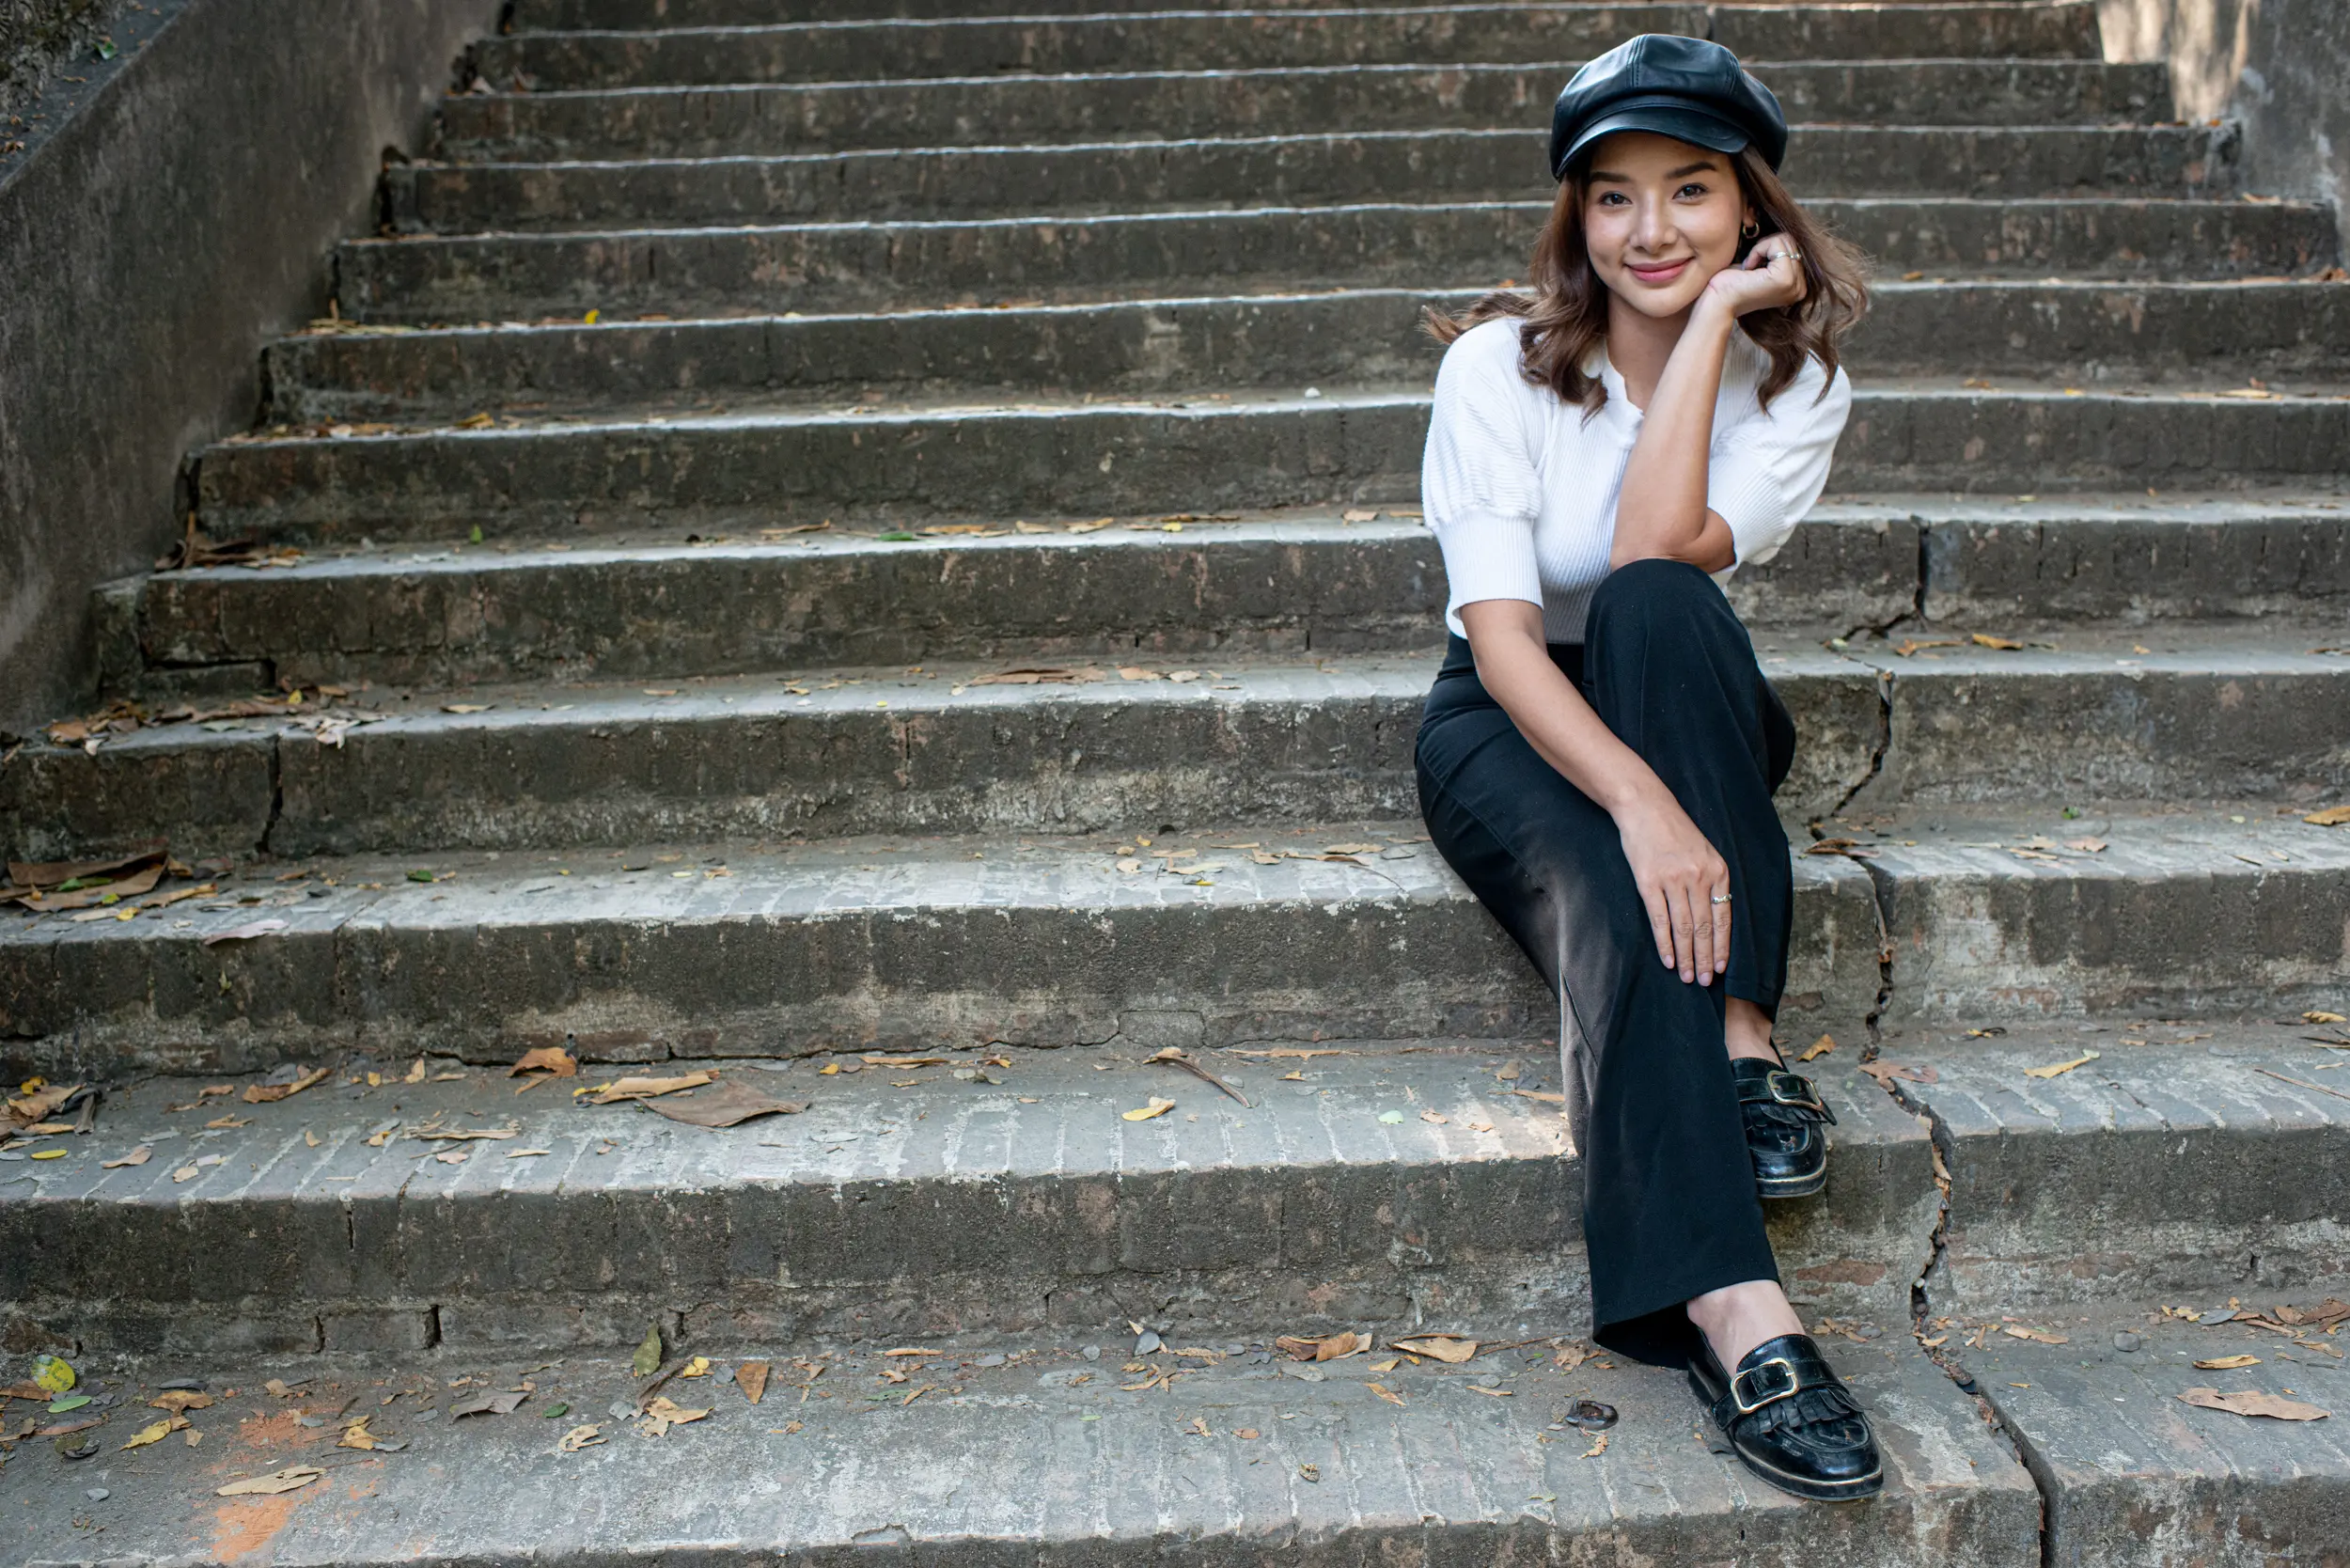
However, one area where RAW files are indisputably the superior choice and likely will remain so is in the field of HDR photography. Because RAW files are uncompressed and keep the entire output straight from the image sensor, they also contain certain fine color and exposure data that compressed files lack.
As a result, RAW files allow for much more editing headroom and display a much greater dynamic range than JPEGs. In the case of very high-end camera sensors, the dynamic range of RAW images might even come close to that of negative film.
When dealing with HDR subjects, I’d definitely recommend shooting RAW. Even if the out-of-camera difference might not be huge, it will definitely allow you to perfect the dynamic range of the resulting images in post-processing much more easily.
Learn the Art of Exposure Bracketing
One overlooked technique for easily generating high dynamic range photographs is called exposure bracketing. Simply put, the idea behind bracketing involves taking multiple exposures in a quick series, alternating your camera settings in between them but leaving the composition intact.
If done right, you will end up with a handful of “brackets” of the same frame. They will all be identical to each other except for the exposure value.

By carefully combining these, you can achieve the best of both worlds – the rich shadow detail and deep blacks of the overexposed brackets combined with the even highlights of the underexposed brackets, plus everything in between.
You can manually bracket shots on any kind of camera. Just use your camera’s built-in exposure compensation feature or calculate the exposures yourself beforehand, and you’re good to go!
More advanced digital cameras will also allow you to automatically schedule a bracket exposure. This is simpler, as all you have to do is define the number of brackets as well as the variance in EVs between each of them, and the camera does the rest for you.
A fair few DSLRs and mirrorless cameras, mostly professional models, go even further in automatically bracketing and combining your brackets all in one go. That way, you don’t even need to take your files back home to see how the HDR photo turned out!
Does Camera Sensor Resolution Impact Dynamic Range?
There is a pervasive myth that cameras with high megapixel counts are bad for HDR photography. High dynamic range, it is said, is incompatible with high resolutions. Like many things, this belief comes from real facts but is largely misguided. In reality, the resolution does not directly affect dynamic range in any real way.

However, what does the size of each individual pixel on your camera sensor mean? Larger pixels tend to deal better with high dynamic ranges, though pixels that are too large can also cause noise problems.
Because camera manufacturers like to keep the pixel pitch – the distance between pixels – within a nominal range, larger sensors tend to have accordingly larger pixels. However, this is sometimes only true in absolute terms and not in relative terms. Each camera differs in its pixel pitch and pixel size, and even crop sensors can have an excellent dynamic range as a result!
Key Takeaways
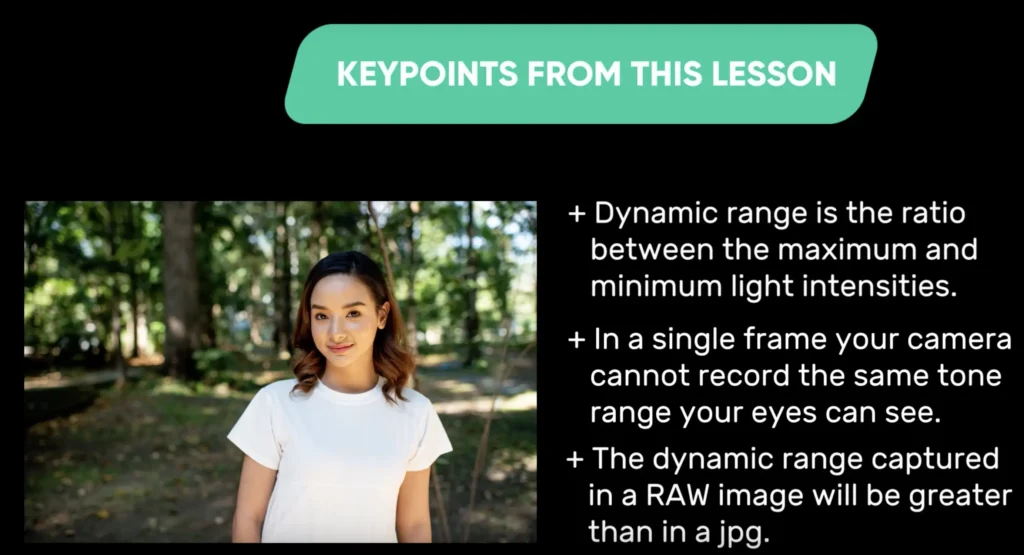
Dynamic range describes much more than just the relationship between maximum and minimum exposure values in your image. By understanding and utilizing dynamic range, subjective and otherwise, you can get a whole new perspective on how lighting conditions shape your photographs.
Take into account what you have learned today, and try small steps to implement it in your work. Make sure to enable your camera’s histogram, for instance, or browse your favorite marketplace for some graduated filters!
In the end, dynamic range is as much about technique as it is about theory. And having read to this point, you’ve got the hard part behind you!
Practice Exercise: Exploring Dynamic Range Outdoors
Description: The aim of this exercise is to help you see how understanding dynamic range will help you make more interesting exposure choices.
Estimated Time: 30-45 minutes
Skill Level: Beginner-Intermediate
Tools and Supplies:
- Lens: Standard
- Camera: Manual exposure mode
- Focus Mode: Single point auto, Single Servo
Conditions:
- Location: Outdoors on a sunny day
- Time: Any time of day
- Exposure Mode: Manual
- Focus Mode: Single point auto, Single Servo
Instructions:
| Step 1: Find a scene to photograph where you can make a composition where about half your frame is filled with the sky and half is dark, maybe in the shade. For this challenge, the results will be more dramatic and noticeable if it’s a sunny day and the scene has high contrast light (hard light). |
| Step 2: Set your exposure so your meter is reading 0 and take a series of photos varying your composition a little each time, but without altering your exposure setting. Take some with more sky and some with more shade. Compare your results. |
| Step 3: You will probably find the sky is slightly overexposed (too light) and the dark area is a little, or a lot, underexposed (too dark). This will give you some idea of the dynamic range of your camera. How much of the tone range in your composition has been well recorded? |
| Step 4: Take good notes about each step you take and what you are observing. |


