An immediate way to set the tone of a photograph is the essential choice between soft and hard light. As one of the fundamentals of photography, it is important for any visual artist to master this technique. You may find yourself utterly overwhelmed when deciding between different lighting qualities, the moment you pick up a camera.
Flattering images are not easy to master. Being a photographer in any field takes an immense amount of technical ability and stamina. Eventually, the goal is to blend different types of lighting to create a striking image. This is where a deep understanding of lighting setups becomes valuable.
This concept of lighting quality poses a tricky question: why does it even matter? The photo surely gets altered in post-production. It may seem nagging to a beginning photographer to put in the extra effort for light and shadows, especially if there is a solid background in image manipulation and digital design. Even the most skilled photographer can fall victim to this, as there’s a misconception of ‘ease’ that comes with editing, which we will soon debunk.
Here is a quick video from our YouTube channel that explains how to avoid common mistakes when shooting in harsh light.
As a photographer, it’s important to stick to authenticity and integrity. Applications like Lightroom and Photoshop should advance a photograph, not act as a crutch.
Contents
Choosing the Right Lighting Style
The way we, alongside our audiences, perceive the light of new images is phenomenal. Countless studies have been done on this matter, truly proving the importance of understanding hard and soft lighting.

The Answer Routes Back to Science
Neuroscientists at MIT, alongside researchers of the 2014 journal entitled Attention, Perception, and Psychophysics, made a riveting discovery about human perception, light, and immediate recognition of photographs.
This proceeded to create the term rapid identification. The term describes our primary cognitive processes when met with visual stimuli. Cognitive processing simply refers to our mental process of thinking, composed of five sub-categories, after seeing different lighting conditions.
Conveniently, we can use this to our advantage when choosing between direct and diffused light. The formal definitions will be clarified further down in the article.

The Five Sub-Categories
- Remembering
- Reading
- Logical Reasoning
- Paying attention
- Learning
Remembering
What light sources made a photograph memorable? Was it the tone, subject, or story? An impactful photograph is an everlasting one.
In order to increase drama and impact, a small light through hard lighting would be ideal. We see this in lighting for product photography.
To evoke an emotionally quiet yet impactful reaction, soft lighting creates the most effective result.
Reading

What can the audience create from an image without any prior written clues? The time period, emotion, and setting? If the viewer can piece this together, the photographer has successfully shown how lighting quality influences meaning.
Hard light gives contextual clues to the audience, like physical setting, hard emotion, and fine-lined details.
Soft lighting, on the contrary, can change a hard light by reading as comforting and supportive.
Logical Reasoning

Is the image abstract, true absurdism at its finest? Does the light create an insane structure, painting a clear and logical picture? In short, this is the gathering of visual data to produce additional information.
Hard lighting tends to clearly highlight these elements of a photograph through a distinct shadow, such as gritty facial expressions or hard emotion, to allow the viewer to interpret the scene directly.
Soft light makes for more interpretation, as it is welcoming and comfortable.
Paying Attention

Think of an image that was just too intriguing to look away from. It may have included tragedy, victory, or dismay. Whatever the subject or setting may be, keeping our audiences attentive through light and shadows draws attention.
As used in dramatic cinema, hard lighting demands the attention of an audience through heavy shadows and light sources.
Softer lighting, however, voids shadow and pulls the viewer into the scene gently. It grabs the attention through friendliness as compared to force.
Learning

This especially applies to camera flash or hard light street-style photography. The image must prompt a worldly view or a newer, intelligent viewpoint.
Street-style photography is often bold, real, and unapologetic. Hard light pairs perfectly with this.
Documentary is raw, honest, and believable, hence why many documentary photographers go down this route as compared to street. The soft light setup will either bounce light off the sun or diffuse the light source.
MIT Findings
Multiple rounds of extensive research proved our brains would process the light from an image within milliseconds.
From 13 to 80 milliseconds, our retina takes in light as per the light source and immediately redirects it through visual stimuli to an area of the brain called the ‘occipital lobe’. As a visual processing hub in the brain, the occipital lobe holds the V1 cortex, an essential communicator to compose, identify, and locate.
There is an average of 50 milliseconds between the light hitting your eyes and deep cognitive processing. This alone proved the importance of mastering these lighting techniques. Learning to play with light is to learn how to convey your message to the viewer.
To have a pre-production light modifier is essential, as our brains gather context clues through familiarity and recognition.
Even though that fake sunset in Photoshop is beautiful, our minds will process the natural light far faster through familiarity. Ultimately, mastery of this subject reaches the masses.
How Different Lighting Styles Change a Scene
Let’s place ourselves in an imaginary scenario to further stress the importance of how lighting style transforms and scene.
Think of yourself as an old and wise sculptor, slaving away in the sun over your prized possession project: a statue of a world leader that will sell for millions. It must be perfect. You can utilize natural light to the best of your ability.

Harder Light
Hard light represents your newly chiseled, sharp, and tall statue. It needs to stand with pride, just like this world leader!
The leader is high in confidence and defined through a strong contrast of dark and light tones. The subject’s face and muscles show an immense amount of detail. There are clear blacks and whites. Every last chisel highlights a new dented detail across the subject’s face, telling a story of grit and revival.
Softer Light
Let’s say, on the contrary, that this sculpted portrait is of a peacekeeper! This world leader is gentle, forgiving, and a symbol of hope. You want their features to remain in very soft light, airy, and authentic to this gentle nature.
To achieve this, instead of sharply cutting into the statue with heavy tools and hard shadows, the focus is on soft light by blending away the harsh lines.
Thankfully, these concepts in photography are quite similar. As stressed above, both scenarios highlight how photographers can use light sources creatively.
Techniques for Creating Hard and Soft Lighting Effects

Now that we have a deeper understanding of light analysis, it is time to dive into the ways to achieve both hard and soft lighting. Take these techniques seriously; they elevate your images and increase overall aesthetic appeal.
Creating Hard Light Effects
The way to create a hard light is to find a single point of a small, relatively light source that directly casts upon the subject. Artificial lighting is a great tool for this (like a stage spotlight or a rim light), though one can also depend on many hard light shadow sources like natural light.
Examples of these hard light sources include a lamp post at night or general direct sunlight that creates hard, sharp, dark shadows on the subject’s face.
When directing hard light portrait photography, a great lighting setup is achieved by asking the subject to stand in direct sunlight, where you’d ideally like distinct shadows to hit their face.

Have their body void soft light by staying sedentary, whilst you ask them to follow your camera with their face. Move left to right and see the shadows hit their face, and choose the light source relative and ideal for shading the image’s tone, setting, and so on.
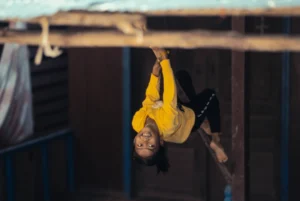
For example, the photo of a performer demonstrates the correct usage of the light source and hard light. There are defined shadows, and the light source is relative to our subject.
I paid attention to the singular, artificial, hard light as it demonstrated split lighting. I used my body to navigate left to right, studying the way a shadow hits. The shadows showed action, liveliness, and expression.
It is clear who the subject is, what they are doing, and the energy of it all.
Creating Soft Light Effects
Softer light is seen as the more “attractive” option. There is an inviting feeling. It holds no hard shadows, a gradual gradient between light and dark with less contrast. It does not highlight other skin imperfections like harsher lighting. There are soft shadows and a void of high contrast.
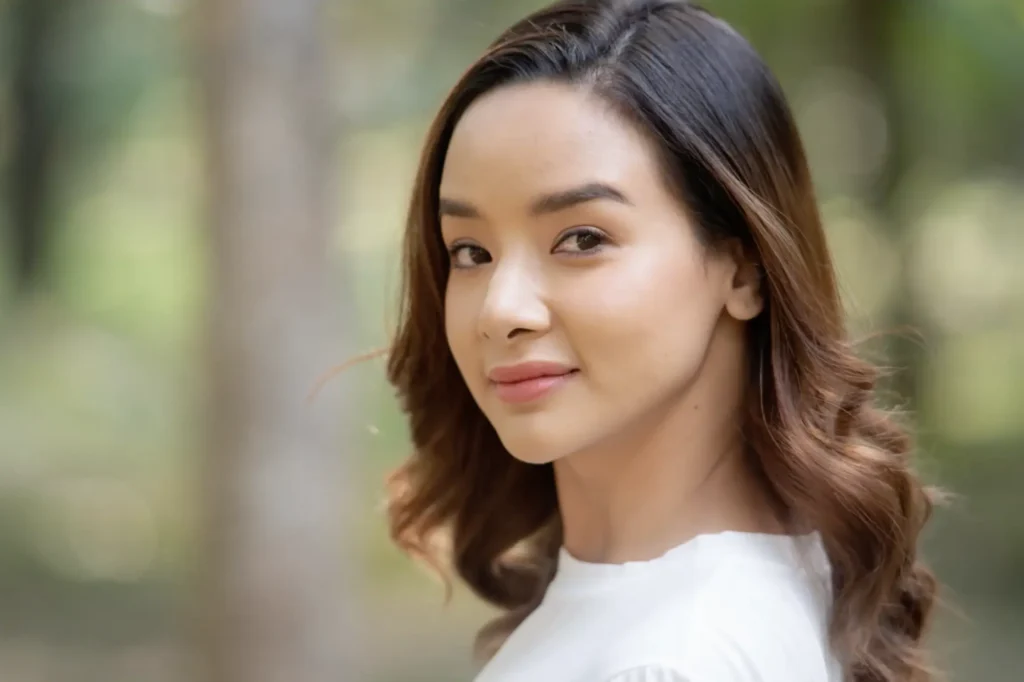
We achieve this through the obstruction of direct light and shadows. This is accomplished by using a professional camera accessory called either a light diffuser or barn doors. Both are made of a diffusion material that obstructs the primary lighting source (the sun, spotlight, etc.) through a sheet to cast it upon the subject.

If artificial lighting is not accessible, soft light sources like a window light are a great replacement and replicate professional diffusion material.
An overcast day can also interrupt the continuous light. A cloudy day allows natural light to distribute evenly.
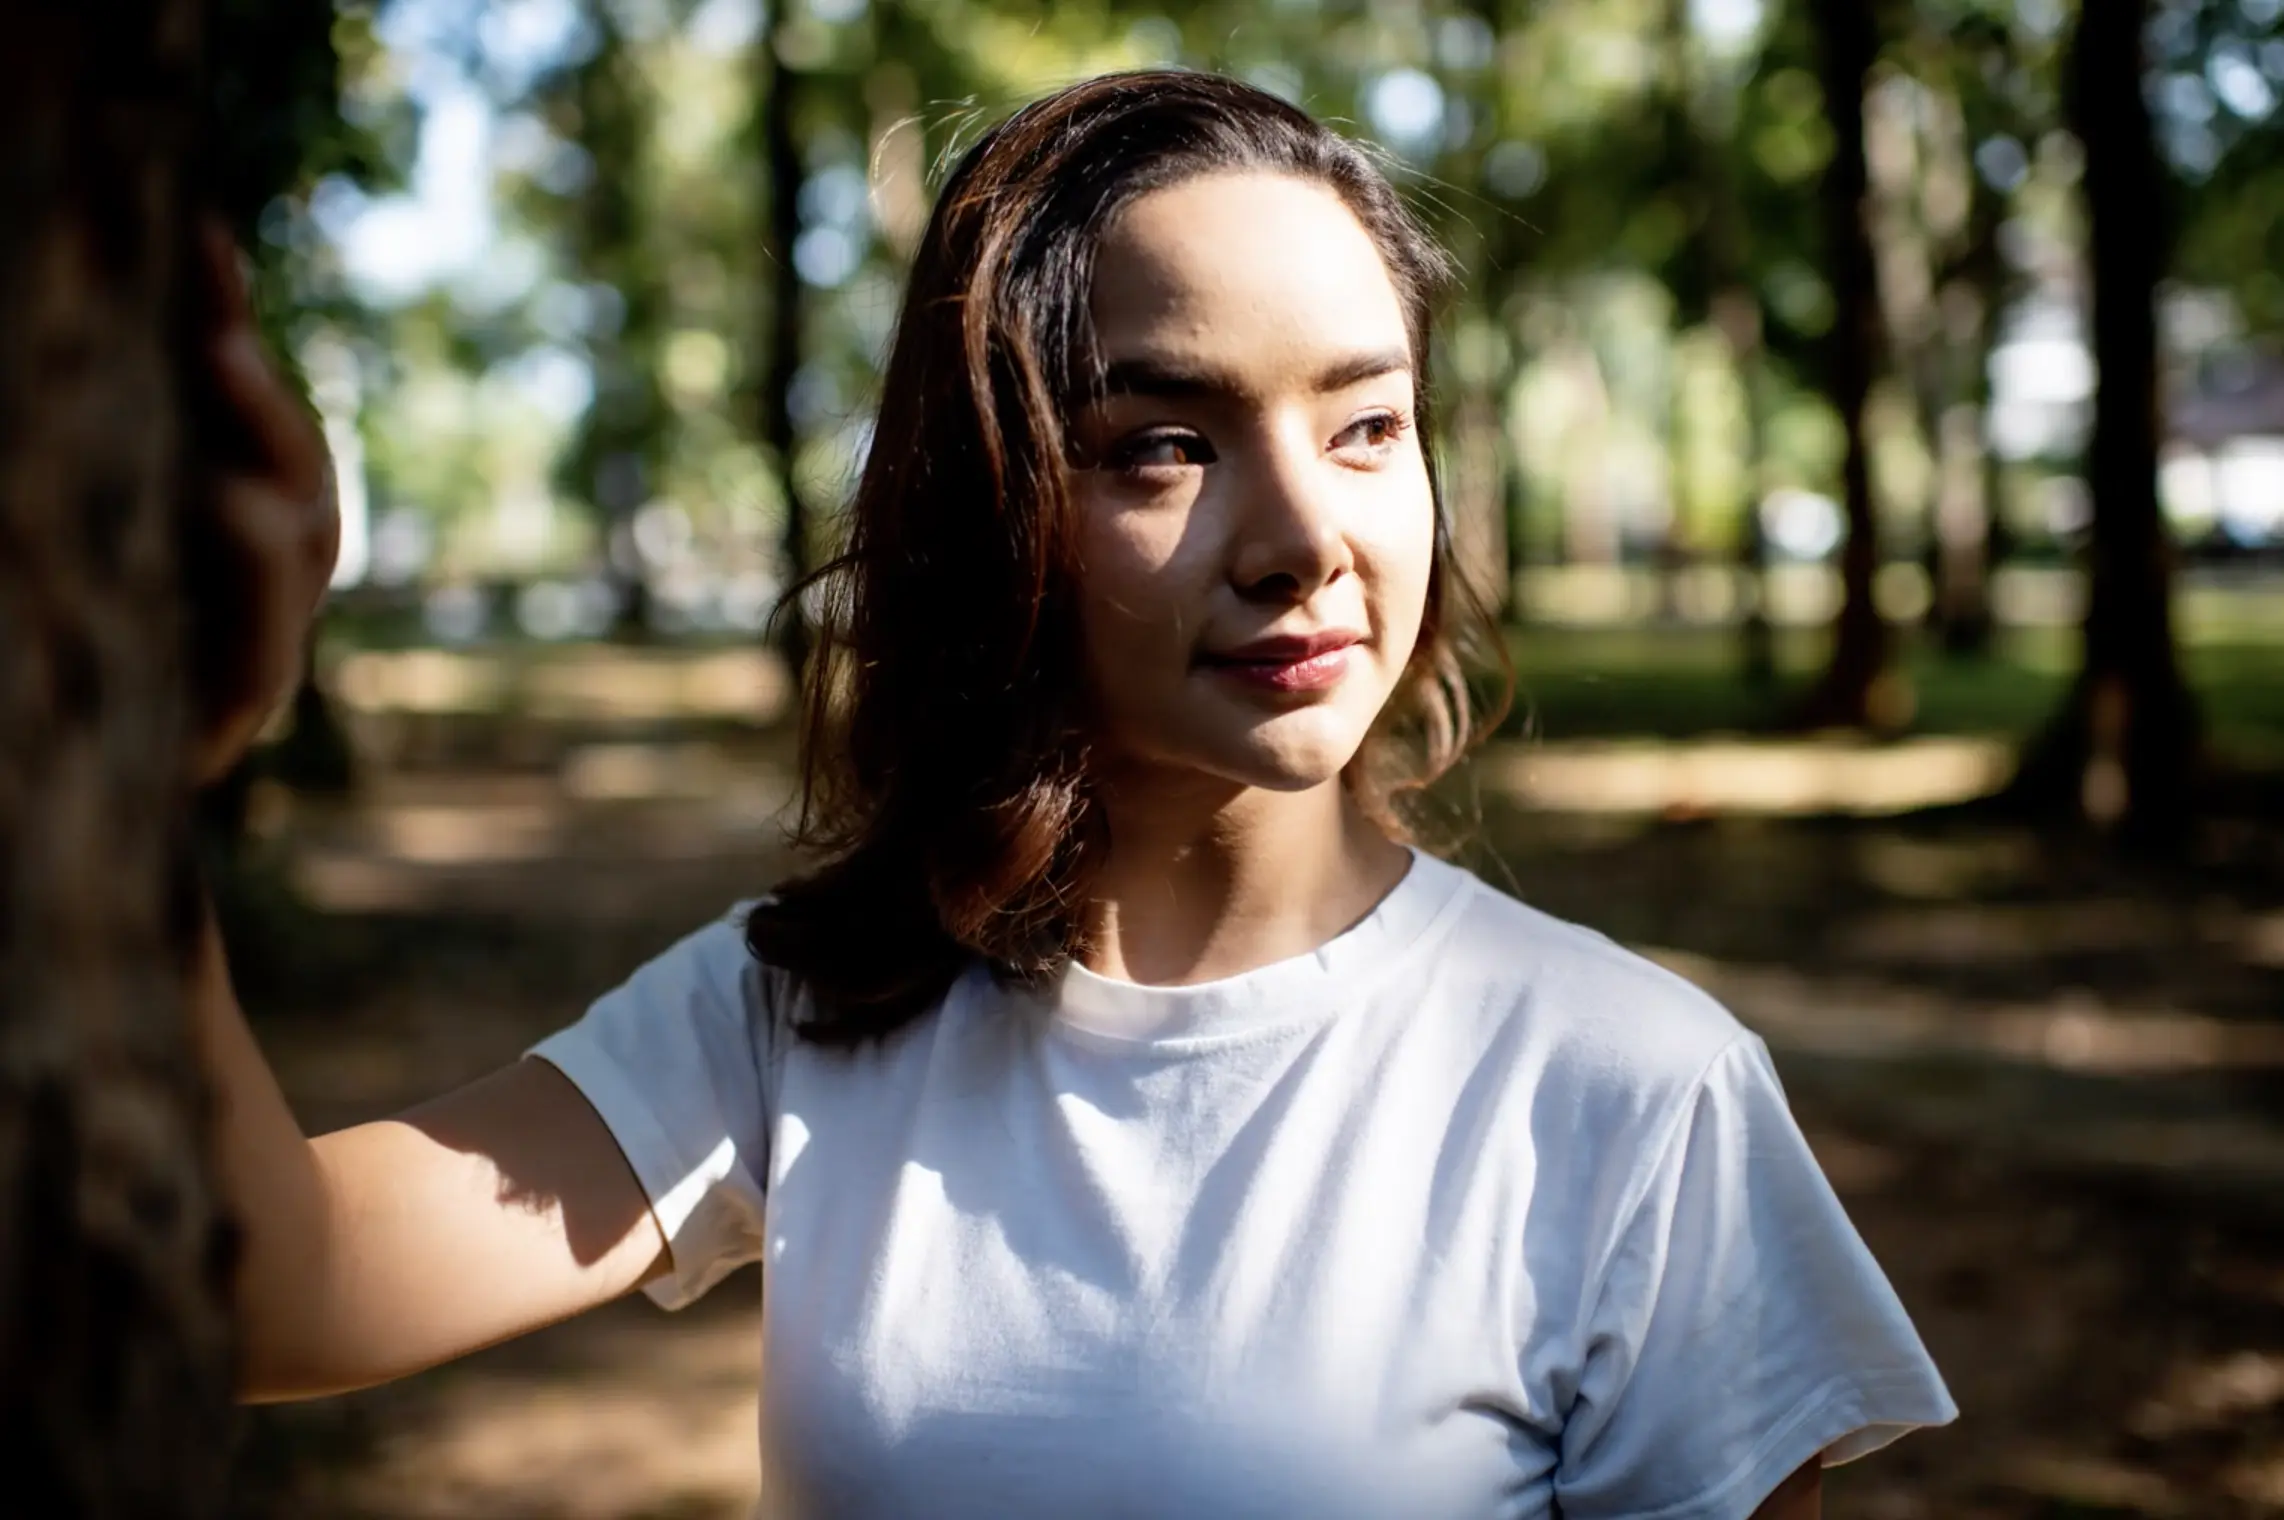
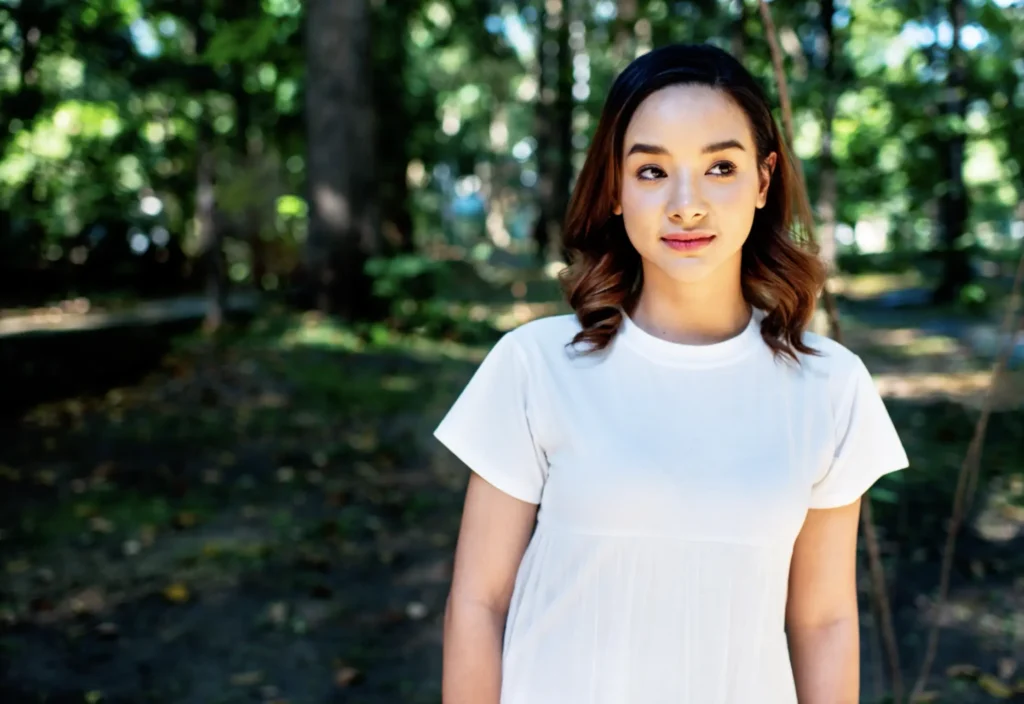
For example, the natural light of a graduating student demonstrates the correct usage of soft light. The light source of the sun was utilized by a large diffuser. This showed prominent features such as her darker hair, light without a shadow to obstruct the image.
As compared to harsher lighting, she now appears hopeful, balanced, and kind.
Additional Tips on Managing the Light
Now that all of our lighting techniques are in place, we’ll close with some general tips. To expedite your processes and expand your clientele, make sure to note the information below.
Minimizing Labor Time
Understanding how to work with lighting can streamline your workflow and speed up delivery times.
Perfecting Composition
The structure of a photograph, as we’ve noted, is one of the core concepts of visual attraction. By curving shadows to accentuate the most dominant features of your subject, using dramatic lighting, or deflecting the light source for a softer look, you automatically draw the viewer into the structure and overall aesthetic. Your photos will appear more impactful and carefully crafted.
In Conclusion
In this article, we have explored different lighting techniques and how they shape perception. The impact it has on audience perception and growth will overall make you a better photographer. With all these key factors in mind, a photo career is soaring.


This article was so informative! I feel like I learned a lot about when and where to use both hard and soft lighting techniques