Portrait
Lighting is what makes or breaks a photograph, and in portrait
In short, understanding lighting techniques for portrait
Contents
Creative Portrait Lighting Techniques
Learning how to manipulate the light source you have by changing lighting angles or having the subject move their face can result in creative, even dramatic portraits. But you’re not only manipulating the light for these images, you are also manipulating the shadows and how they fall across the subject’s face.
So, what kind of lighting patterns and styles can help you capture that alluring, unforgettable image? Well, here are 13 portrait
Front Lighting
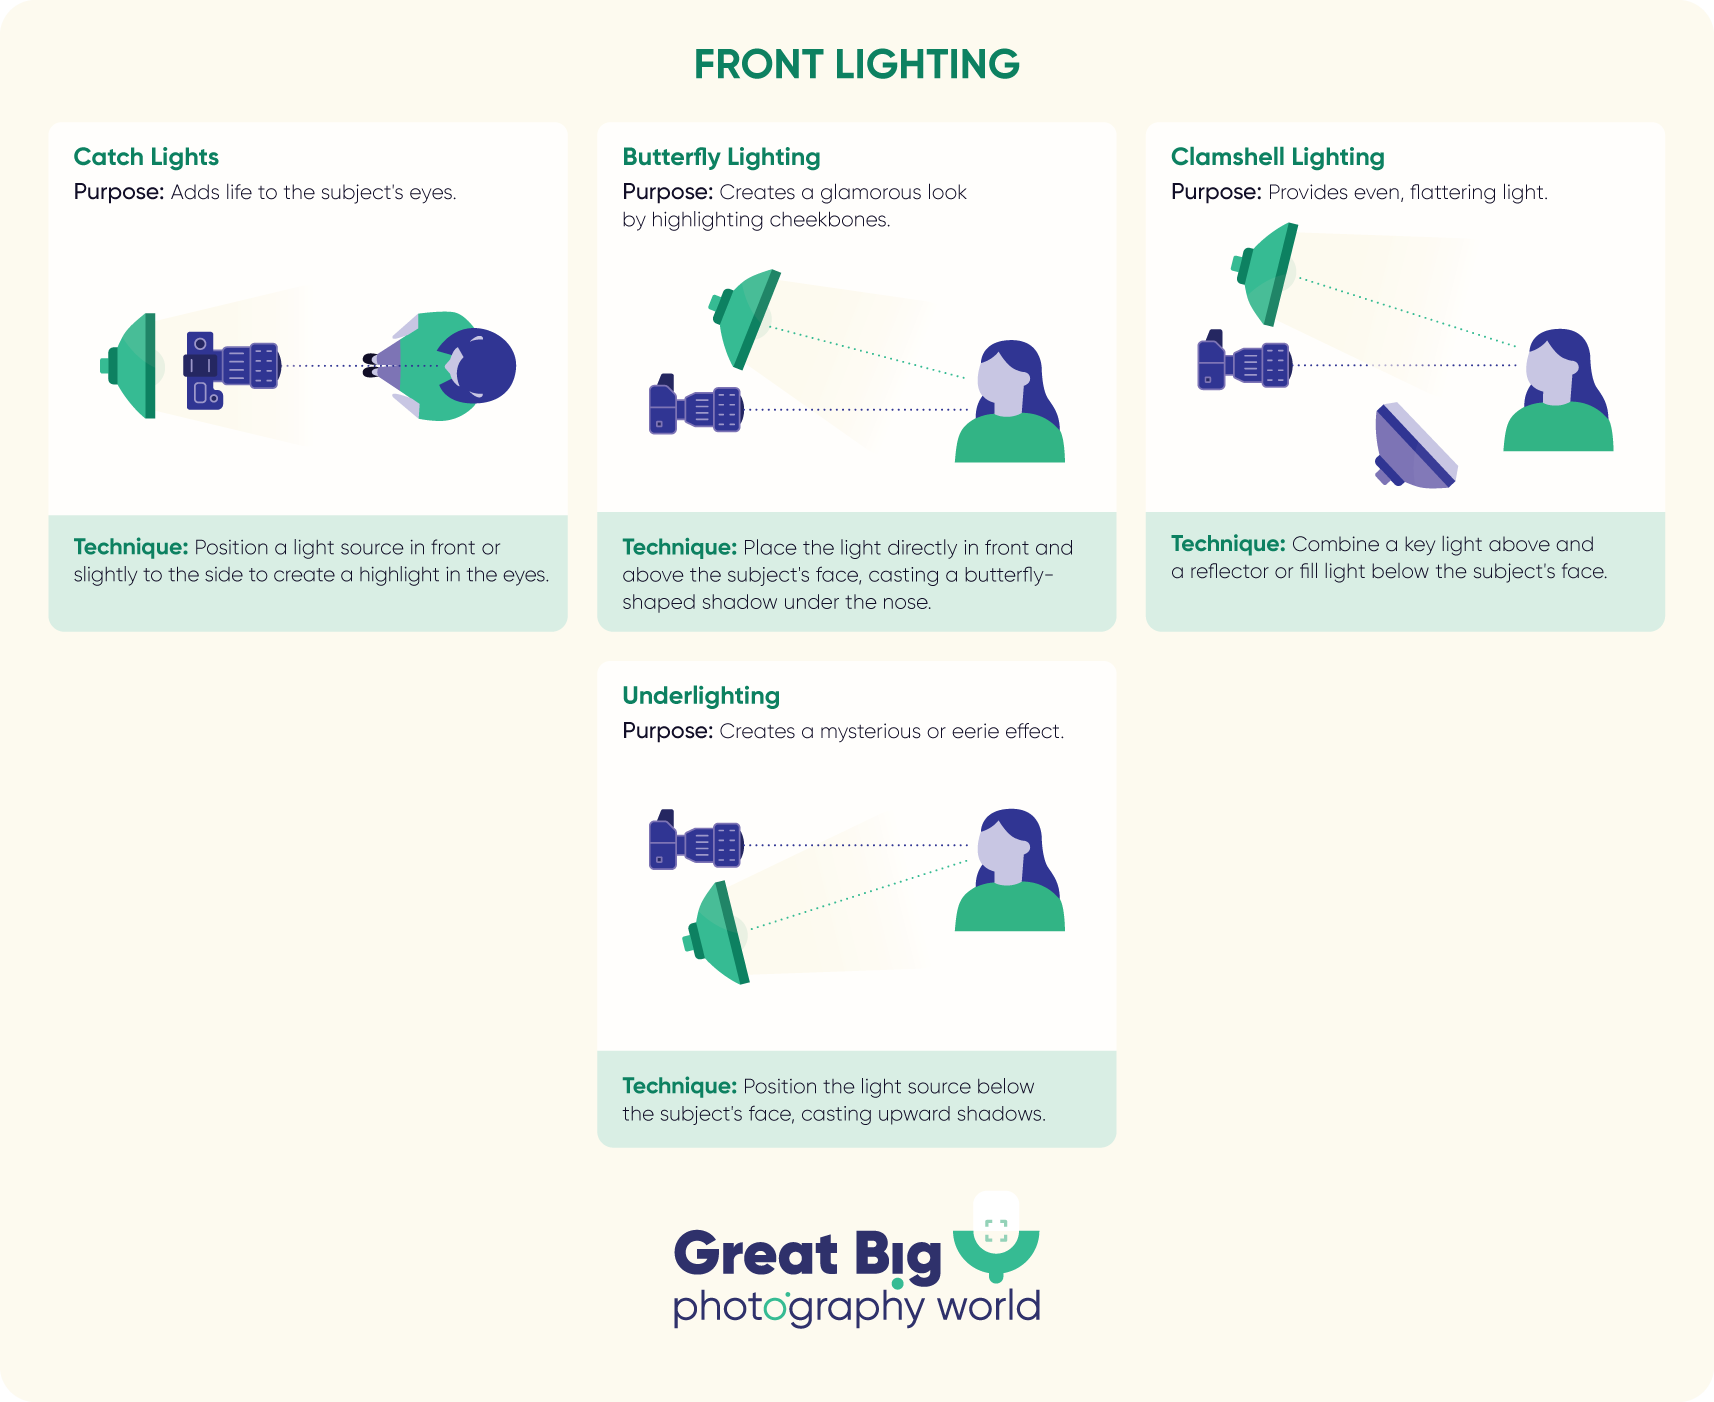
Front lighting gives you even, flattering light on the face with no harsh shadows. Great for beauty shots, glamour portraits and natural expressions.
1. Catch Lights
Catch lights are the highlights in the model’s eyes. Without them, the eyes look lifeless. So, the first thing you want to do is to use a light source that creates those highlights in the eyes. This means you need a light that is either in front of or slightly to the side of your model. You want the light to create a glint either in the middle or the upper corner of the iris. Your model does not have to look directly at the light source to create these highlights.
In fact, you can even get the catch lights by having the model sit next to an open window. But the closer your model is to the light source, the larger the highlights will be, so keep that in mind.
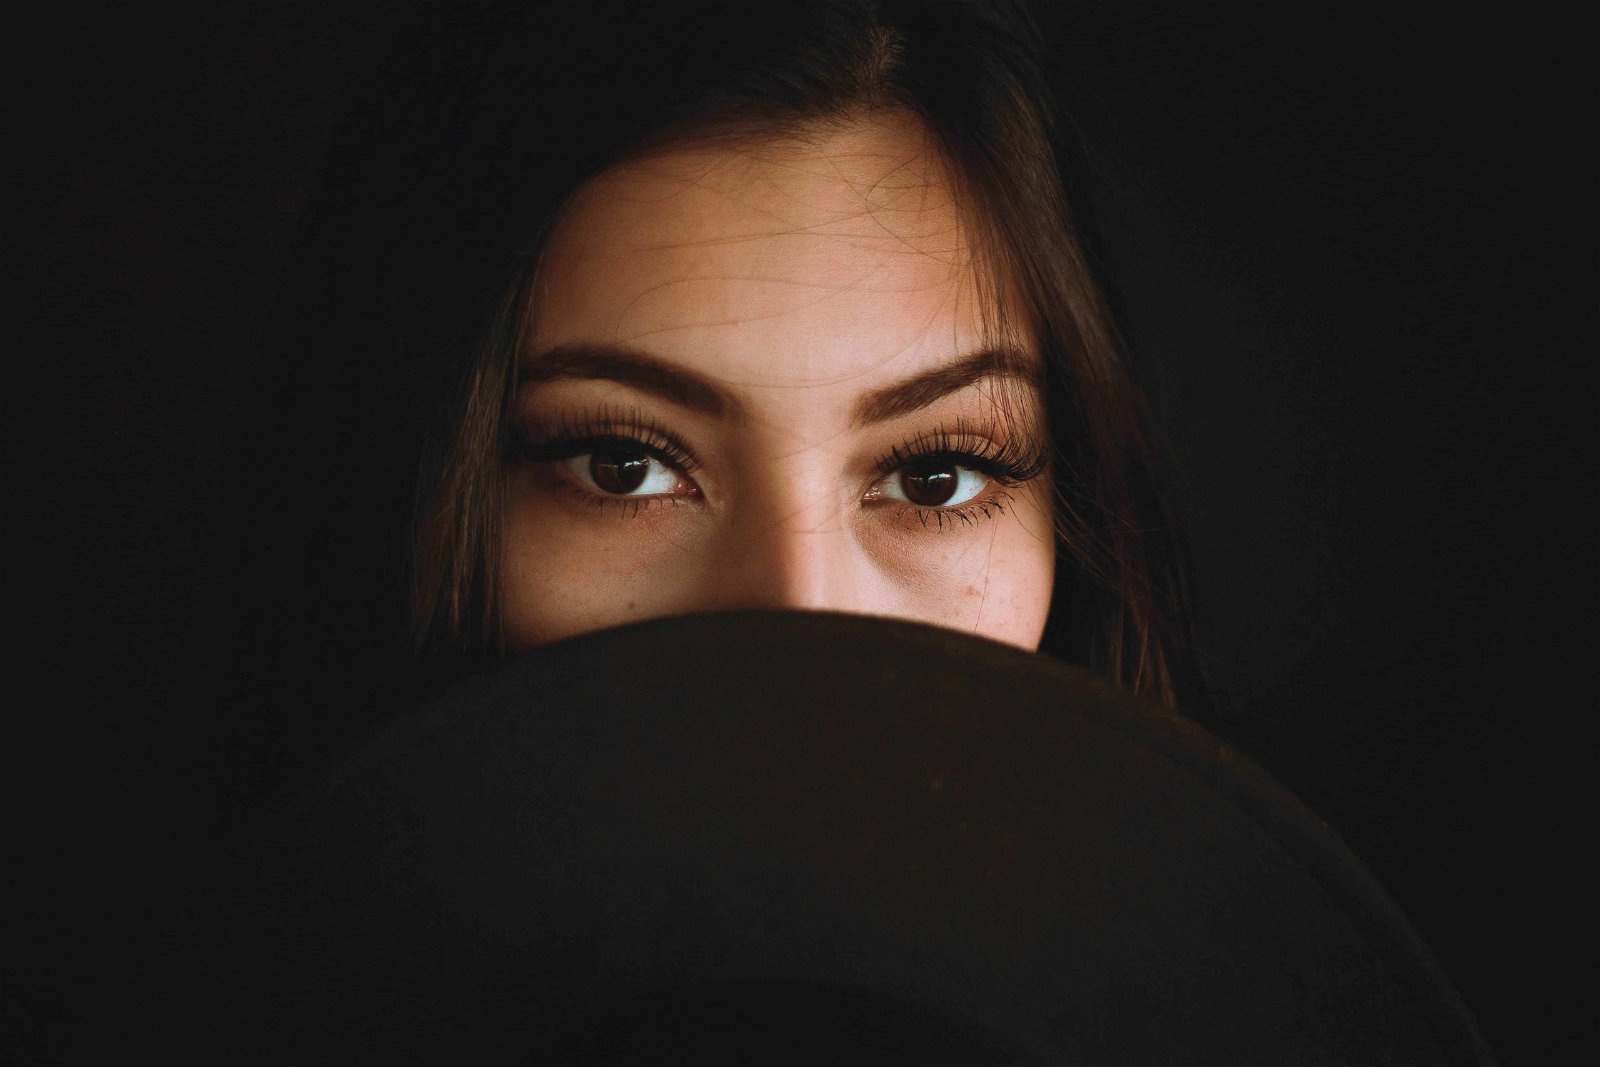
If you’re shooting outdoors, you can create the catch lights by simply positioning yourself slightly above your model. As the model looks at the camera lens, the sky will be reflected in his or her eyes. If it is a bright, sunny day, though, you might want to place the model in the shade so that it will not be uncomfortable for them to look up at the sky.
2. Butterfly Lighting
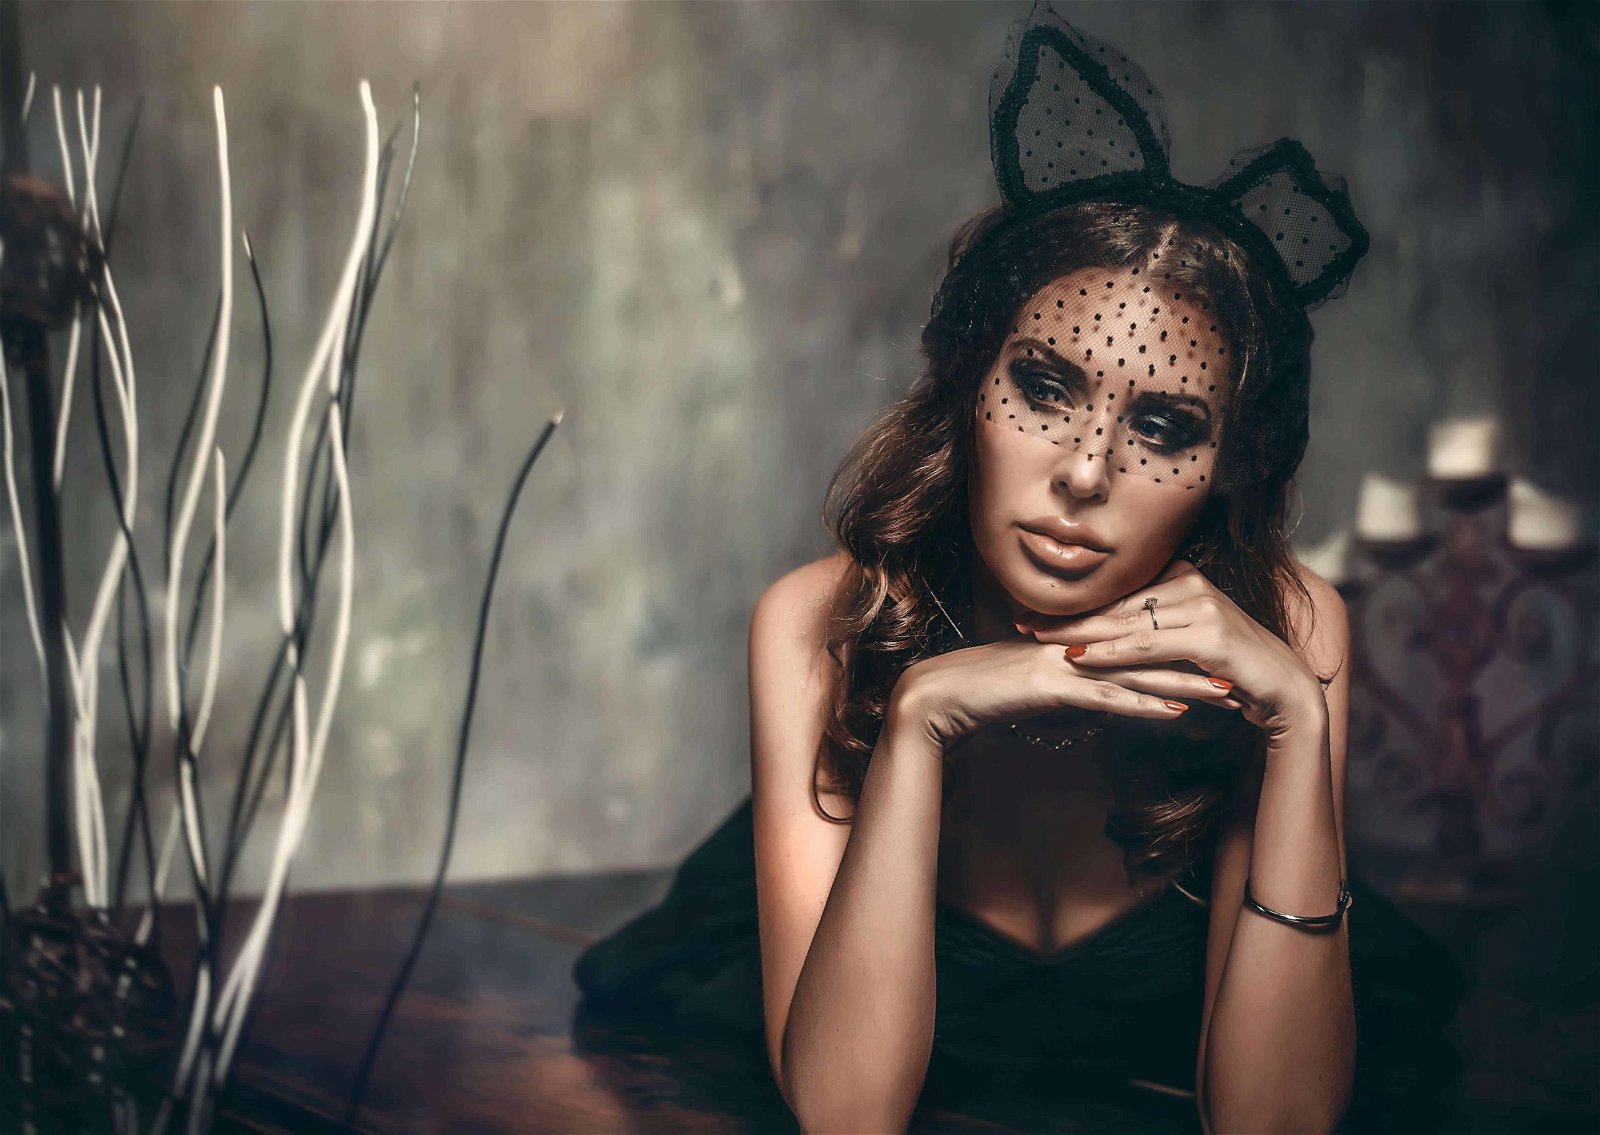
This technique is named for the distinctive shape of the shadow it creates under the nose. Butterfly lighting is a favorite among portrait lighting setups because it is flattering for most faces. It emphasizes the jawline and the cheekbones, and it is also flattering to different skin types. This makes it a common technique for beauty
This technique also creates a shadow under the chin and around the cheeks, and if you have the subject turn their head at an angle, the effect is to deepen the shadows on the cheeks. You achieve butterfly lighting by positioning the main light source directly behind and above your camera. It should be pointed down onto the subject at about a 45-degree angle.
3. Clamshell Lighting
This technique is just the butterfly technique with a reflector. You set up the butterfly lighting as described above–that is, directly behind and above your camera–and you add a reflector. The reflector should be placed in the subject’s lap (they will have to hold it in place), and it will serve to reflect some of that light back up as a fill light.
This technique creates an even softer, flattering light for beauty shots, and by moving the light source farther back, it can create deeper shadows that are common for portraits of men. The shadows on the cheekbones slim the face and emphasize the jawline.
4. Underlighting
Underlighting is a portrait
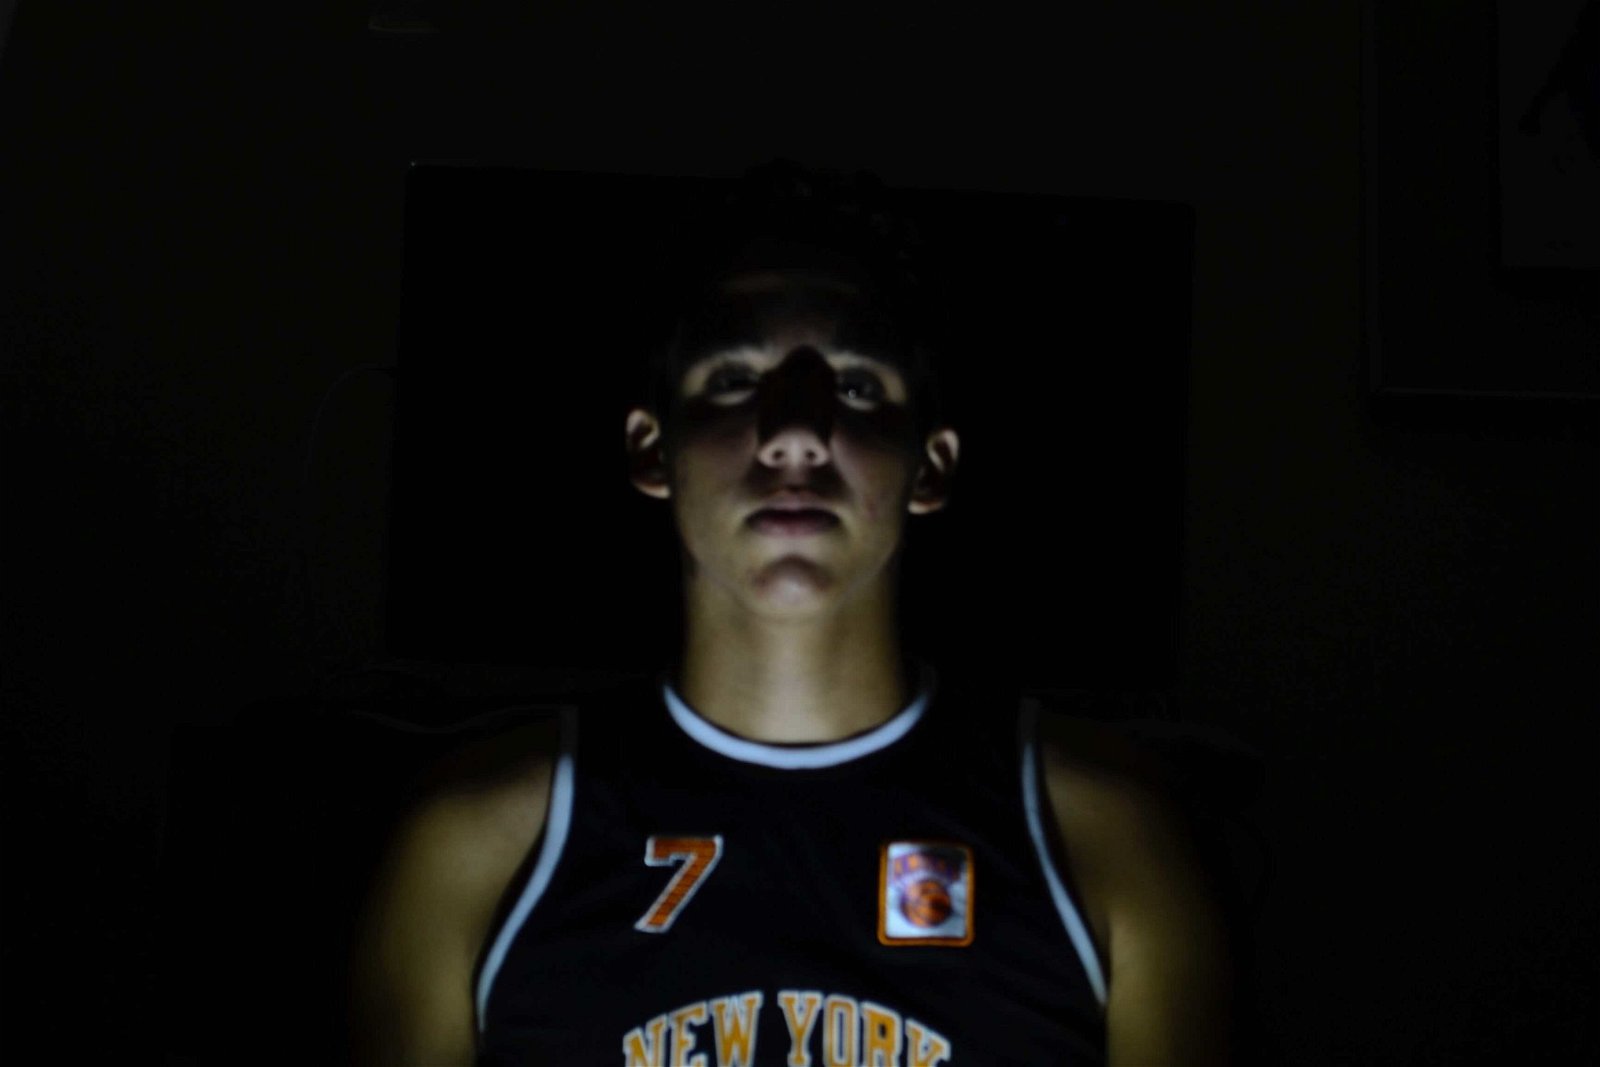
This technique is created by positioning the light in front of the subject and angling it up so that it hits the face. It usually works best if the model is wearing dark colored clothing, but there can be lighter colors mixed with the dark. You just wouldn’t want all light colored clothing. And you’ll also likely want a dark background with this technique.
Back Lighting
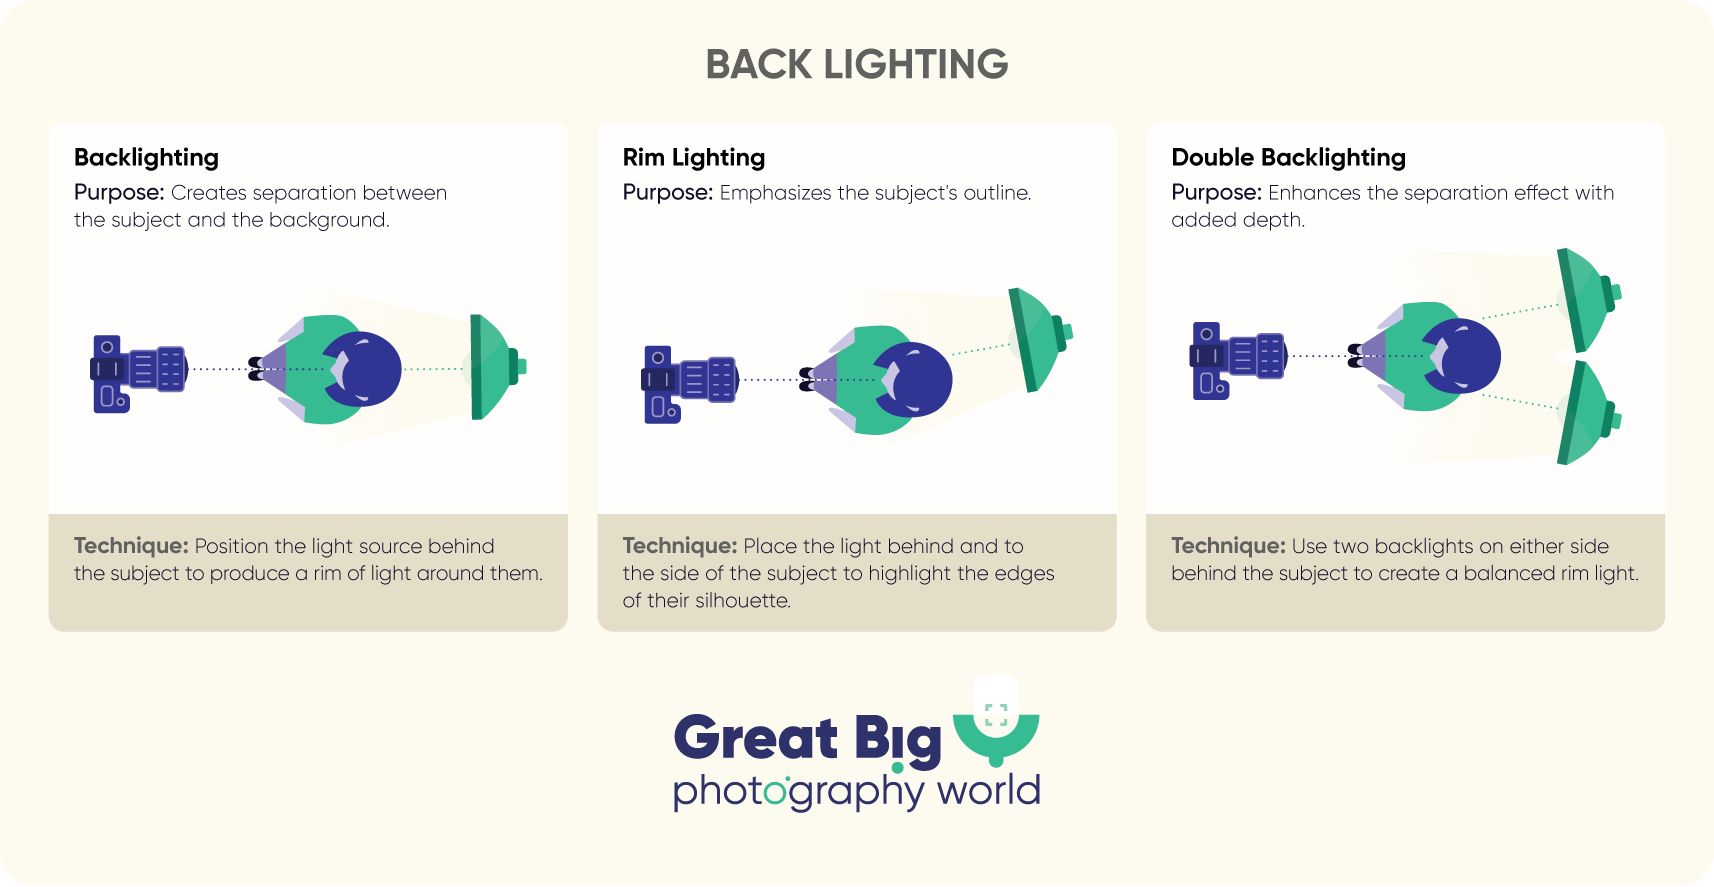
Back lighting separates the subject from the background and adds a creative feel. From subtle halos to bold silhouettes, it can turn a simple portrait into a work of art.
5. Backlighting
Backlighting is–as it sounds–when the subject is lit from behind. This will create a halo effect around your subject’s head. You’ll also need to use a reflector to create a soft, flattering light on the face, and be careful to lower the height of the light so that it is behind the subject’s head.
This technique is used when you want to create that halo and when you want to give the subject and the background a bit more separation. It is not a good technique, however, if the subject has a lot of flyaway hair. The light will exaggerate that and make for more work in post production.
6. Rim Lighting
Rim lighting is more about the highlights the light creates than it is about the shadows. With rim lighting, most of the face is in shadow, but there is a narrow rim of light on one side of the subject’s face. As with Rembrandt lighting, the light source will be positioned at about a 45-degree angle from the subject, but it will be behind the subject instead of in front of the model. You can vary the height of the light source to change the width and placement of the rim of light created by this technique.
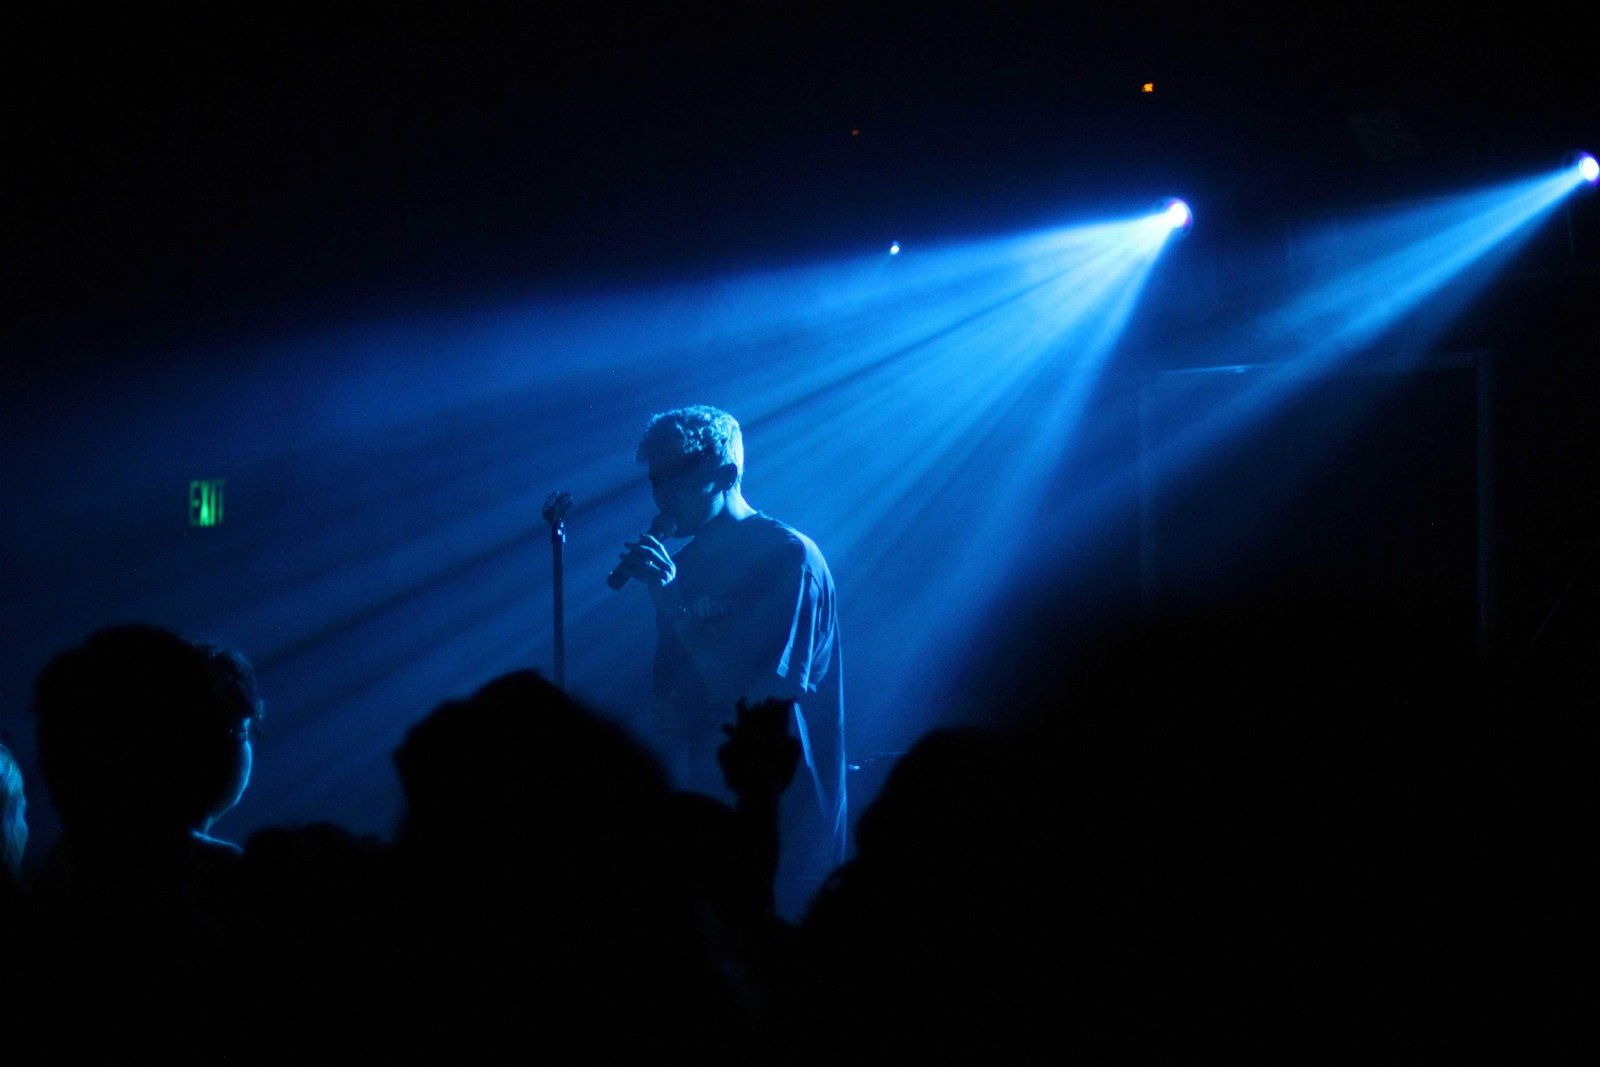
This technique is often used to photograph athletes because it emphasizes the subject’s shape. It is less flattering, however, if the subject has skin problems, and you’ll need a fill light if you want to light up any part of the face or body aside from that rim.
7. Double Backlighting
This is a creative two-light setup that results in dramatic images. It is also called badger lighting because the shadows and light produce a pattern that is similar to the markings on a badger’s face.
This requires two lights set up at a 45-degree angle behind the subject with two large softboxes. The light should wrap around the subject’s hair and shoulders and create a “W” pattern of light and shadow. The softboxes diffuse the light and can help to create softer shadows that are more commonly used with women. Harsh shadows work well for chiseling a man’s face.
Side Lighting
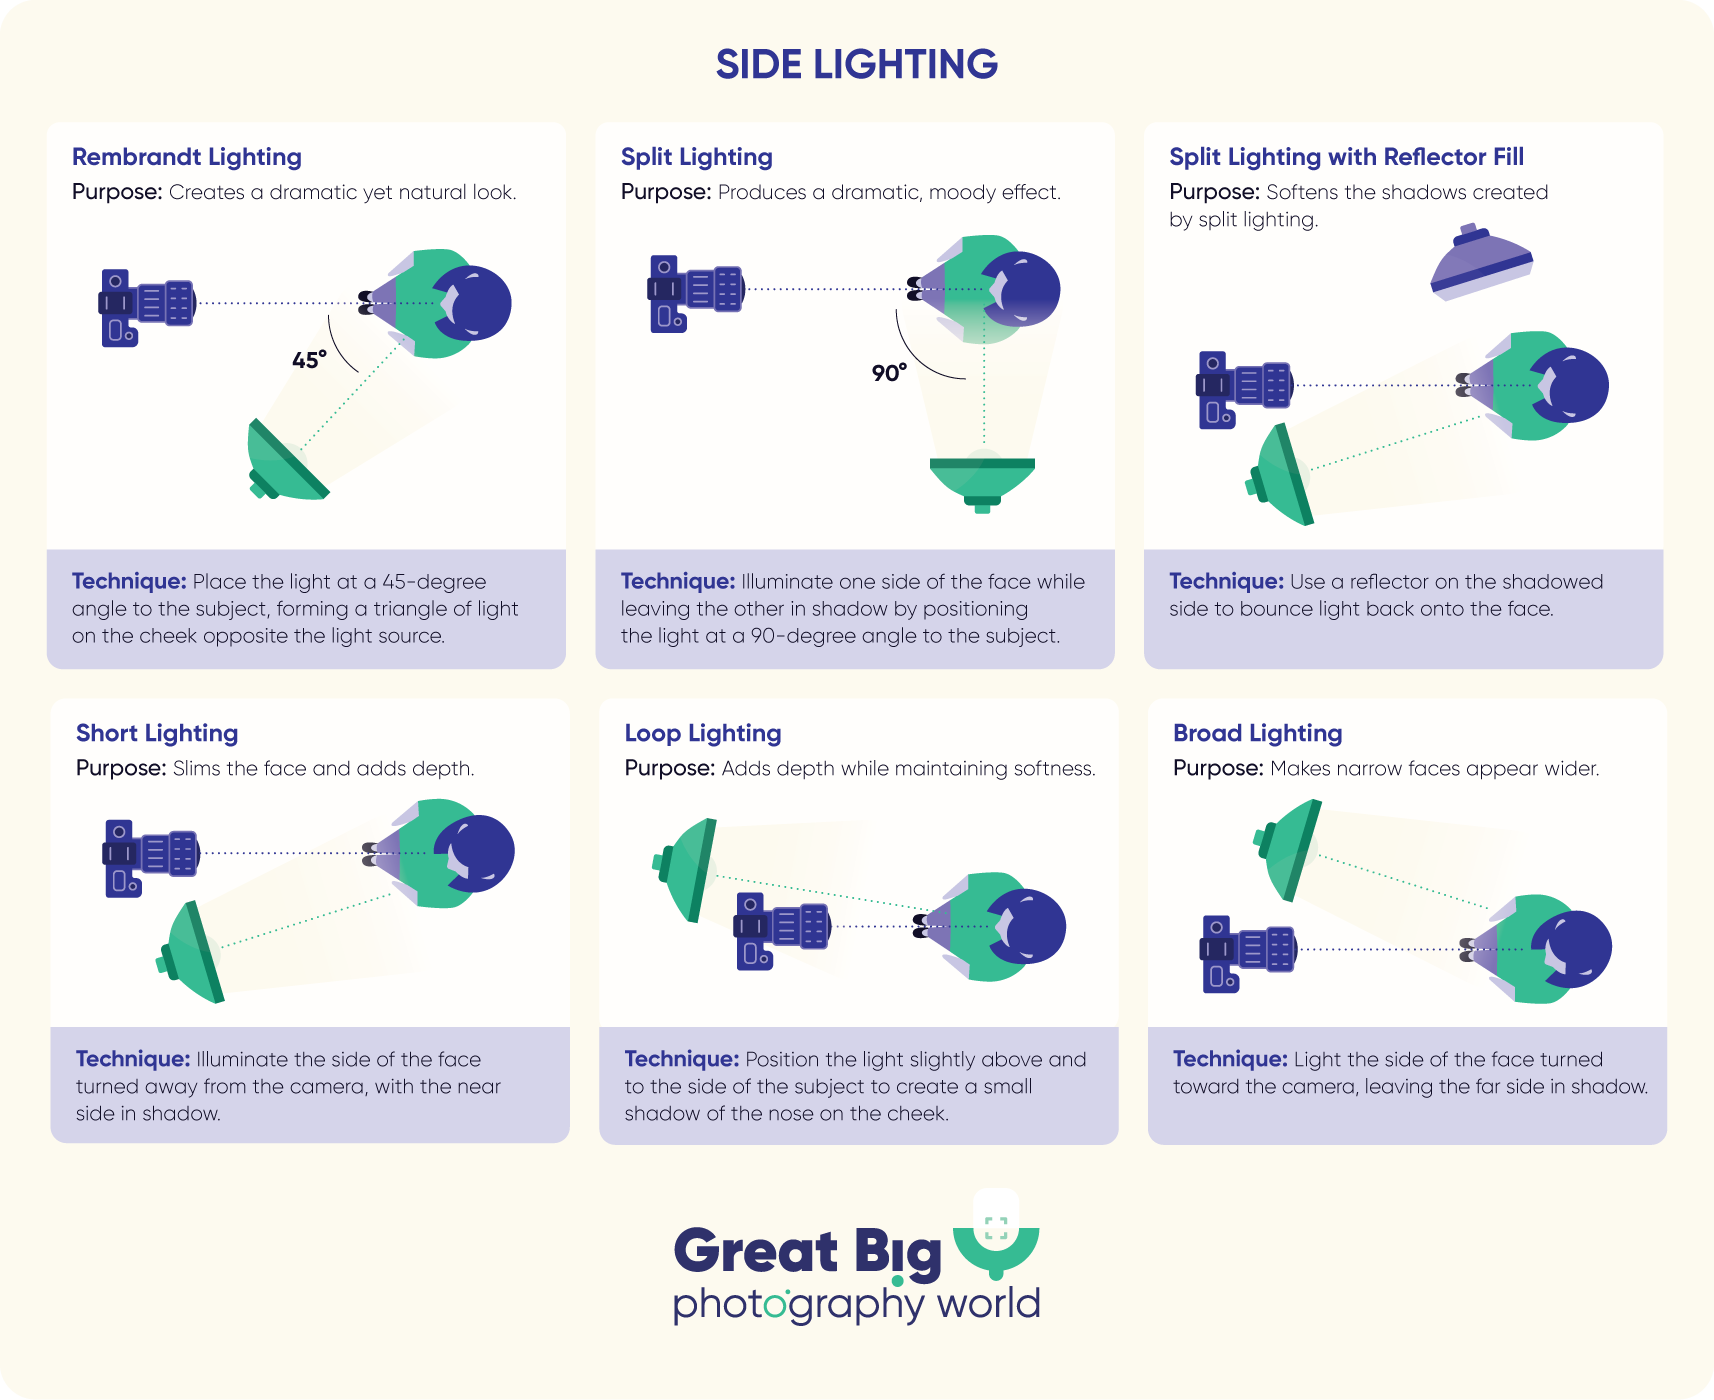
Side lighting adds depth and dimension by playing with light and shadow. Good for dramatic, moody portraits or to accentuate the shape of the face.
8. Rembrandt Lighting
This is the same technique as loop lighting, but the light source is usually set up at that 45-degree angle from the subject. You move the light further to the side of the subject until the opposite side of the face (the side in the shadows) has a small triangle of light on the cheek just below the eye. You should also set the height of the light a foot or two above eye level. If you’re using a single light source, you can use a reflector to create a Rembrandt lighting setup.
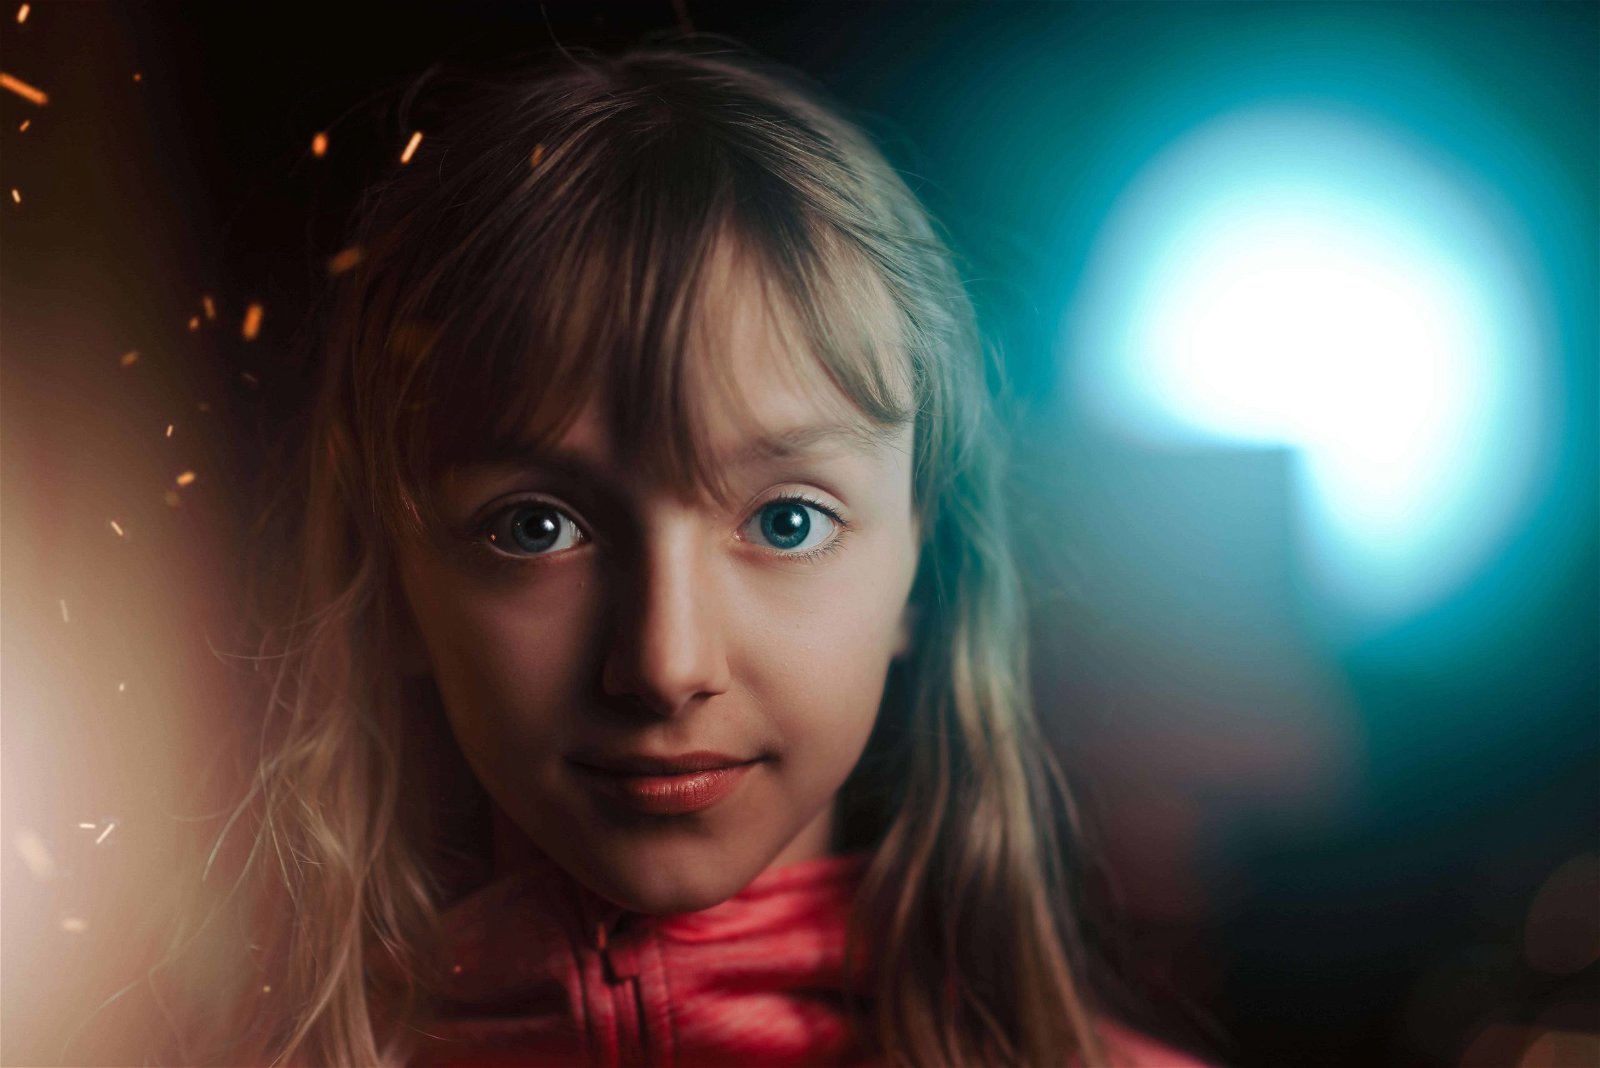
This type of lighting creates a more dramatic image. It is also one that pairs better with a serious expression rather than a grin, and it is less forgiving to skin imperfections.
9. Split Lighting
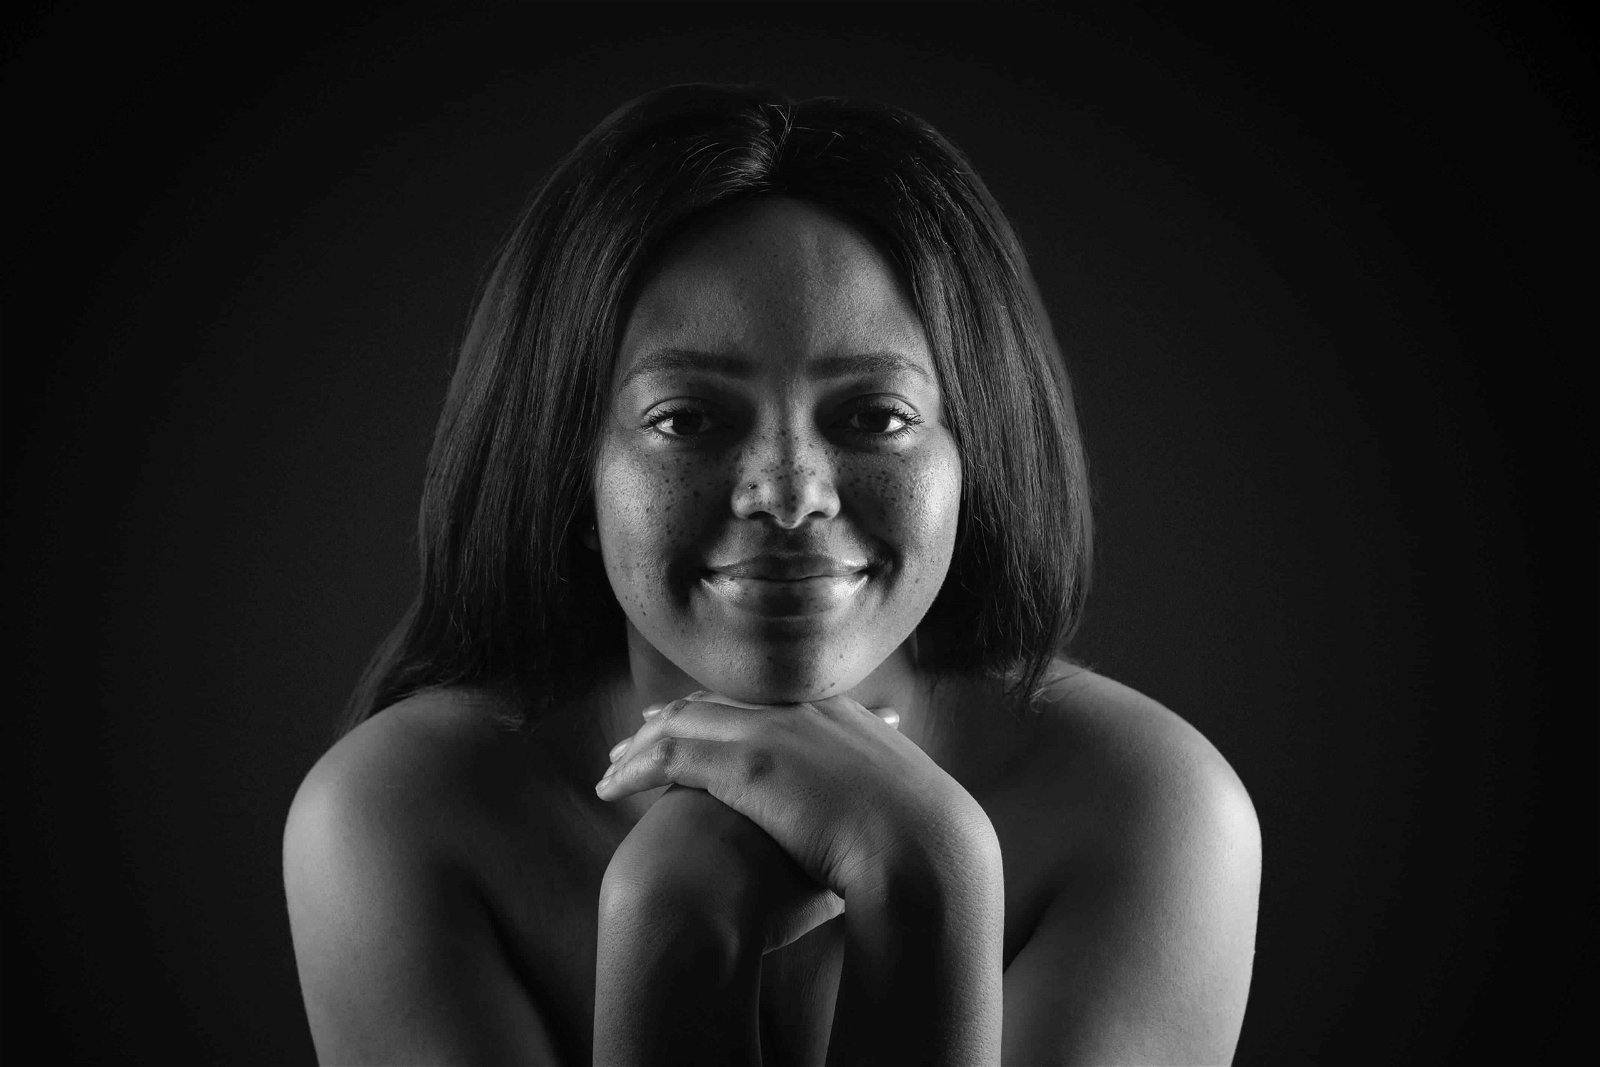
As the name implies, it splits the face into equal halves, with one side being in the light and the other side being in the shadow. It tends to be used more with men rather than women because it creates more dramatic, masculine-appearing images. With true split lighting, the only light on the shadow side of the face is the catch light in that eye, but there are variations that result in a softer light that falls more on the shadow side of the face.
Split lighting is easy to create. You simply place your light source on the side of the model. It can also be to the side and slightly behind the model, which will create even more dramatic shadows. This is a great technique to create moody images, but it is less forgiving to skin imperfections. It also works better with a serious expression than a grin.
10. Split Lighting with a Reflector Fill
This is a variation of the split lighting technique that results in more of the face being visible than with true split lighting. The lighting is more prominent on one side of the face, but the other side of the face is readily visible. You can use this when you like the drama created by the split lighting technique but want to see more detail on the shadow side of the face.
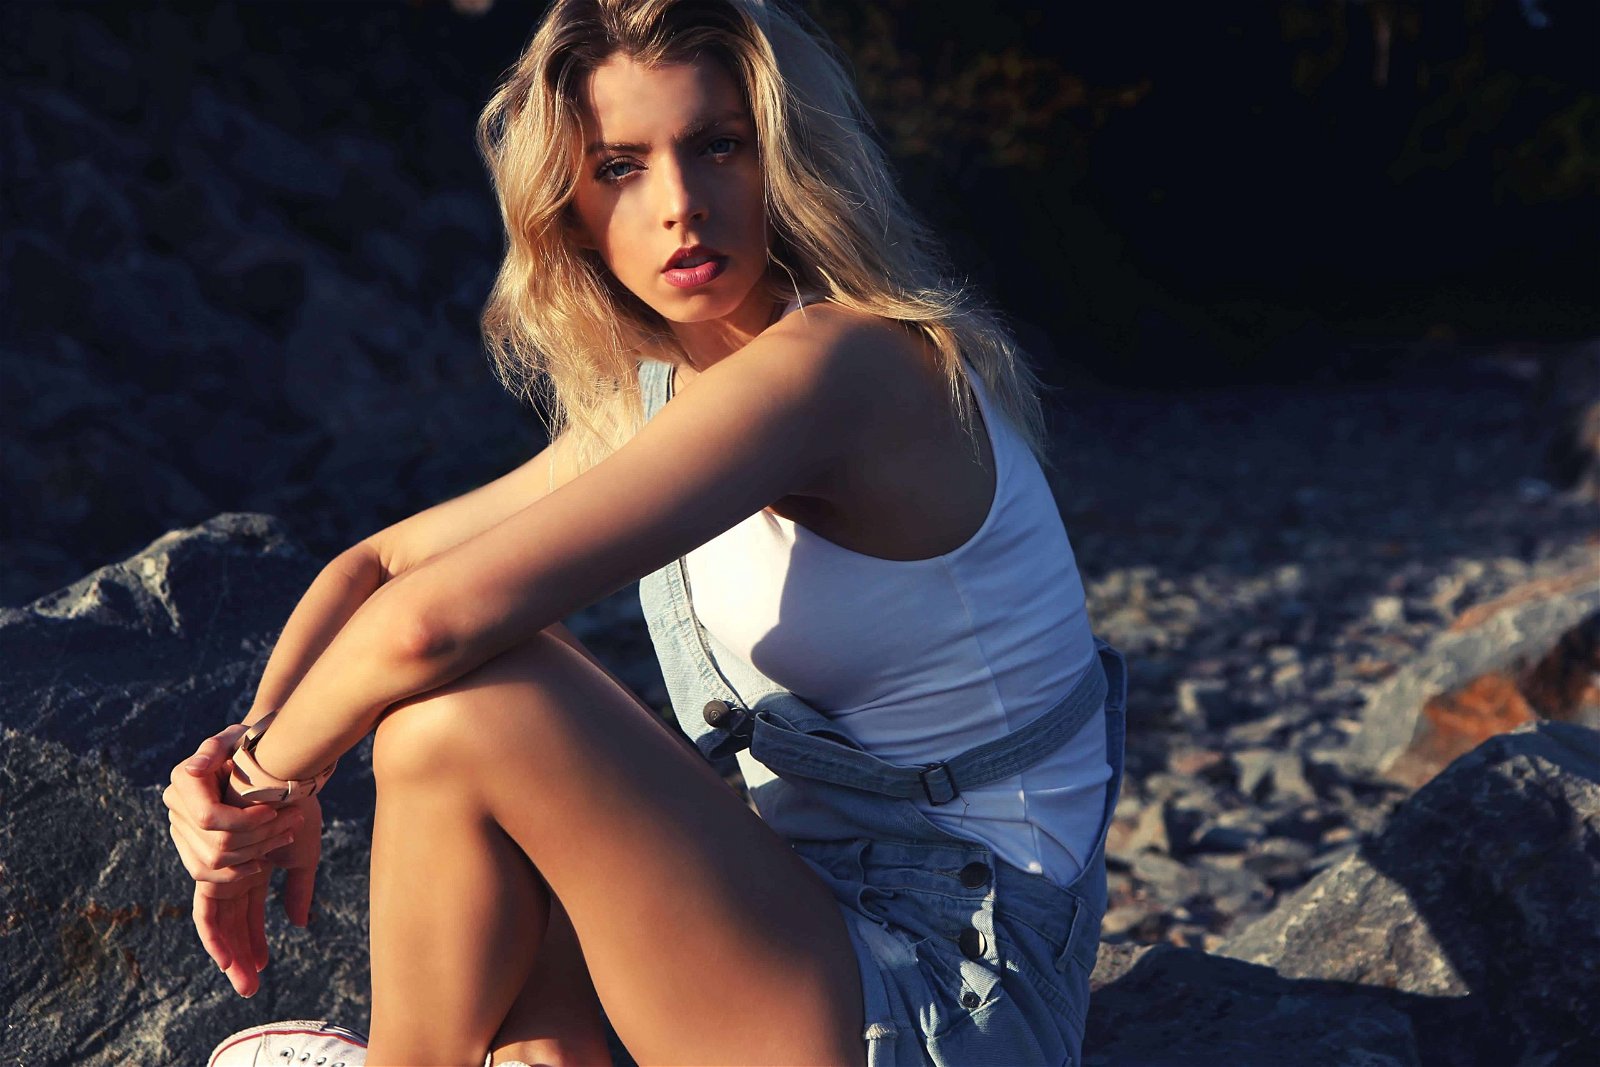
The setup is simple–you place the light source as you would with true split lighting, but then you place a reflector on the opposite side of the light source. This will reflect some of the light back onto the side of the face in the shadow.
11. Loop Lighting
Loop lighting creates a small shadow of the subject’s nose on their cheek. This lighting technique is a happy medium between the soft, beauty lighting created by the butterfly technique and the more dramatic images created with shadows. Basically, if you’re looking for the beauty image created by the butterfly technique but with a little more dimension and interest, this is the lighting technique you want to use.
To create this type of portrait
12. Broad Lighting
Broad lighting is not as much of a light pattern as it is a style. It can be used with most of the lighting patterns already discussed. Broad lighting is created when the subject’s face is turned slightly away from the center. This creates an area of broad light on one side of the face, making that side appear larger. The other side is in shadow and appears smaller.
This style can be used on someone who has a slim face to make it appear wider, but it might not be a good style for someone with a round face. This technique can be used to create what are called high-key portraits. These are portraits where most of the tones are on the bright side of the scale, which tends to create a more lively or joyful mood.
13. Short Lighting
Short lighting is the opposite of broad lighting. Short lighting puts the side of the face turned toward the camera more in the shadow. It is accomplished by having the model turn the side of their face that is away from the camera towards the light source. Shadows are then falling on the side of the face closest to the camera.
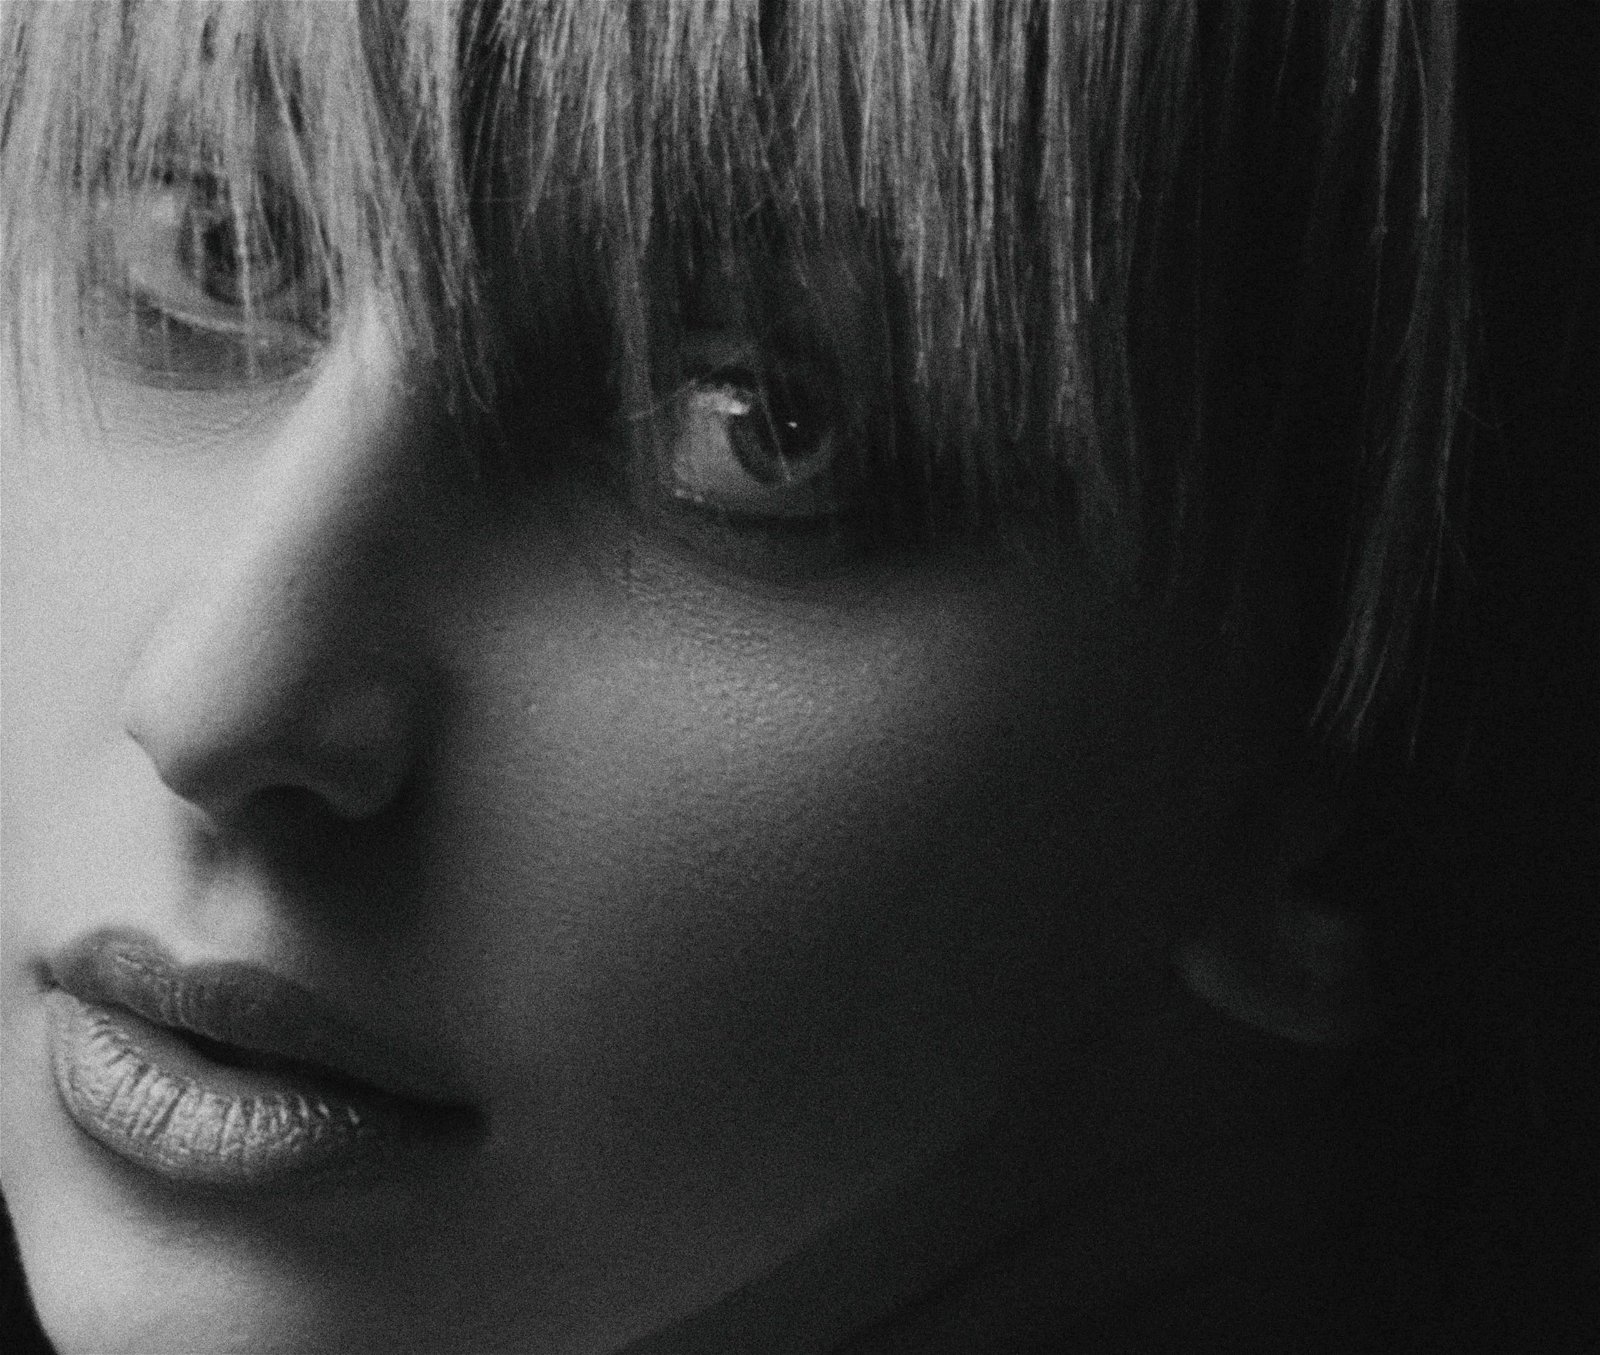
This is a technique that is slimming and flattering for most people. It is also used to create what are called low-key portraits. These are portraits where approximately 80 percent of the tones are dark. These are the type of portraits that create a powerful, dramatic, mysterious mood.
There’s no doubt that lighting is essential to capturing a beautiful or powerful portrait. To decide which technique you should use, you must first decide what kind of mood you want to create.
Is it joyous or uplifting? If so, you might want techniques that emphasize the light more than the shadow, such as broad lighting, loop and Rembrandt lighting, or butterfly and clamshell lighting. Would you prefer to create a darker, more mysterious portrait? Then perhaps short lighting, underlighting, rim lighting, or variations of split lighting will work better. Perhaps you want an angelic halo, such as that created with backlighting, or a darker feel like that created with double backlighting.
Of course, you also have to consider your subject’s attributes and what will work best for them. If your subject has skin imperfections, for example, then some of the techniques that emphasize shadows over light might not be the best for them. If they have a round face, maybe consider short lighting over broad lighting.
Good portrait lighting can be the key to success when turning mediocre portraits into amazing portraits. Every portrait photographer has a different idea of what makes great lighting. How you use light will often help shape your style of portrait
Let Shade Be Your Portrait Lighting Friend
Look for a nice, wide open shade. The type of shade that is cast by something that isn’t directly overhead, such as a building or rock. The best light is often at the edge of the shade. Next time you are outside in full sunlight, try experimenting with it. Start at the point closest to the source of the shade and walk slowly towards the edge.
Bring a friend along for the journey and watch their facial features become brighter and brighter as you get further away from the source. When you shoot portraits at the edge of an open shade, the natural light is available to catch the eyes and reflect on the skin.
These are the kinds of things you need to think about when deciding the lighting techniques to use. With a good understanding of the different portrait lighting setup options and the interplay of light and shadows they produce, you can unleash your creativity and capture that unforgettable image your client will treasure for years to come.
Want to learn more? Explore 11 Types of Portrait Photography and check out our course on Natural Lighting for Portraits.


