HDR
HDR
You can use auto exposure bracketing for this most effectively when making HDR photos. After capturing multiple images, you need to do some HDR processing to produce a final HDR image. This can be done with dedicated HDR software.
Contents
The HDR
But first, before we get into how to do HDR
What is HDR Photography ?
HDR stands for High Dynamic Range. HDR
HDR
So when you are setting up to create HDR photos, you must concentrate on the final HDR image. You can do this by manually setting your camera or by using the HDR mode, if you camera has this. Then, once you have your set of images for your HDR photograph, you must combine them using software or an app like Aurora HDR.

Why Do Photographers Use HDR?
The main reason HDR
By making multiple exposures, with either manual or automatic exposure bracketing, the HDR process is possible. Because the images taken at varying exposure values are them combined into a single final image, the tone mapping features in software allow for a more complete dynamic range to be visible in the final image.
Landscape
Modern digital cameras have a wider dynamic range. As sensor technology continues to improve, the need to make an HDR photo will not be so tempting. Especially for a landscape photographer who likes to produce images as RAW files with their camera gear. The depth of tone range in single RAW image files can contain a wider tonal range than three images taken with different exposure values.
This is easier if there are no bright highlights in the composition. The brightest highlights are always more difficult to post-process, and this is why HDR

Basic Tools You Need to Create an HDR Image:
- Camera
- Lens
- Tripod
- Photo editing programs like Adobe Photoshop or Lightroom
- A dedicated HDR program like Photomatrix Pro
Shooting one single image and then creating different components out of it allows you to counter a lot of issues like image blur and compositional differences. In this tutorial, we are going to learn how to create an HDR image with only one RAW frame.
Making the image is very easy. Just follow the normal approach and capture the frame(s) that you wish to convert to RAW. Take care to shoot them all in RAW because this is a lossless compression allowing you to tweak everything in Photoshop. Essentially, when you take RAW images, your camera records and saves all the data the image sensor captures. This makes it an ideal format for HDR imaging with a single photo.

HDR Post-Processing: Basic Corrections
The first thing that you need (after the image is shot) is to open them in Camera RAW or your preferred imaging software that manages RAW files. When you open an image in Adobe Photoshop Camera Raw automatically takes over. This neat little program allows you to tweak some basic issues such as white balance adjustment, lens profile correction, clarity, and exposure.
Adobe Lightroom is another favorite RAW editing software program that allows you to make the same white balance adjustments. However, if you are not happy with paying a monthly subscription to Adobe Lightroom, Affinity Photo is a great alternative. With it, you can make all the same adjustments to RAW photos that you can with Camera RAW or Lightroom, and it’s only a one-off price.

Capturing the Component HDR Images
Once this is done you will need to create the separate images that will be used as component for the main HDR image. If you have shot separate images with exposure compensation dialed in you can skip this step.
Here we adjust the exposure compensation and create several images. You will need to save each of these images separately. Name them so that you can easily identify which is which. I prefer to use a naming convention like image_name_ev_XX. Here ‘XX’ is the amount of exposure compensation used for each component image in Adobe RAW. If you use advanced HDR software such as Photomatix Pro you will need the images to be named like this.
Blending Multiple Exposures
Open Photomatix Pro, Aurora HDR, HDR Efex Pro, or your preferred HDR imaging software, and blend the images together. This is the easy bit. Load the images into the app. This is an advanced software and will automatically detect how much compensation has been used. But it still is beneficial to let it know exactly how much exposure compensation values have been dialed in.
Once the images are blended together, you will have what is a preliminary HDR file. This will be good enough for you to understand how vastly different the original and the new composite images are.
A pro would not stop here and this is where advanced editing skills need to be build up to obtain the look you want for your HDR
Learning to be fully in control of your HDR
Both these work as plugins for Adobe Photoshop and all you need to do is work your way around these to give the image the right effect. Please note that there are plenty of examples of HDR image attempts going bad with photographers going overboard with their editing. Whatever you do try and keep sanity to everything so that the final result looks natural. Happy clicking!

Editing Tips for a True High Dynamic Range Look
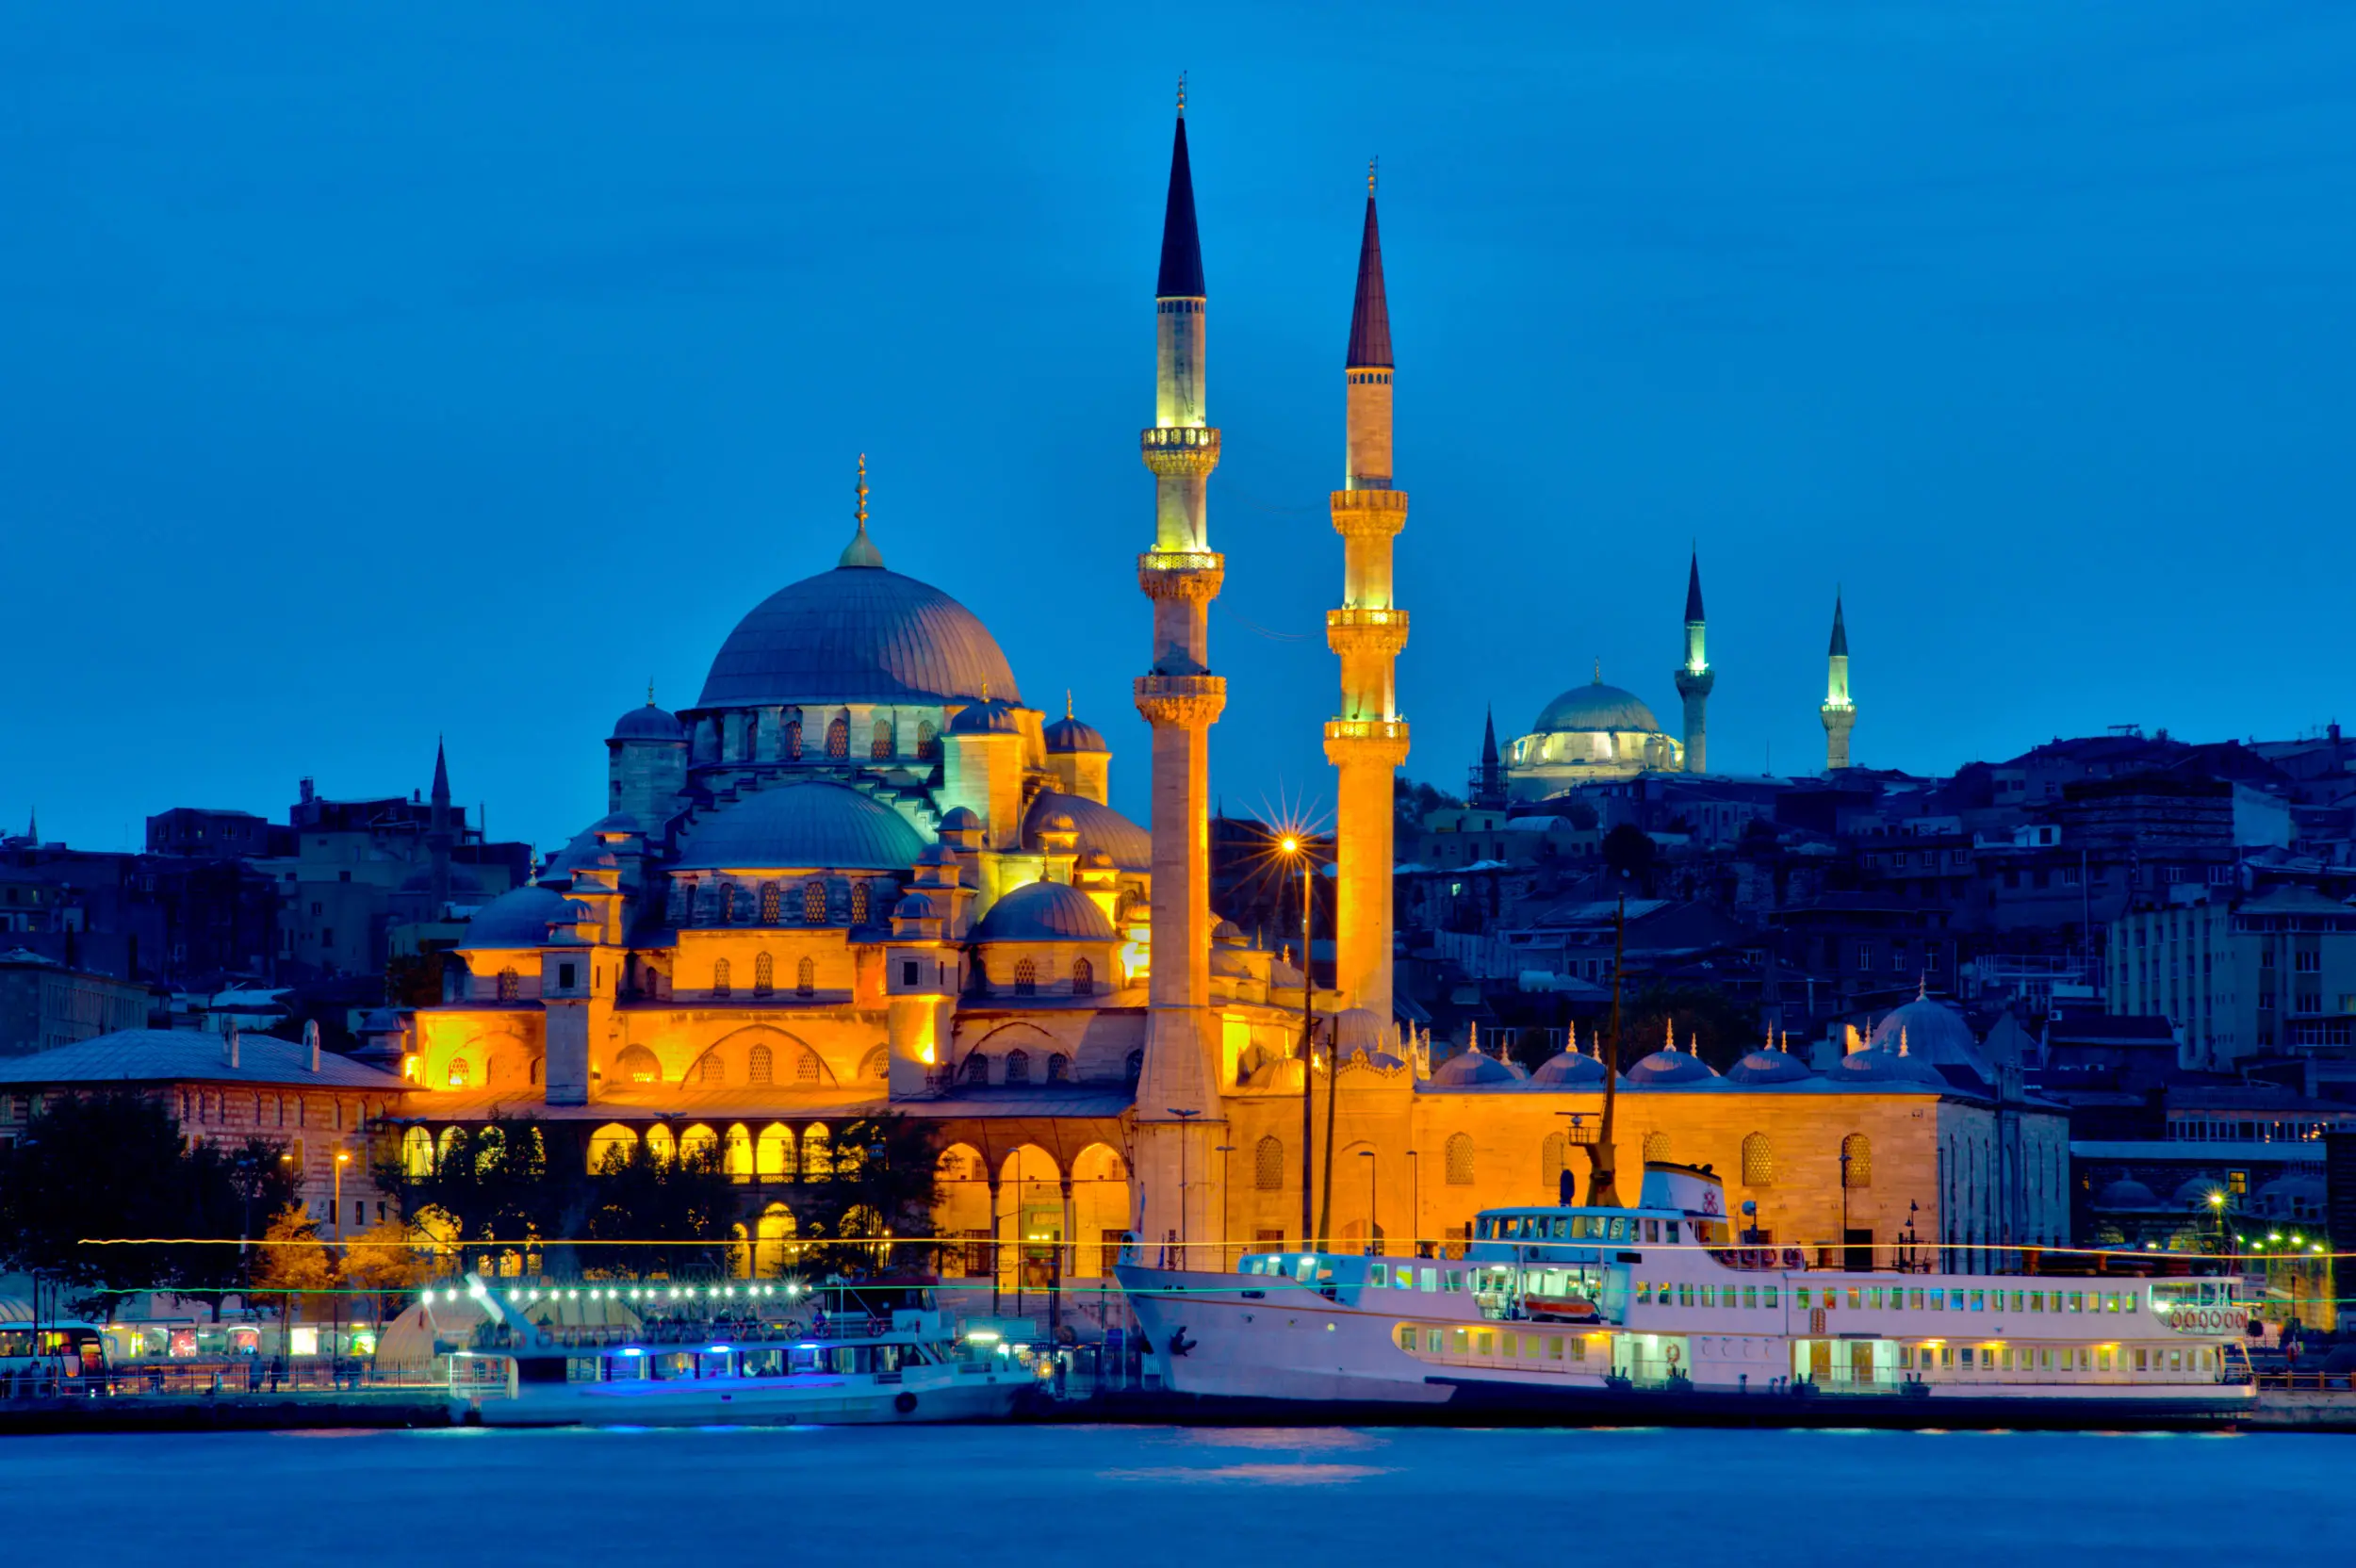
The way that photographers achieve photographs with a very high dynamic range such as the one above is by combining different exposures of a photograph where the detail can get captured at each exposure and then the best of each photograph is combined. Sound like a lot of work? Luckily we have computers to do most of the heavy lifting, and new gadgets such as the iPhone do all the merging within the device.
Or, if you can prefer you can use your favorite photo editing software like Photoshop. In Photoshop you just go to File > Automate > Merge to HDR. Here you can create a single exposure from multiple photos and retain all the highlight detail. This is possible even when the scene you have photographed contains extreme contrast.
It used to be when moving from film to digital your camera automatically loses a few stops of dynamic range. This is because the digital sensors are not as capable of capturing the details of the brightest and darkest parts of the photograph as film.
Although digital technology once lost the battle of dynamic range, it’s now only because of digital technologies that we can achieve photographs like the one below. The dynamic range capabilities of modern digital cameras have become very advanced and will soon be able to capture more than we can see with the human eye.

How ISO Affects Dynamic Range
A lower sensitivity of ISO provides a higher dynamic range. In other words, an ISO of 50 provides more detail throughout the photograph than an ISO of 6400. Shadow detail and highlight detail will be better retained when taking photos using a lower ISO setting. You will also encounter fewer technical problems because of digital noise when using a high ISO.
Because taking multiple photos for HDR

How HDR Photography Mimics the Human Eye
The thing that makes HDR so wonderful is that it gets photographs closer than they’ve ever been before to being what the human eye can see. Our eyes instantaneously refocus as we look from a dark area to a light, and we see an incredible amount of detail. HDR allows cameras to match that ability and even move beyond it.
The key creative catch is that you are best at managing the combining of many images yourself. The best HDR imaging software will automatically combine multiple images. Much of the time this will work to create an interesting final image with enough shadow detail and details in the highlights to make the photo look good.
Some photographers like to experiment with high dynamic range to create what they perceive as an artistic look. This brings HDR photos into a different realm. They move further away from looking like what the human eye sees and into something very weird at times.
Be careful to control the shutter speed setting when you are taking HDR photos. Capture a broad tone range that can be combined well. Then tweak your photos to produce a picture that you like. It really is up to you how you do this. You can push and pull the contrast levels so they blend beautifully and create a lovely natural photograph. Or you can manipulate the settings and exaggerate the tone range to make photos that look completely unrealistic and different from how we would see them naturally.

Conclusion
High dynamic range
Like any
Practice Exercise: Creating HDR Images in Different Lighting Conditions
Description: The aim of this exercise is to create some HDR images in different situations so you can compare them.
Estimated Time: 30-45 minutes Skill Level: Beginner-Intermediate
Tools and Supplies:
• Lens: Any
• Camera with Manual Exposure Mode
Conditions:
• Location: Indoors or Outdoors
• Time: Day or Night
• Exposure Mode: Manual
• Focus Mode: Your preference
Instructions:
| Step 1: Find or create a high contrast scene, as HDR is typically used to photograph these kinds of scenes. Also, prepare to make an HDR image in a low contrast scene. |
| Step 2: Use a tripod so your camera does not move between photos. If you don’t have a tripod, place your camera on a firm surface. Putting a folded towel or something similar under your camera will help keep it from moving. |
| Step 3: Set your first exposure using averaged metering and adjust your settings so the meter is reading zero. |
| Step 4: Set your auto-bracketing to take 3 or 5 frames with one-stop differences. Make a series of photos. |
| Step 5: You could also use the HDR feature in your camera if it has one. But make sure to take a series of photos using auto-bracketing as well. |
| Step 6: Repeat this process in a low-contrast scene as well. |
| Step 7: Combine the sets of photos with your favorite editing software. Search in the menu for HDR, photo merging, tone mapping, or something similar to find the feature for combining HDR photos. There may be various controls you can experiment with to manage the levels in your HDR images. |
| Step 8: Merge all the sets of photos you took to make your HDR images. Compare them, taking notice of the differences between the ones made in high contrast and low contrast lighting. |


