Part of the magic of photography is its ability to capture a scene within the confines of a single moment. In real, everyday life, we experience events continuously. But in a photograph, everything is frozen in time. Nowhere is this more apparent and cathartic to witness than in high-speed photography.
Capturing sharp photos of fast moving subjects is a tricky, and that’s an understatement. Yet, it’s a rewarding task that often makes for dramatic and inspiring results. It’s not for the faint of heart though, and it does come with a certain learning curve.
That’s what today’s guide is for! By analyzing exactly what makes for great fast-action shots, I will go over all the important elements of theory, equipment, and camera settings that you need for success. Along the way, I’ll also include plenty of high-speed photography tips and examples that will help you understand some of the unique challenges that are common in this niche field.
Contents
The Art and Science of High-Speed Photos
High-speed photography is a real test. Not only does it push the envelope of camera, lens, and shutter. The photographer’s nerves are also put to the test!
To truly become confident in high-speed photography, you first need to have a solid vision of what kind of images you would like to create. Because the art of taking photos in an environment like this leaves no room for hesitation, being prepared is key.

Using High-Speed Photography to Gain a Fresh Perspective
From an artistic point of view, what high-speed photography aims to accomplish most of the time is to give the viewer a peek into what our ever-moving world looks like when dissected into a single still frame.
Take a common subject for instance, a puddle. You have likely seen raindrops land in small puddles countless times throughout your life. It’s an everyday scene, so the subject seems universally familiar. Actually, that’s not the case, not quite.
The human eye is incapable of processing very fast phenomena with accuracy. We lose track of complex motion far too easily, and we end up forgetting details, too.
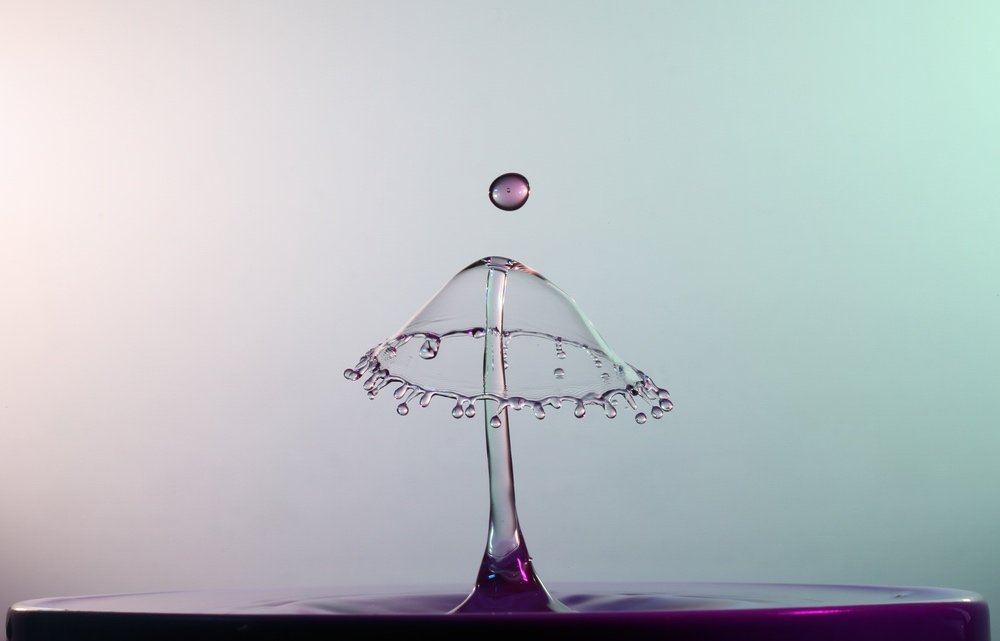
That is why we are so fascinated by slow-mo videography and high-speed photography. It sheds light on something that might be otherwise ordinary, yet appears so utterly fascinating when you get to slow down and appreciate how it really works ‘under the hood’.
This is only one example of a creative approach that you might have in coming up with a concept for a high-speed photo. With different aims come necessarily completely different approaches to the art and science of high-speed photography.
In any case, by far the most important thing is to have a grounded idea of what exactly your picture is meant to show the viewer from this unique perspective that high-speed photography offers. Once you have got that nailed down mentally, it is time to move on to the next step.
The Best Gear for High-Speed Images
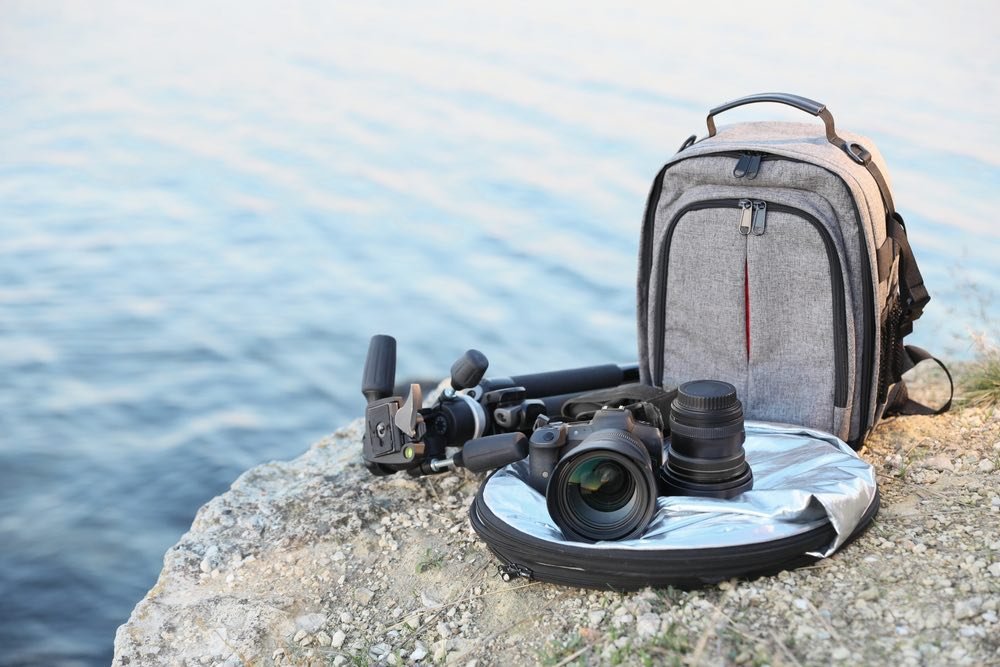
That would be making sure that you have the right equipment for the job! High-speed photography is not exactly a walk in the park to create. It also demands precision and lots of horsepower from the camera you plan to shoot it on.
Thankfully, most modern cameras have all the basics you need for high-speed photos. This includes a fast shutter that can reliably expose a photo at high speeds.
While there is no solid definition of what counts as truly “high speed”, you should be in the green as long as your camera supports a shutter speed of at least 1/2000th of a second. The faster, the more creative leeway you’ll have!
With the fundamentals out of the way, let’s look at some other gear that will be crucial for taking pleasing photos.
Lenses for Tracking Fast-Moving Subjects
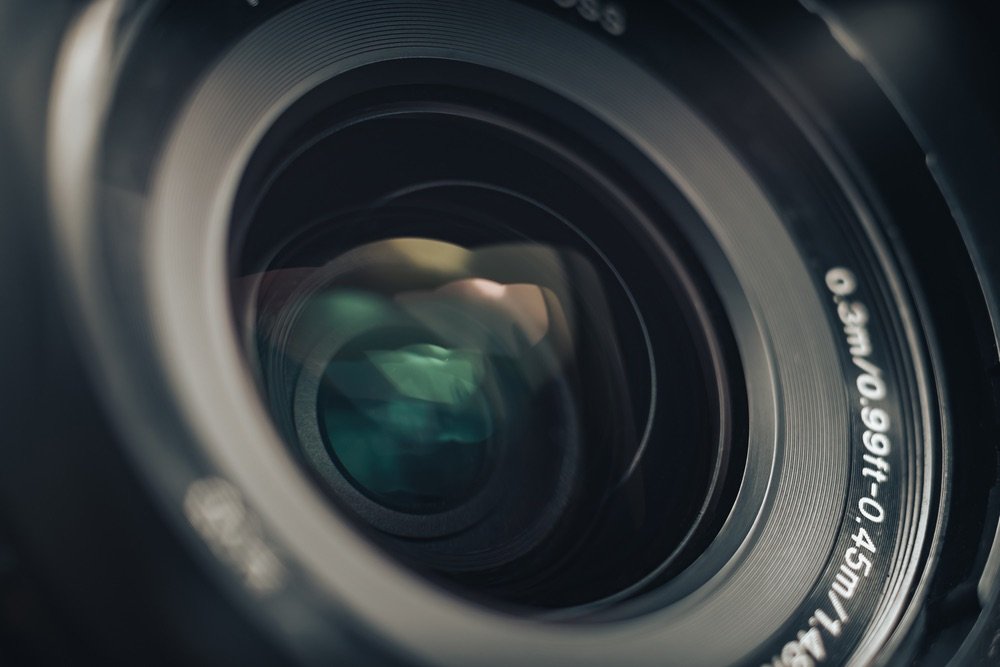
As in any other field of photography, your lens is absolutely essential. It determines the character, field of view, and depth of the photograph. That is, of course, in addition to playing a huge role in image quality.
For taking pictures of fast moving objects, you can use many different kinds of lenses. Some photographers prefer telephoto primes with fast apertures as they allow for a generous working distance. This is to say that you can set up your camera some way away from your subjects whilst still framing them tightly. Especially useful when the high-speed action you’re photographing may not be the very safe kind!
Others, however, choose wide-angle lenses, which can be fixed-focal length or zooms. These lenses often have the advantage of being compact and allowing you to get much closer to your subject. That’s great when you are trying to track something small that may otherwise easily fly out of the frame.
Yet others, specializing in so-called high speed macrophotography, will use macro lenses which can achieve very large magnification and get really close to small subjects without losing detail. This is great when studying intricate phenomena such as tiny drops of water splashes or bubbles.
In any case, one thing that you will find useful no matter what kind of photography you choose to dabble in is a lens with a wide aperture. Such lenses offer you a lot more headroom as they grab more light. This can serve to balance out the severe loss in exposure that happens at higher shutter speed settings.
What Camera Body is Best for High-Speed Photography?
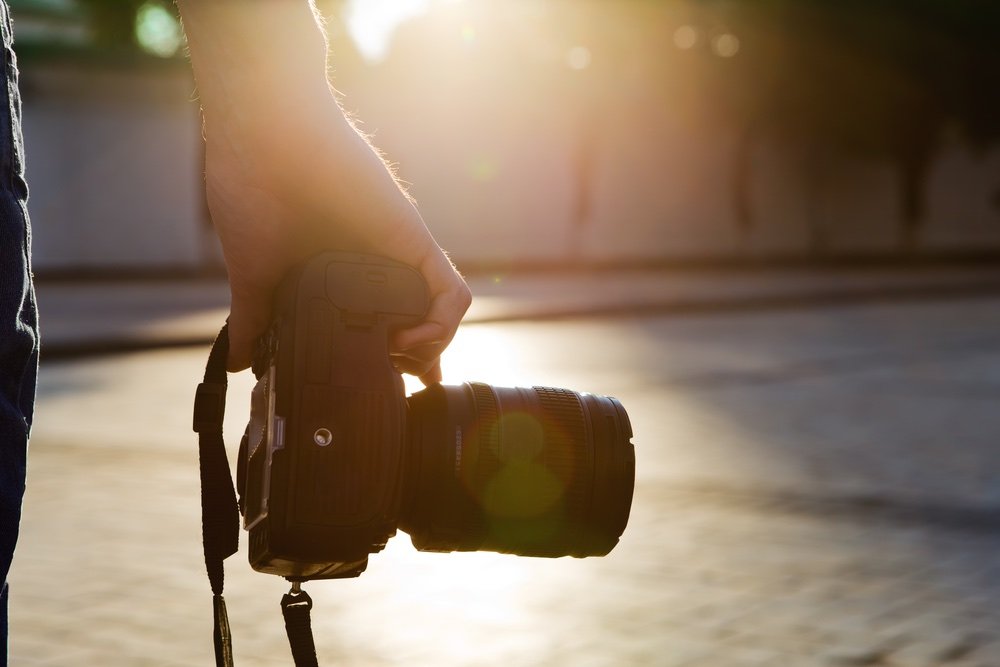
As I mentioned before, most cameras should work fine for high-speed images as long as they feature a reasonably quick shutter. A typical DSLR camera with a mechanical focal-plane shutter usually supports shutter speed settings of up to 1/4000 or 1/8000.
Some electronic shutters may even go faster than that. Paradoxically though, they’re actually less preferable for high-speed photography due to the rolling shutter effect.
Whether you choose a DSLR or a mirrorless camera is really up to you. Some photographers feel more confident with the live optical viewfinder of the single-lens reflex, finding that the electronic viewfinders of MILCs can make them miss certain high-speed shots.
Others don’t mind the limitations of EVFs and live view and prefer their increased convenience. That includes the availability of faster autofocus, advanced tracking modes, and focus peaking, to name just a few.
Suffice it to say that either type of camera, provided it has a solid shutter, will do great in any kind of high-speed photography! The real challenge is not in finding the right gear, but using it correctly.
The Importance of Stabilization

Some high-speed photographers get away with shooting handheld, depending on their setup and the nature of their subjects. However, for the vast majority, putting some serious thought into stabilization before setting up your shot is imperative.
If you recall, the reciprocal rule demands that you maintain a shutter speed of at least ‘one over focal length’ for blur-free, handheld shooting. This works relatively easily under most camera settings and with a lens of moderate focal length.
But when shooting fast action, you will often feel the need for a long telephoto. A long, heavy telephoto, which very likely will be a pain to balance properly. Even at a fast shutter speed, you might run into unintentional camera shake and potentially ruin a shot by accident.
To prevent that, always stabilize your camera on a tripod when shooting with particularly long lenses. While an essential investment, a tripod is not where the subject of stabilization ends, either.
For maximum tack-sharp focus at long distances and fast speeds, also consider lenses with built-in vibration reduction (VR) and image stabilization (IS) features. Some camera bodies these days also feature in-body image stabilization (IBIS), which can be a bonus.
Using Flash to Freeze the Action
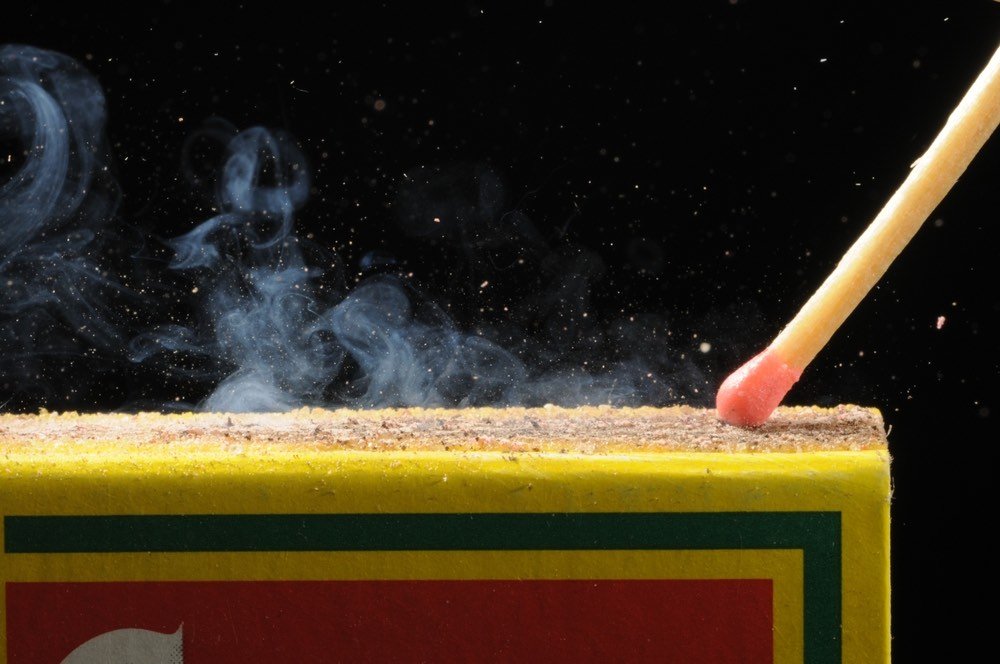
If you’re creating high-speed photography of smaller subjects indoors in the studio at relatively short working distances, you might want to consider using a flash gun to ‘freeze’ the movement in the scene.
This is because plenty of the most fascinating small-scale scenes at high speed really play out at dizzying velocities. The shutter speed necessary to capture a balloon filled with paint popping, for instance, such that you can make out individual drops of liquid, is unbelievably fast: in excess of 1/20,000th of a second.
No modern camera is capable of such speeds. So, how do you capture these kinds of micro-scale high-speed objects?
High-Speed Photography on a Small Scale with the Help of Flash
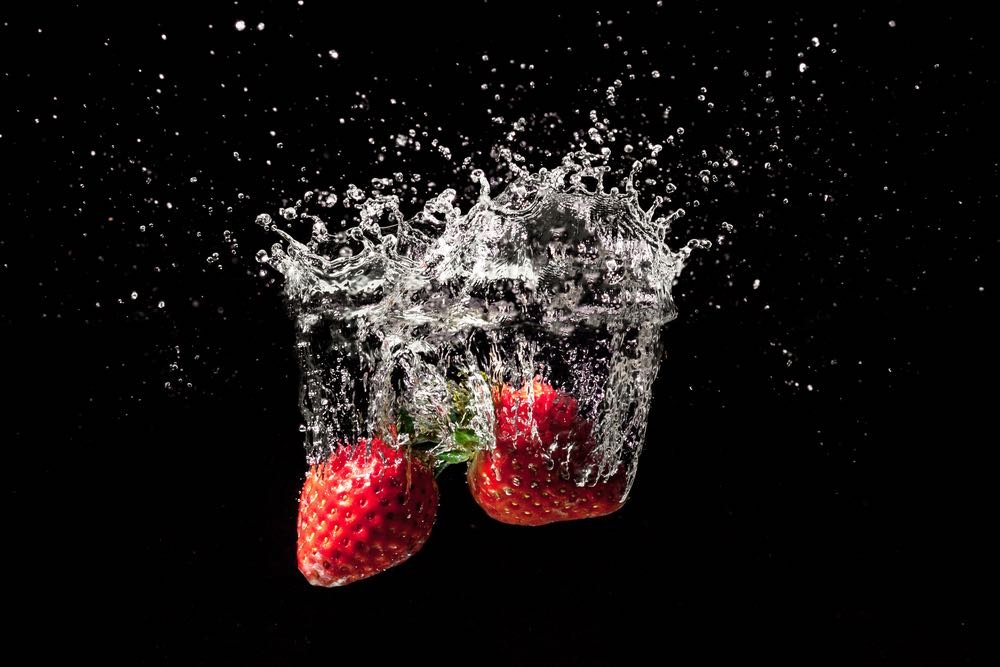
The answer involves a little bit of out-of-the-box thinking. Instead of maxing out your shutter speed, leave your camera stabilized on a tripod with the shutter in bulb mode. Next, grab and set up your flash gun. In fact, for even more impressive effects, consider linking up multiple flash units to a single remote release.
Now, make sure that your studio is lightproof. I am not talking about a professional dark room here, but make sure that there is as little ambient light coming in as possible. Prepare your subject (can of paint, aquarium and ink bottles, what have you), and line everything up for the perfect shot.
This is one more advantage of using a tripod: you really get to fine-tune composition for as long as you want before you commit to tripping the shutter. Because you’ll be working in the dark, you might want to use a shutter release cable for your camera for a more secure feel.
When ready, fire the shot whilst also tripping the flashes at the same time using your remote release.
What will happen is that the flash duration – the short burst of light that illuminates your subject – will essentially become your ‘effective’ shutter speed, as the remainder of your exposure will be darkened out. This lets you take shots of a very fast moving subject beyond the limitations of your camera’s mechanical shutter speed.
Optimal Camera Settings for High-Speed Photography
Now, you should have a basic overview of what you’ll need to start shooting high-speed photography. Next, let’s talk about how to maximize the impact of your photos by perfecting your technique.
The following tips are once again fairly general and apply to almost any kind of fast-action shooting. However, at the same time, they’re adaptable and universal enough that I am sure they will serve you well no matter what subsection of high-speed photography you find to be the most interesting.
Selecting the Perfect Shutter Speed for Fast-Action Shots
As covered above, what shutter speed works best for high-speed pictures largely depends on your shooting environment. Your subject, and specifically its velocity in relation to you, also plays a large role.
Shooting a supersonic flying bullet is going to require a different approach than, say, a horse race.
With that said, here are some general tips for photographing action at a faster shutter speed, no matter the circumstances.
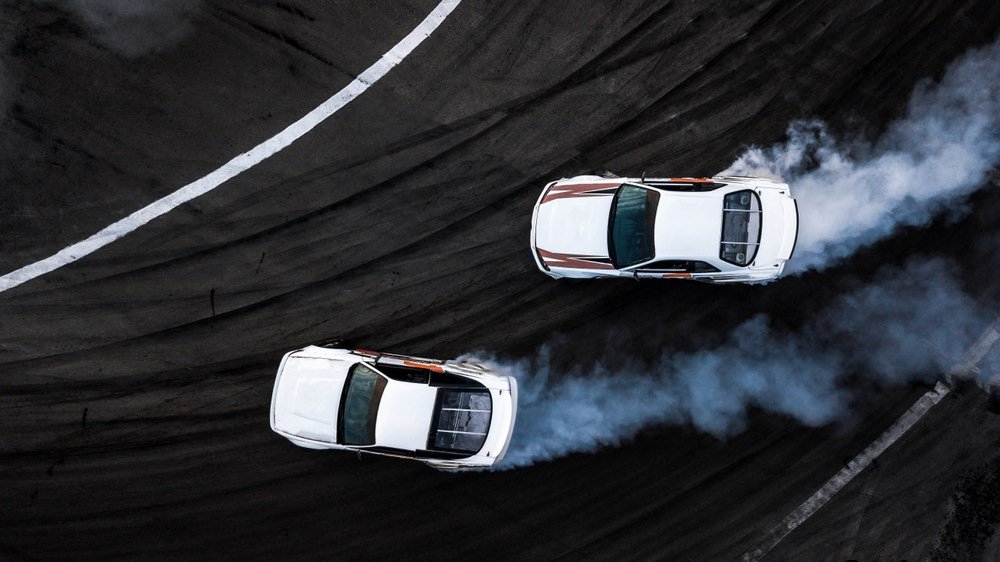
For perfectly ‘snap-frozen’ shots of people, such at a track-and-field event, you generally don’t need speeds in excess of 1/2000. These same speeds are also fairly useful when shooting slower vehicles.
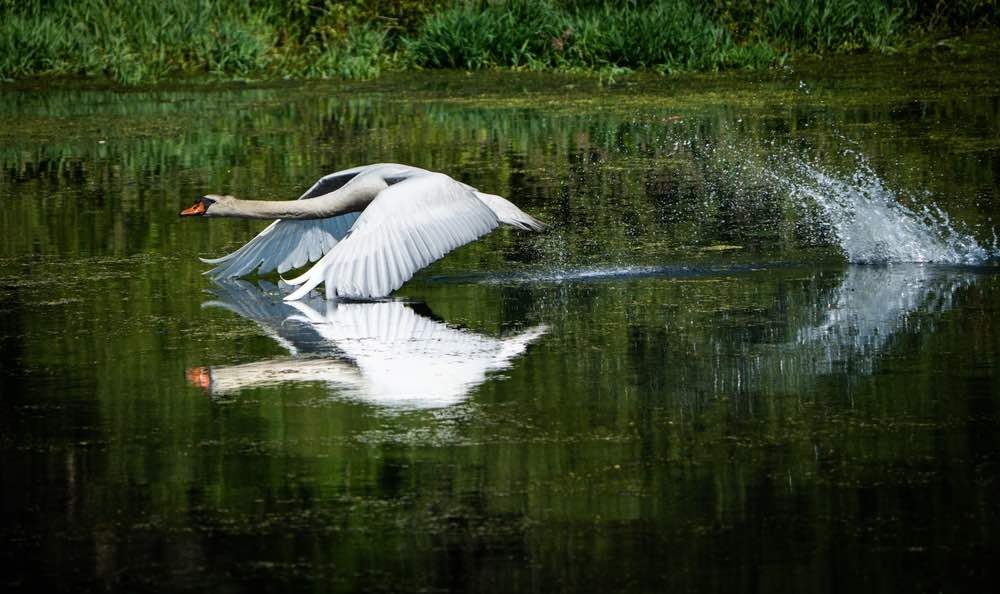
Extremely fast-paced action – motorsport races, airshows, flying birds, and street performances featuring fire, liquid sculptures, or anything of comparable nature, will demand the utmost of your shutter’s higher speeds. Picking the right lens with an aperture range that accommodates this speed is essential in such cases.
When shooting in manual mode, you should also mind your ISO setting to ensure that you don’t run out of light!
Why a Fast Shutter Speed is not Always the Answer
Taking photos of fast phenomena does not always involve a faster shutter speed. I already mentioned how the right use of flash duration coupled with a dark room or low ambient light can easily make up for a slow shutter and even provide superior results.
But another reason why you shouldn’t push faster shutter speed settings too aggressively is that they can render your exposure triangle unbalanced. Remember, any change of exposure is equivalent to a change of any other exposure setting by an equal amount.
Hence, increasing the shutter speed from 1/500 to 1/2000, which measures three stops in EV (exposure value), is equivalent to opening the aperture from f/11 to f/4!
As you move up the shutter speed range, you may find that your lens is reaching the limit of its available aperture openings.
At a very wide aperture, covering action will also be much harder than with a narrow aperture. Depth of field will shrink considerably, causing your autofocus system to ‘hunt’ much more aggressively for sharpness.
These are all reasons why the fastest shutter speed is not always the wisest choice. Remember the exposure triangle at all times, and try to strike a balance wherever possible!
Utilizing Depth of Field to Your Advantage
Remember how I said that a small aperture increases the depth of field, making focus easier during hectic action? This is not just something you should view as a side-effect of certain shutter settings, but rather use actively as a tool to make your life easier.
Shooting at a small aperture may be challenging as you can’t heavily sacrifice shutter speed without adding blur. This is why proper maintenance of manual ISO is essential.
Only by dialing in the right ISO setting can you give your camera the opportunity to compensate for the loss of light that a small lens opening creates. Of course, you’ll always want to set the lowest ISO you can afford to ward off noise. But in this case, you need to find a compromise that works in the particular situation.

However, when properly executed, shooting high-speed photos of a moving object with a small aperture can be a revelatory experience. The increased depth of field will improve sharpness across the entire frame.
And if you can pair it with the right shutter speed, you’ll have awe-inspiring images to thank yourself for.
Picking the Right Exposure Modes
While plenty of high-speed photographers shoot exclusively in manual mode for maximum control, that is not your only option. Especially when your subjects really test your reaction speeds, some automation and electronic assistance can go a long way.
For starters, consider putting your camera into AF-C, or continuous autofocus mode. This is a specialized autofocus mode that intelligently tracks your subject even as it moves around the frame. When things get too fast and DOF too thin for manual focus, AF-C can really save your day! Combine it with the right AF Area mode, and you should be set in terms of achieving sharp focus at high speed.
Many action photographers are also quite fond of shutter-priority auto exposure. That’s because it allows them to concentrate on getting the fastest possible shutter speed to match their subject. The camera takes care of manipulating the aperture to match.
You might also want to consider shooting in burst mode. Using burst mode, you can shoot a photographic sequence of consecutive frames with one press of the shutter release. These can serve as test shots, or as ‘photographic insurance’. That is to say, the extra frames can give you peace of mind for when the action happens so quickly that you’re not quite sure whether you exposed at the right moment.
When your subject zooms by like a speeding bullet and the naked eye is too slow to react, this can be hugely useful. And as I covered earlier, it’s exactly those cases that often make for the most interesting high-speed images!
Becoming a Skilled High-Speed Photographer

High-speed photography is not something you pick up in a day, that’s for sure. But with some concentrated self-study and plenty of practice, creating awe-inspiring footage of super-fast phenomena can be well within your reach, no matter your gear or pre-existing experience!
I hope that I could inspire you with this guide to take the next step towards exploring your potential in this exciting field. Feel free to come back to this guide every now and then to refresh some of the basics. A little bit of remedial study can never hurt, after all!
Wishing you great luck and lots of fun shooting. Till next time!
Take Away
High speed photography is a very involved niche, and one that means different things to different photographers. Some enjoy the thrill of fast-action sports, others wish to capture the beauty of nature, and yet others just really like ‘freezing time’ during blazing-fast natural reactions, such as explosions.
Wherever your interest may lie, you can find success in high-speed photography by gaining a solid grounding in camera settings and the theory of exposure. Try practicing some basic high-speed photography while keeping in mind the lessons about the exposure triangle and the reciprocity law that were covered in today’s guide. I have no doubt that you will soon see improvements in your technique!


Hi Jonathan,
Wonderful article – I had to digest it in chunks because there was so much good information. I have limited experience with high speed photography, and while I understood the core concept before, you have taught me a few other things I may not have considered without trying and failing lol.
I like how you clearly explain that there needs to be a grounded idea before moving on to the next steps. High speed photography is not really about grabbing your camera and going.
Also, Mentioning that the minimum shutter speed is 1/2000th of a second is a great starting point. When I first started out I thought high speed was 1/500 and up LOL I have since wizened up.
Thanks for mentioning about using a Telephoto prime lens – they offer the best apertures for letting the most amount of light in. Much needed for this type of photography. I imagine they can get quite expensive though.
Do you know if you can use macro extension tubes for high speed macro photography or does it have to be a lens?
Adding in a little flash will greatly help as the more light in the scene the better as you will be using such a high shutter speed.
I loved how you referenced unbalancing the exposure triangle. If you make a change to ISO/SS/Aperture then you will have to adjust one of the other settings.
Btw, that photo of the match being struck is inspiring – I may try out that shot and see what happens. Nice job! Keep it up 🙂