
A modern digital camera is a true powerhouse of a machine. Capable of both fine control and inhuman speeds of operation, modern gear allows for photography that simply wouldn’t have been possible in years past. However, with all that power comes great responsibility, too!
Autofocus is a perfect example. Far from being the ‘fire and forget’ feature that many make it out to be, it is only as useful as the operator is skilled. Managing your autofocus settings right can mean the difference between a wasted shot and a lucky hit!
Just that is what today’s guide is going to be all about. We will take a look at everything autofocus modes are good for, how they work, and how to choose the right one.
Contents
Why Choose Autofocus Over Manual Focus?
First of all, we need to establish the fact that every setting on your camera has its own use and shines when employed to its strengths. That includes focus modes, of course.
Sometimes, an autofocus mode may present a unique advantage and may be suited much better to the shot in your viewfinder. However, other times you may be much better off using manual focus instead.
That brings us to a critical question: how do you know which mode is best?

Experienced photographers may have a certain sixth sense for these kinds of things, switching between manual focus and autofocus mode on the fly as needed. As a beginner, you need to exercise more discretion. You should remind yourself to think carefully about which setting you’re using and why.
Generally speaking, the nature, location, and speed of your subject are the most important factors you need to consider. If your subject moves quickly, it will be much more difficult to capture in sharp focus manually.
By contrast, the right autofocus modes can lock focus and snap pin-sharp photos of even the trickiest moving subjects.
Of course, this is not all! You will see that some AF settings are indeed designed for use with static subjects as well. In this case, speed is not the main determiner, but rather accuracy. Compared to manual focus, the right AF setting lets you select a specific focus point and get much more accurate results, even in challenging lighting and unusual angles.
When to Select a Focus Point Manually?
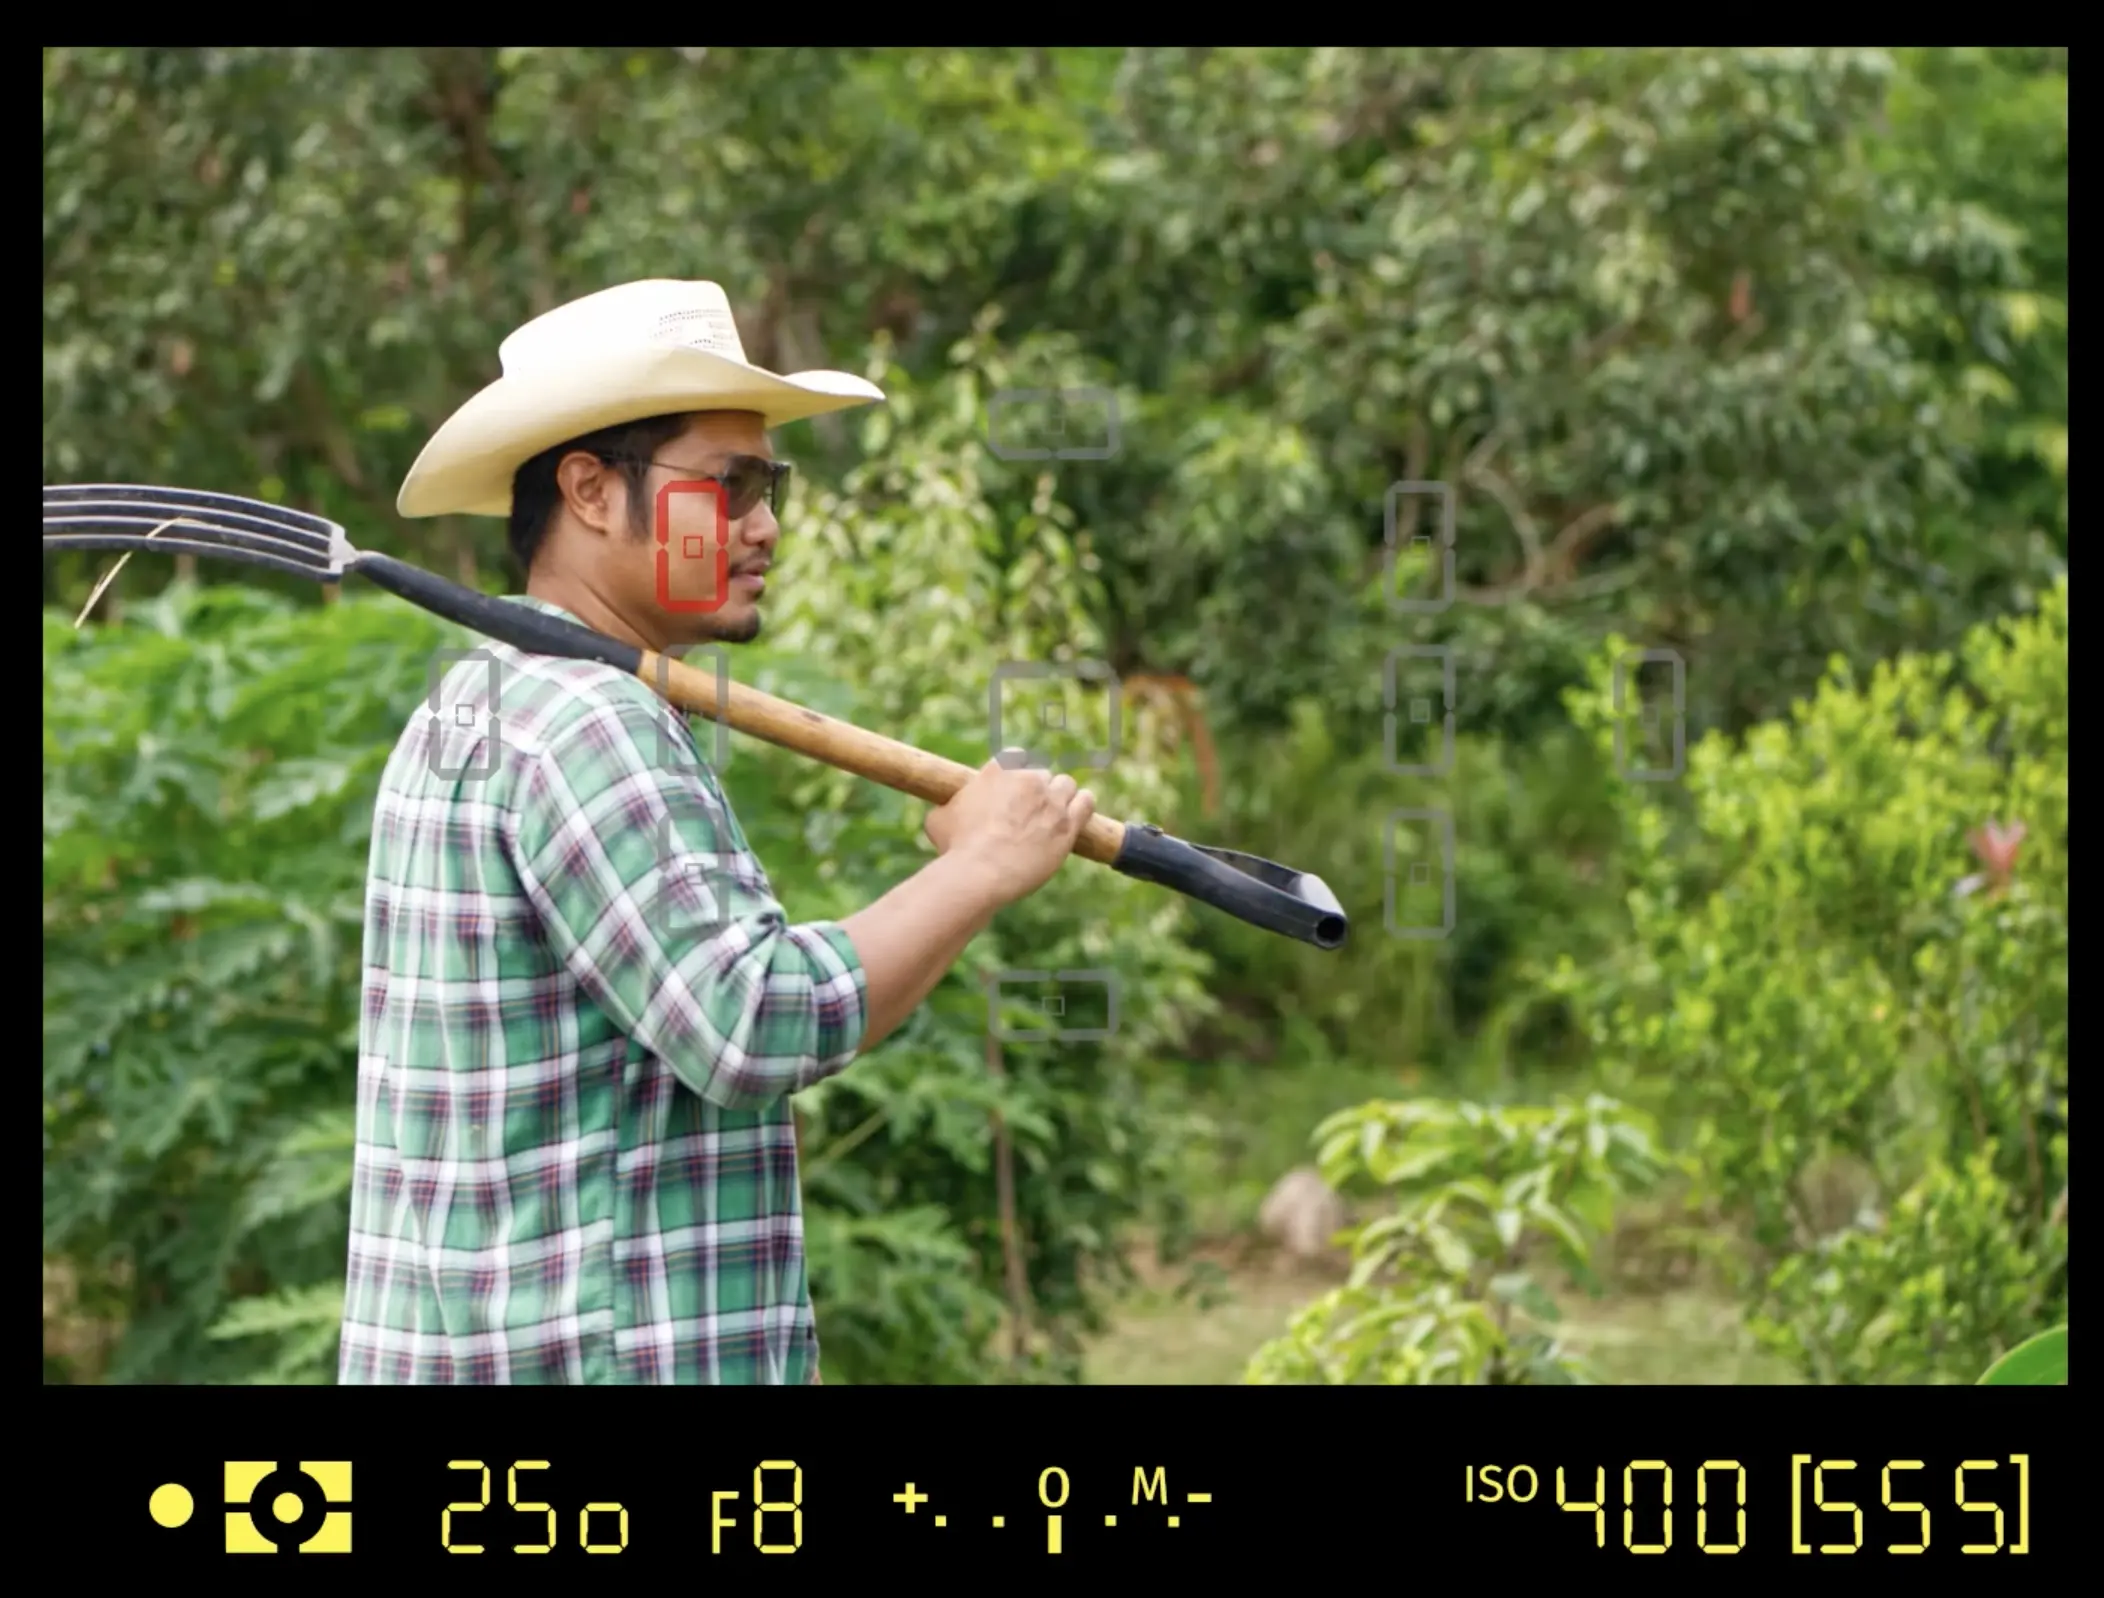
You should select a focus point manually when your subject is not in the center of the frame, or when the camera’s default AF target does not match what you want in focus. This is especially useful for:
- Off-center subjects: like portraits where the person is at the edge of the frame.
- Low-contrast scenes: where the camera may struggle to lock focus automatically.
- Creative compositions: when you want control over which element is sharpest.
One alternative is to use the “focus and recompose” technique, but directly choosing a focus point is usually faster and more accurate.
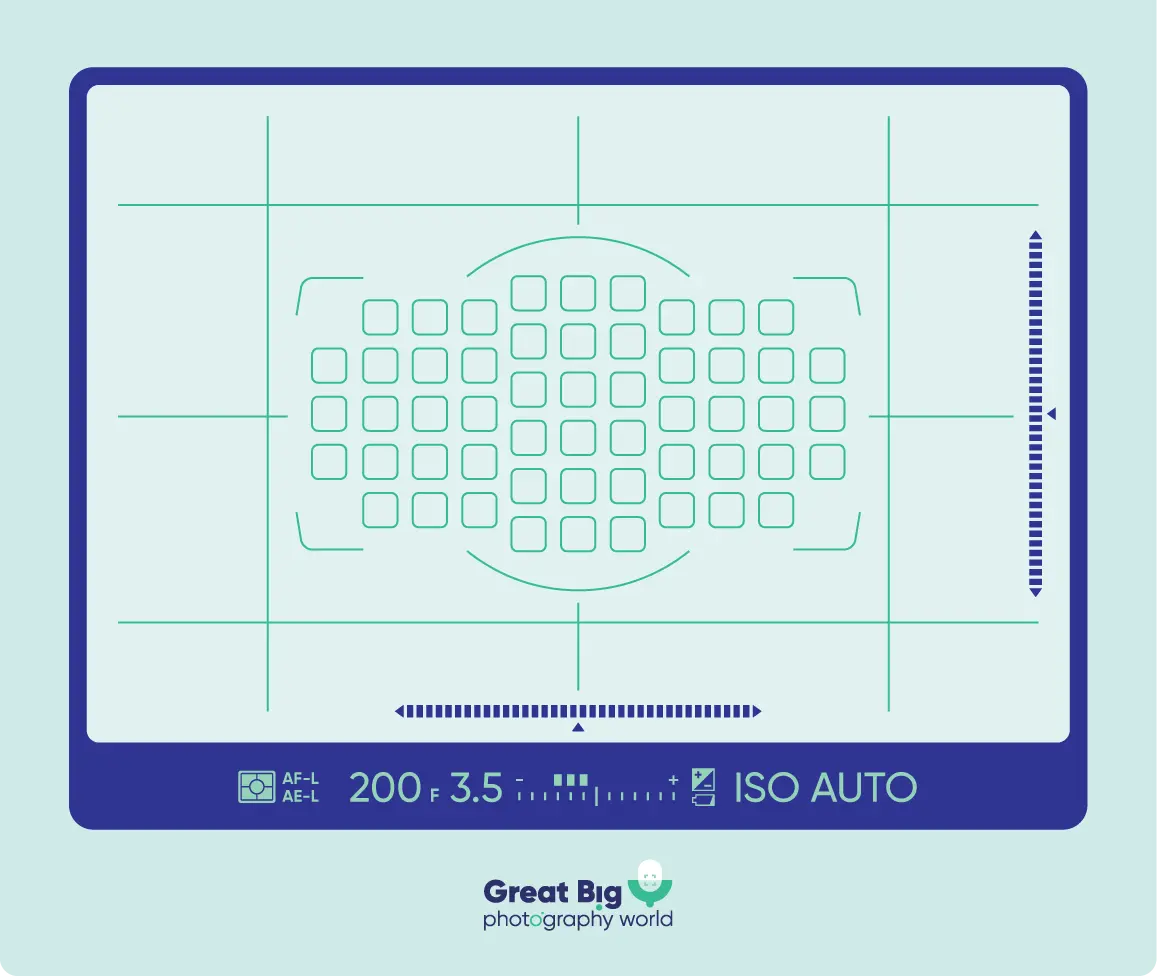
If you’re looking for a more elegant solution, stay in AF mode and take a glance at your focus points. Look beyond the default central focus point and try using some of the surrounding focus points closer to the edge of the frame. You will see how this allows shifts in focus without moving the viewfinder or changing any other settings by hand.
By setting manual focus points, you can quickly and easily adjust the quality of focus in your image without switching modes. At the same time, you can work more smoothly and quickly than would be possible in pure manual focus.
Active vs. Passive Autofocus
Before we go into depth concerning the individual autofocus modes at your disposal, it’s important for you to know a bit first about how autofocus really works behind the scenes.
Practically every AF system found in cameras today belongs to one of two distinct types, active or passive. While most compact and budget cameras will only rely on one main autofocus system, high-end DSLRs and mirrorless cameras generally let you choose between some or all of the following to get the best results.
Active Autofocus

An active AF system works by shooting a beam of long wavelength (red) light straight at the target. Based on the resulting reflection, the camera determines the distance to the subject and focuses the lens accordingly. This is a very accurate autofocus system that can even work in low-contrast, low-light situations where manual focus by eye would be exceedingly difficult.
However, active AF mode does come with serious downsides. For one, the autofocus beam’s range is severely limited. On most cameras, this means that active AF only works for subjects that are very close to you. Active autofocus also tends to work rather poorly with subjects that won’t stay still.
Passive Autofocus

Passive AF aims to fill the gaps left by those deficiencies by being much quicker and better at tracking moving subjects. The catch? How passive autofocus works varies from camera to camera, and different implementations have different degrees of effectiveness depending on what you’re shooting.
The two most widespread kinds of passive AF modes are Contrast Detect and Phase Detect. Both have their own strengths and weaknesses, and it is important to know which is more suitable for your shooting situation.
Contrast Detection
In Contrast Detect AF, your camera rapidly rocks the lens back and forth throughout its entire focus range whilst scanning for areas of high contrast using a software algorithm. In this way, the AF system tries to isolate a single point or multiple points of edge detail. Put differently, this autofocus mode uses localized spots of higher contrast ratios to determine distances between subjects and the background.
The advantage of this system is that it works in almost any environment, doesn’t rely on the reflection of a visible light AF beam, and is extremely accurate. However, compared to any active autofocus mode, Contrast Detect AF can be very slow. This is especially true in cases where the overall contrast within the scene is relatively low.
Phase Detection
Phase Detect autofocus aims to be the perfect remedy to that problem. By utilizing an array of microlenses – you can imagine these as tiny mirrors – your camera analyzes the entire frame as soon as you depress the shutter release halfway. Because each microlens is slightly offset from the next, the differences in phase between each micro-image can be used to determine distance.
Because this does not rely on software algorithms or on mechanical focus control, Phase Detect AF is mighty fast. It can acquire focus much faster than most competing technologies, even in the case of very fast-moving subjects, while also working reliably with static scenes. However, the effectiveness of Phase Detect AF greatly diminishes as ambient light levels decrease.
Hybrid AF Systems
To make switching between contrast and phase-detect systems on the fly easier, plenty of cameras nowadays support a so-called Hybrid AF system. By analyzing conditions such as lighting and contrast, Hybrid AF mode intelligently combines all available autofocus modes to give you the best, most reliable, and fastest possible result.
DSLR vs. Mirrorless Cameras: How Autofocus Systems Differ

Now that you know that not all autofocus systems are made the same, it probably won’t surprise you as much to hear that choosing the correct autofocus mode may also depend on your camera model.
For instance, mirrorless cameras may offer both Phase Detect and Contrast Detect AF modes interchangeably; some even include a Hybrid AF mode, as I mentioned above. DSLRs, by virtue of their mirror box-based design, can only use Contrast Detect mode when in Live View.
Also, note that for those days when you do feel like switching back to manual mode, mirrorless also possesses a certain edge. Most DSLRs employ something called a digital rangefinder, which measures and notifies you of the perfect manual focusing distance, usually by a blinking light in the viewfinder. Mirrorless cameras are capable of using more advanced technologies, such as focus peaking, to give you a more detailed idea of which parts of your frame are in focus.
Many DSLRs also lag behind their mirrorless brethren a bit when it comes to AF point selection. While many flagship MILCs may boast literal hundreds of autofocus points scattered all over the viewfinder, DSLRs often only make do with a few dozen. On top of that, you can expect most of these to be clustered around the middle of the frame (with manual AF point accuracy generally decreasing a lot on DSLRs the further you go away from the center).
The only major place where camera designs don’t differ so much is in the kind of focusing modes that you can use. Let’s now take a look at each AF mode available on modern digital cameras and discuss their advantages!
Single (AF-S) for Stationary Subjects

AF-S, or one-shot AF, is the default on many cameras. The ‘S’ here stands for ‘Single Servo’.
In AF-S mode, your camera’s autofocus system engages as soon as you half-press the shutter button. Alternatively, you may trigger AF-S via back-button focus as well.
AF-S is mostly used in portraiture, landscape photography, and in other situations where movement and subject tracking are of little relevance to the shot. Because your camera will only try to acquire focus once, it’s a great mode to use when precision is key.
Continuous (AF-C) for Moving Subjects

The total opposite of Single Servo autofocus is AF-C mode, short for Autofocus Continuous.
Continuous AF works just as the name implies: as long as you hold your finger down on the shutter button and until you take the shot, the AF point of your choice will continue to try to acquire focus. This is the main mode to use when you know you’ll be dealing with a quick, hard-to-track subject.
By combining AF-C mode with the right AF area mode (more on that in the next chapter below), you can effortlessly get continuous focus and sharp images even when the shooting rate exceeds your physical reaction speeds. This enables creative possibilities that would seem almost unachievable when limited to AF-S only!
Note that on Canon cameras, this mode is usually labeled AI Servo AF. Apart from the label, it’s the same technology underneath!
Full-Time Servo (AF-F) Mode

AF-F is an alternative continuous AF mode for fast-moving subjects. Like AF-C, it engages the AF servo in a continuous fashion, making it more flexible than single-servo AF-S. Though the risk of mutual confusion is pretty great, there are some differences in operation when you compare AF-F and AF-C side-by-side.
Instead of engaging autofocus as soon as you half-press the shutter button and until you release the shutter all the way, AF-F fires up immediately as soon as you select it.
Half-pressing the shutter release is what actually locks focus in place when you’re in AF-F! Some of you may find this ergonomic difference to amount to a significantly improved workflow. Others may be deterred by the constant whirring of the autofocus motor – it’s your choice in the end whether to use AF-F.
Automatic Modes (AF-A, AI Focus AF)

These advanced modes don’t offer any unique features but are there instead to streamline the user experience. They are especially useful for photographers working in challenging environments who find themselves switching modes a lot.
AF-A, or to use Canon’s terminology, AI Focus AF, intelligently chooses between AF-S and AF-C modes depending on the conditions of the scene. Of course, this system isn’t perfect. Oftentimes, it may turn out neither as fast as AF-C nor as sharp as AF-S. However, it offers you one way of dialing in a jack-of-all-trades focus mode that’s good for just about any situation.
Comparing AF Area Modes
Just like it’s important to tailor your focus modes to the shot at hand, so is it crucial for you to know your way around your camera’s AF area modes. These determine the behavior of the focus points that we talked about earlier.
Here is a quick video that explains the difference between single and multi-point focus modes.
The wrong combination of AF settings and Area selection may result in wasted shots. Even when all your other relevant camera settings are in order, poor AF management can backfire! That’s why I highly recommend getting in some practice with all of the settings covered below.
Single-Point AF
This is the most basic AF Area mode of them all and the one that many photographers will find themselves using the most frequently. In Single Point AF Area mode, you manually choose a single focus point, which will serve as a baseline for the AF system on which to concentrate focus.
You can freely move this one focus point around, whether you’re in AF-S, AF-C, or a different focus mode.
Dynamic AF Area

This is a great mode to use for more unpredictable subjects that move around a lot. In Dynamic AF Area mode, you select one autofocus point just as above.
As soon as you half-press the shutter button, the AF mode will track your subject within the general area surrounding that point. What distinguishes Dynamic AF from all other Area AF modes is its ability to switch to a neighboring focus point area if your subject leaves the one you selected. This allows you to set up a reasonable focus point configuration before your shot and ‘fire and forget’, no matter how your subject moves during composition.
Dynamic AF is also called single point AF (with tracking), since it combines the precision of a chosen point with the flexibility of area coverage.
Auto AF Area
As the name implies, Auto AF Area arranges and selects autofocus point groups for you. Depending on the needs of the shot, Auto AF Area may pick a single point or a large group. These can adaptively change shape and size as the camera tracks the subject.
Generally speaking, this mode is not as fast as the conventional AF Area modes because your camera will try to make use of all the autofocus points it has available instead of basing itself on a user-determined selection. It’s also not the most precise, as you won’t have any manual control over focus acquisition whatsoever. That could lead your camera to automatically focus on something that wasn’t what you had in mind for the shot, for example.
However, for sheer flexibility, it’s hard to beat!
Group AF Area

This is the most basic of all the different AF Area modes. In Group AF, you simply draw a selection of any number of focus points to use in your shot. Your camera’s autofocus mode will not try to compensate for or adapt this selection while you’re composing, and the AF area will remain static until and unless you choose to manually edit it.
This mode works great for relatively predictable subject movement, as well as for static subjects spaced far apart, which wouldn’t work well enough in single-point AF mode.
Why Autofocus Modes Matter

No matter what combination you might find most useful to your photography, autofocus modes are crucial for maintaining full control over your gear. Whether homing in on one focus point in AF-S or using AF-C continuous focusing mode to track difficult subjects, AF modes, and their accompanying AF area modes can make or break the shot in almost any situation you might encounter.
That’s partly why today’s lessons are so crucial for success! Remember to thoroughly practice every bit that you have learned. Especially the modes you’re less familiar with should get some shooting time out in the field.
Even if you think you’re unlikely to make much use of, say, AF-C or AF-A, it’s healthy to get some training hours in to be comfortable with their operation, just in case. You never know when it might come in handy!
That’s all for today. Hope you found today’s guide helpful, and until next time! Happy shooting!


