The acronym ISO refers to the International Standards Organization. This gives us absolutely no clues as to how it is relevant in
The term ISO has been around since the early film
Along with shutter speed and aperture controls, different ISO values have an effect on the exposure of a photograph. So when you want to capture images that are well exposed, the ISO must be managed effectively.
Contents
ISO Sensitivity
ISO measures a camera’s sensitivity to light. Digital cameras convert light that hits the image sensor into electrical signals. Those signals are used to process the image. ISO sensitivity is increased by amplifying the signal.
Making Good Use of ISO in Photography
The ISO setting is one control on a camera that allows you to control how bright or dark a photo is. The other two are aperture and shutter speed. A high ISO setting means the sensor is more responsive to light. A low ISO setting has the opposite effect. So, in bright light, use a low ISO setting. When the light is low, use a high ISO rating.
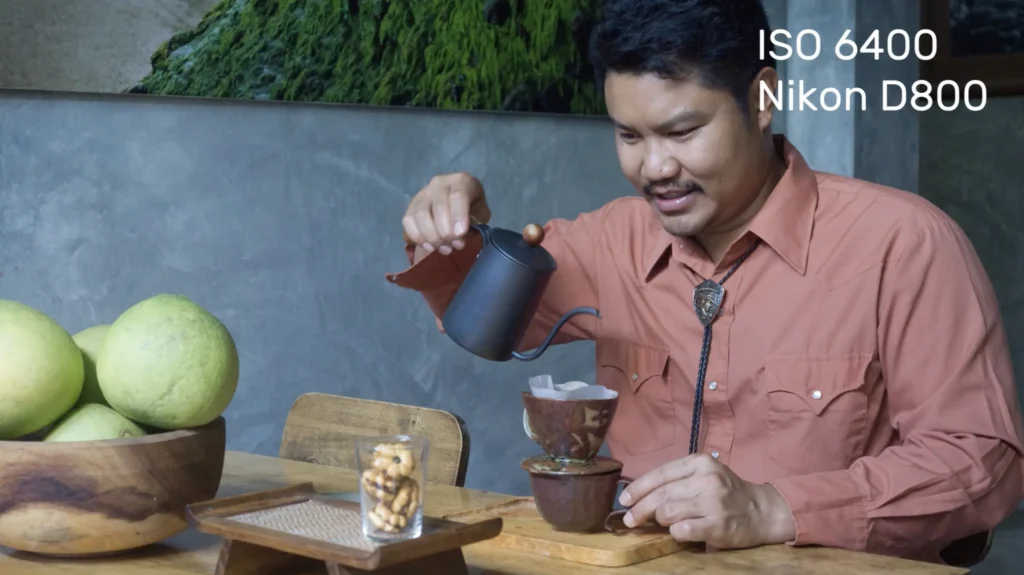
Choosing the right ISO for the lighting conditions will help you maintain a fast shutter speed when you need to. The camera’s base ISO setting is probably low and will not be suitable for all lighting conditions. Using a lower ISO means you will often need to use a slower shutter speed.
This is one of the key advantages of digital
ISO Setting in Film
In terms of film sensitivity, ISO is used as a rating system to tell you how responsive the film is to light. This is the film speed. The lower the ISO setting (i.e, 50), the more time the film needs to be exposed. The faster the ISO film speed, the less light is required to take a picture.
This is the same in digital

Film Grain and Sensitivity
The film was either slow, fast, or high speed. If you were going to shoot out in the daylight on a bright sunny day, you would use a slow film speed of 100 ASA. There were 4 popular film speeds in the pre-digital age:
- ASA 100: Slow speed – Use for daylight, bright sun, beach, snow
- ASA 200: Slow speed – Best for overcast days and in the shade
- ASA 400: Fast speed – Good for sports photography and rainy days
- ASA 800: High speed – Used in low light, evenings, sunsets, inside with a flash
Another consideration was grain. Film consists of millions of light-sensitive silver halide crystals that we call grain. Slow films used a fine grain and faster films used a larger grains, which have greater light sensitivity. So images shot with high-speed film were known to appear grainy compared with pictures shot with slow-speed film.
What are the Common ISO Values?
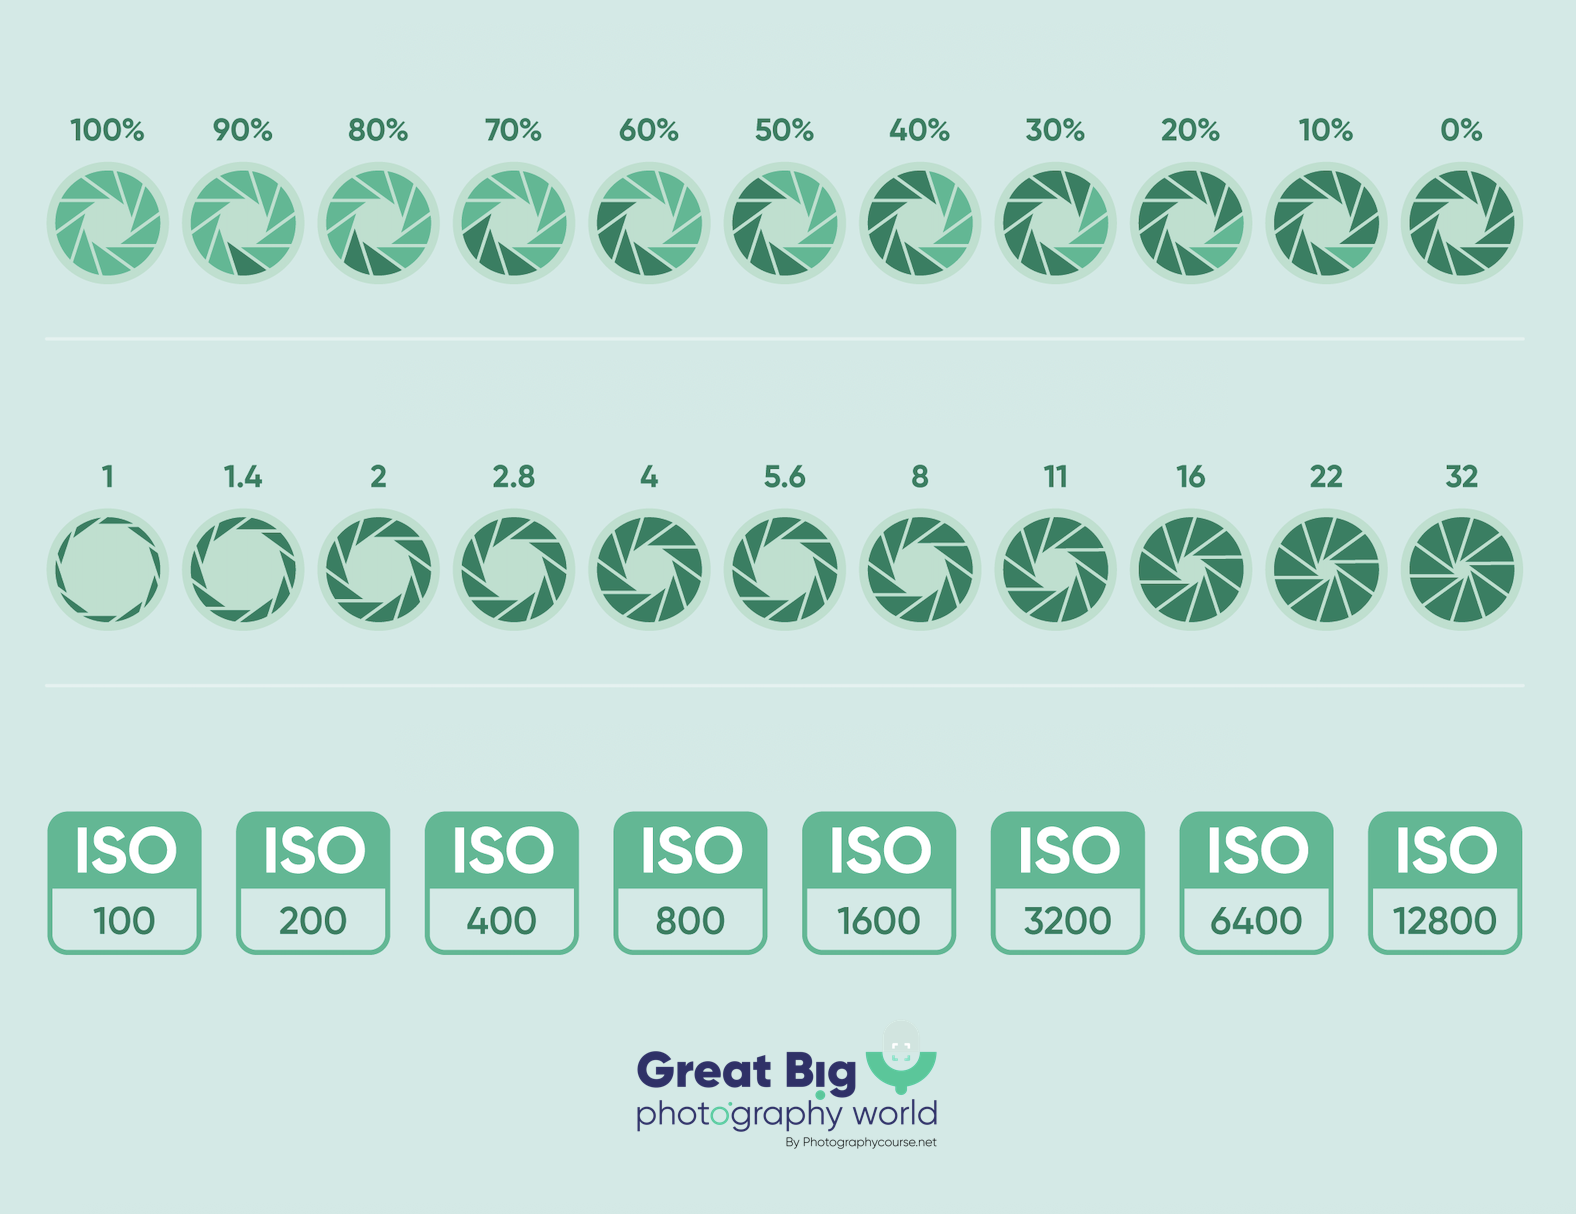
Each camera will vary, but the ISO value can range from ISO 50 to a much higher maximum ISO. Here are the ISO values you’ll discover in many digital cameras: ISO 100, ISO 200, ISO 400, ISO 800, ISO 1600, ISO 3200, and ISO 6400.
Notice how each number is doubled as the ISO values increase. When you double the ISO speed, your exposure value adjusts by double. So, if your native ISO setting is 100 and you change the ISO value to 200, your exposure becomes brighter.
You can adjust your aperture and shutter speed to compensate for this. In digital
When you double your ISO setting (let’s say from 100 to 200), your camera needs only half as much light for the same exposure. If you had a shutter speed of 1/125 at 100 ISO, increasing your ISO sensitivity to 200 and changing your shutter speed to 1/250 would get the same exposure (provided you don’t change the aperture).
ISO and Noise
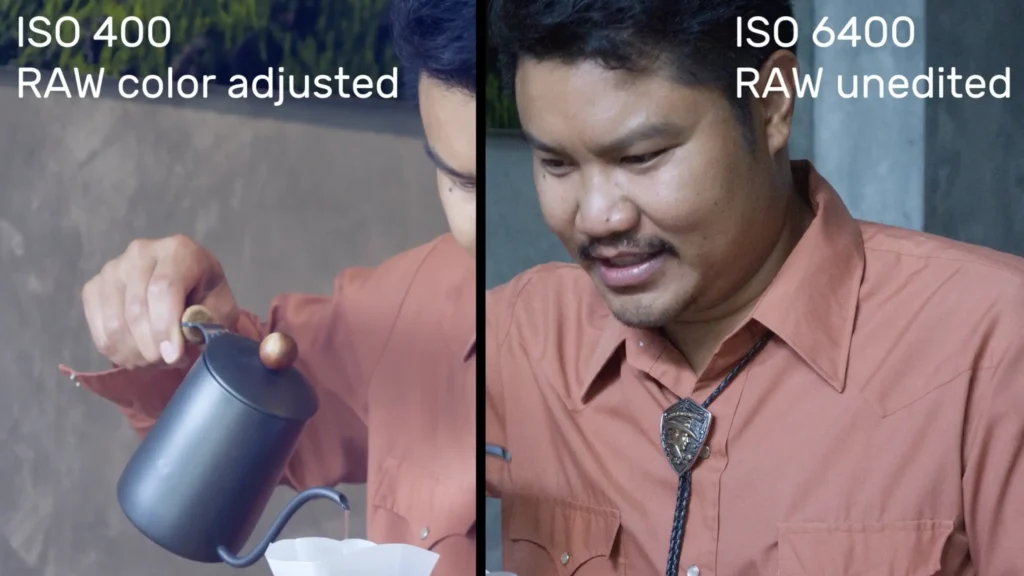
Increasing the ISO to a high value affects your exposure. It can help you set a faster shutter speed. But it does have its consequences. Every time you shift from a low ISO value, it creates something called digital noise. This is not the same as film grain.
Digital noise will show up as tiny spots or bright pixels on your photos. They are more noticeable in darker areas of the image and are less noticeable when you use a low ISO.

Digital noise is affected by the size of the pixels in the camera sensor. Larger pixels will result in less digital noise. This is why DSLRs and mirrorless cameras do a fantastic job at higher ISO values compared to compact cameras.
With this in mind, it’s a good idea to maintain a low ISO value and adjust the aperture or shutter speed first. Sometimes, however, lighting conditions are poor, and you will have to compromise image noise for brightness. But with most modern digital cameras, there is not as much noise as in older cameras.
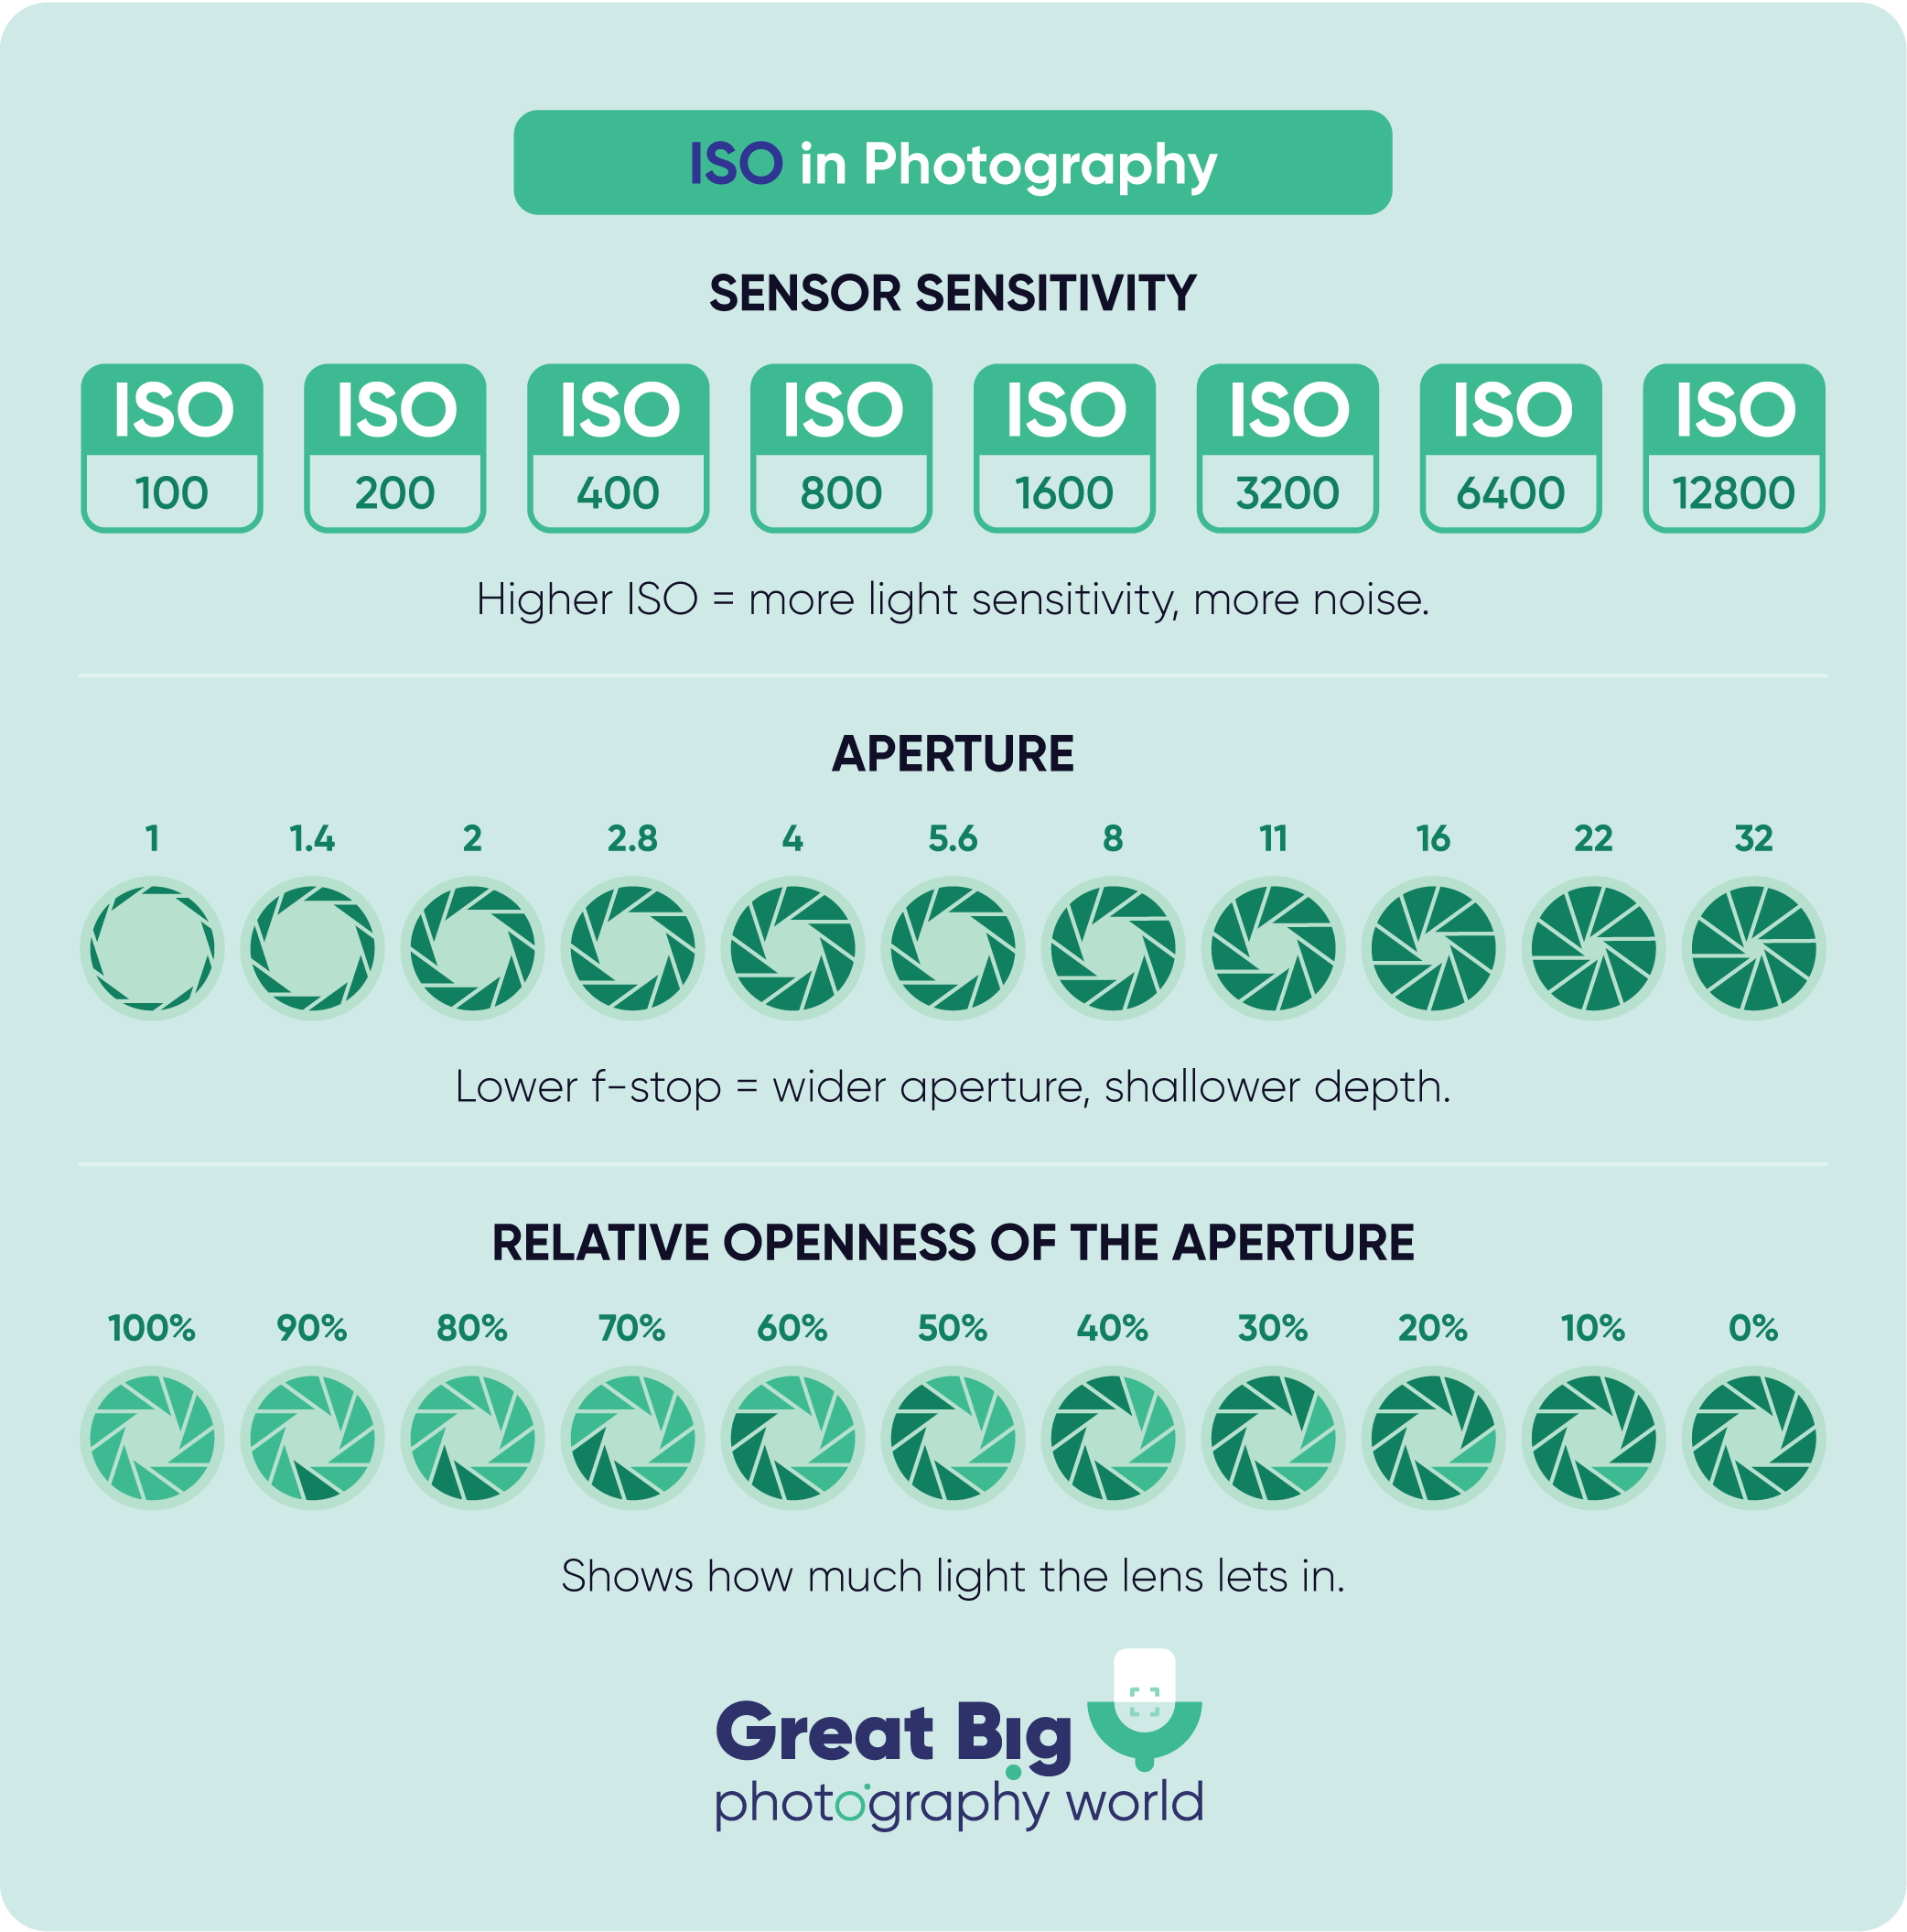
To better understand how aperture, ISO, and light work together, take a look at the infographic below. It visually shows how aperture size, sensor sensitivity, and light openness relate to each other and affect your final exposure
Luckily, many cameras nowadays do an amazing job of managing sensitivity to light to maintain image quality. You can be more flexible in your exposure triangle settings. You can choose a fast shutter speed when you need to, without such a risk of getting noise from your digital sensor in your images.
The size of the pixels in the camera’s digital sensor is a factor in digital noise. A DSLR will produce better images than a point-and-shoot because the size of the pixels on a DSLR sensor is larger. Large pixels produce less noise than smaller pixels. Digital SLR cameras perform better at higher ISOs than compact cameras.
Fortunately, noise reduction processing built into digital cameras continues to improve, allowing photographers to shoot at higher ISO’s with less noise than ever.
What is the Best ISO?
When you want to keep a fast shutter speed, in many situations it is not possible to produce an image with low ISO sensitivity. Such situations include those where there is low light and no tripod. Or where the motion is very quick, such as in sports photography, you will risk motion blur. In this scenario, you’ll want to use a high ISO. A low ISO is not suitable. If you need to stop the action of a tennis match, you probably need an ISO of 1600 or higher.
On a sunny afternoon, however, you won’t have any problems with light. You can use a low ISO. Between a sunny day outside and nighttime
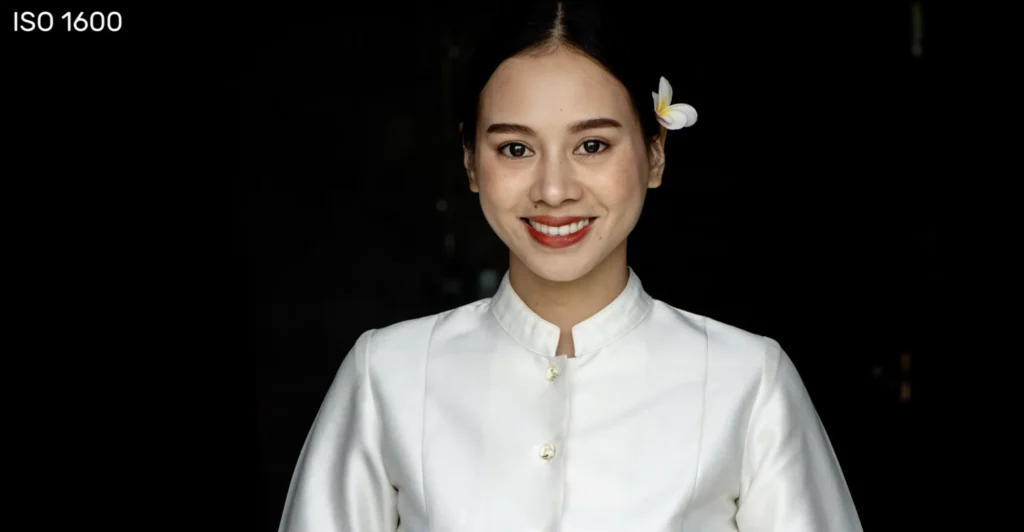
Here is a quick guideline of common ISO values depending on the lighting situation:
- Bright, sunny day outside: Use a Lower ISO, 100 or 200, or your base ISO
- Cloudy days, indoors, or window light portraits: ISO 400
- Indoor
photography without flash: ISO 800 - Reserved for very low light conditions: A high ISO of 3200 or higher
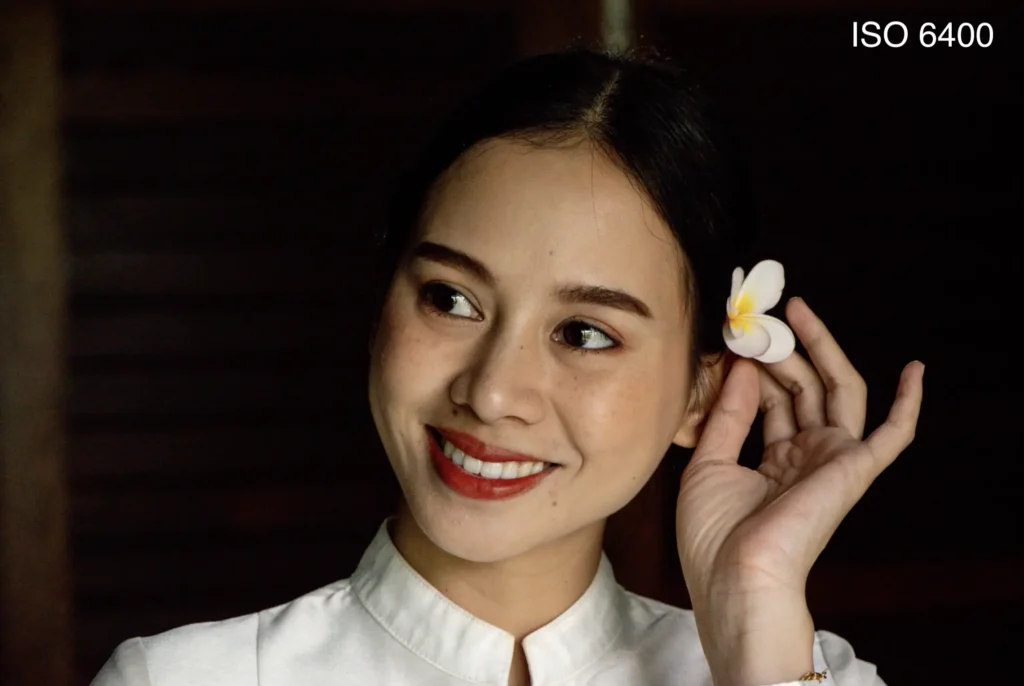
Suggestions for ISO Settings in Various Scenarios:
- Dusk: ISO 200 to 400
- Stars: ISO 800 to 1600
- Sunsets/Sunrises: ISO 200
- Evening Parties: ISO 800
- Stormy Weather: ISO 400
Since you want the sharpest photos possible, the ISO is a setting to keep an eye on. Remember that the higher you set the ISO, the lower the light your camera can handle. At higher ISO settings, the sensitivity to light increases. When you want a brighter image and avoid motion blur, you need the camera’s sensitivity to be higher.
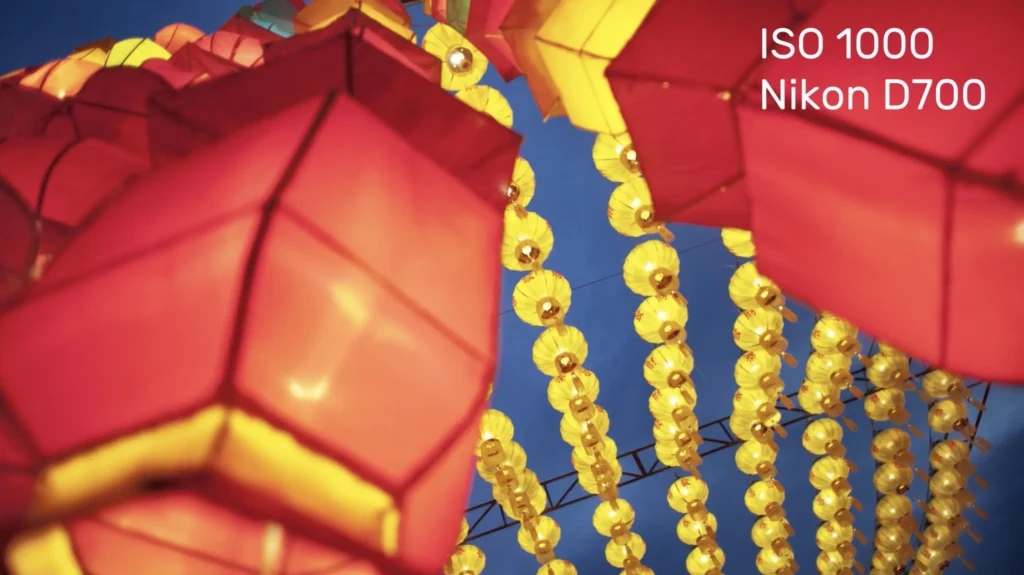
Modern cameras are great, but sometimes it is still necessary to use a tripod and a longer shutter speed. This can help you get more depth of field when using ambient light or flash and avoid camera shake. When there is not enough light, the challenges of setting the exposure triangle are greater to capture a correct exposure.
Film vs Digital ISO
ASA was eventually replaced with ISO. ISO, like its ASA predecessor, measures a camera’s sensitivity to light. The average ISO sensitivity range is approximately 100 to 1600. Some digital cameras have an ISO range of 100 to over 100,000 ISO.
If you are using a film camera, there is a much better chance that you are already familiar with the ISO number. When you choose your film, you select the ISO number. Digital cameras are not so constrained by a roll of film having one set ISO sensitivity. You can change the digital sensors’ ISO sensitivity for proper exposure of every frame.
In film
How does ISO affect a digital image? In low light, the higher the ISO, the greater the risk of digital noise than at the lowest ISO setting. With a low ISO number, you see less noise and smaller grain than at high ISO settings in a proper exposure.

What is Native ISO?
Native ISO is a crucial camera setting that will help you produce the highest image quality. This is the baseline setting your camera is automatically set to for the best image quality and detail.
At this setting, your camera’s sensitivity is optimized. This particular ISO is best whether you are using a full-frame camera or a crop sensor. Most cameras have this setting as the lowest available. Understanding ISO helps you capture light and maintain the best image quality.
What is Auto ISO?
Auto ISO allows photographers to manage their noise balance while taking photos. Turning on Auto ISO is never a good idea if you’re prioritizing Shutter Speed or Aperture mode. Allowing the camera to increase or decrease the ISO based on the current exposure settings takes more creative control from you.
Getting a good grasp on understanding ISO and how it functions will help you make better choices about setting up your camera. This, in turn, will produce good-quality photos. This is why it is important to control your ISO manually.
How to Adjust ISO Settings?
There are many ways to adjust the ISO depending on the type of camera you have. The following are the most common ways:
- Get your camera out of Auto Mode, including Auto ISO. Manually control the exposure triangle for the best results.
- You can change the ISO value from the menu.
- On more advanced or professional cameras, there is usually a dedicated ISO button. Press down on the ISO button while turning on the dial to change the ISO values. If you don’t see an ISO button, you may be able to customize it. Check your user manual for more information.
- Some cameras will also feature wheels where you can quickly change the ISO.
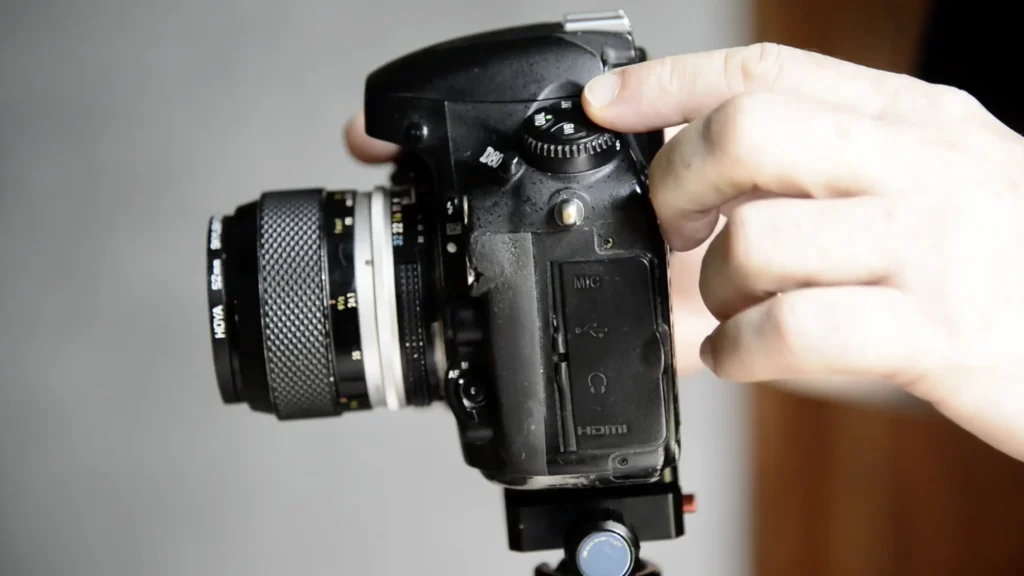
ISO Camera Setting Tips
- Do you hate that flashy look of photos indoors? Turn the flash off, lower your aperture, and raise your ISO. You shouldn’t need a flash.
- Want to tell a story with your photo? Open your aperture all the way (lots of people refer to this as wide open) and blur out some elements of the photo. This is a shallow depth of field.
- Photographing sports? Set the shutter speed faster, and your subject suddenly becomes sharp! Use a higher ISO to help you maintain a fast shutter speed.
- It helps to take three or four pictures, each with different settings, so you can get a feel for how each setting will change your photo.
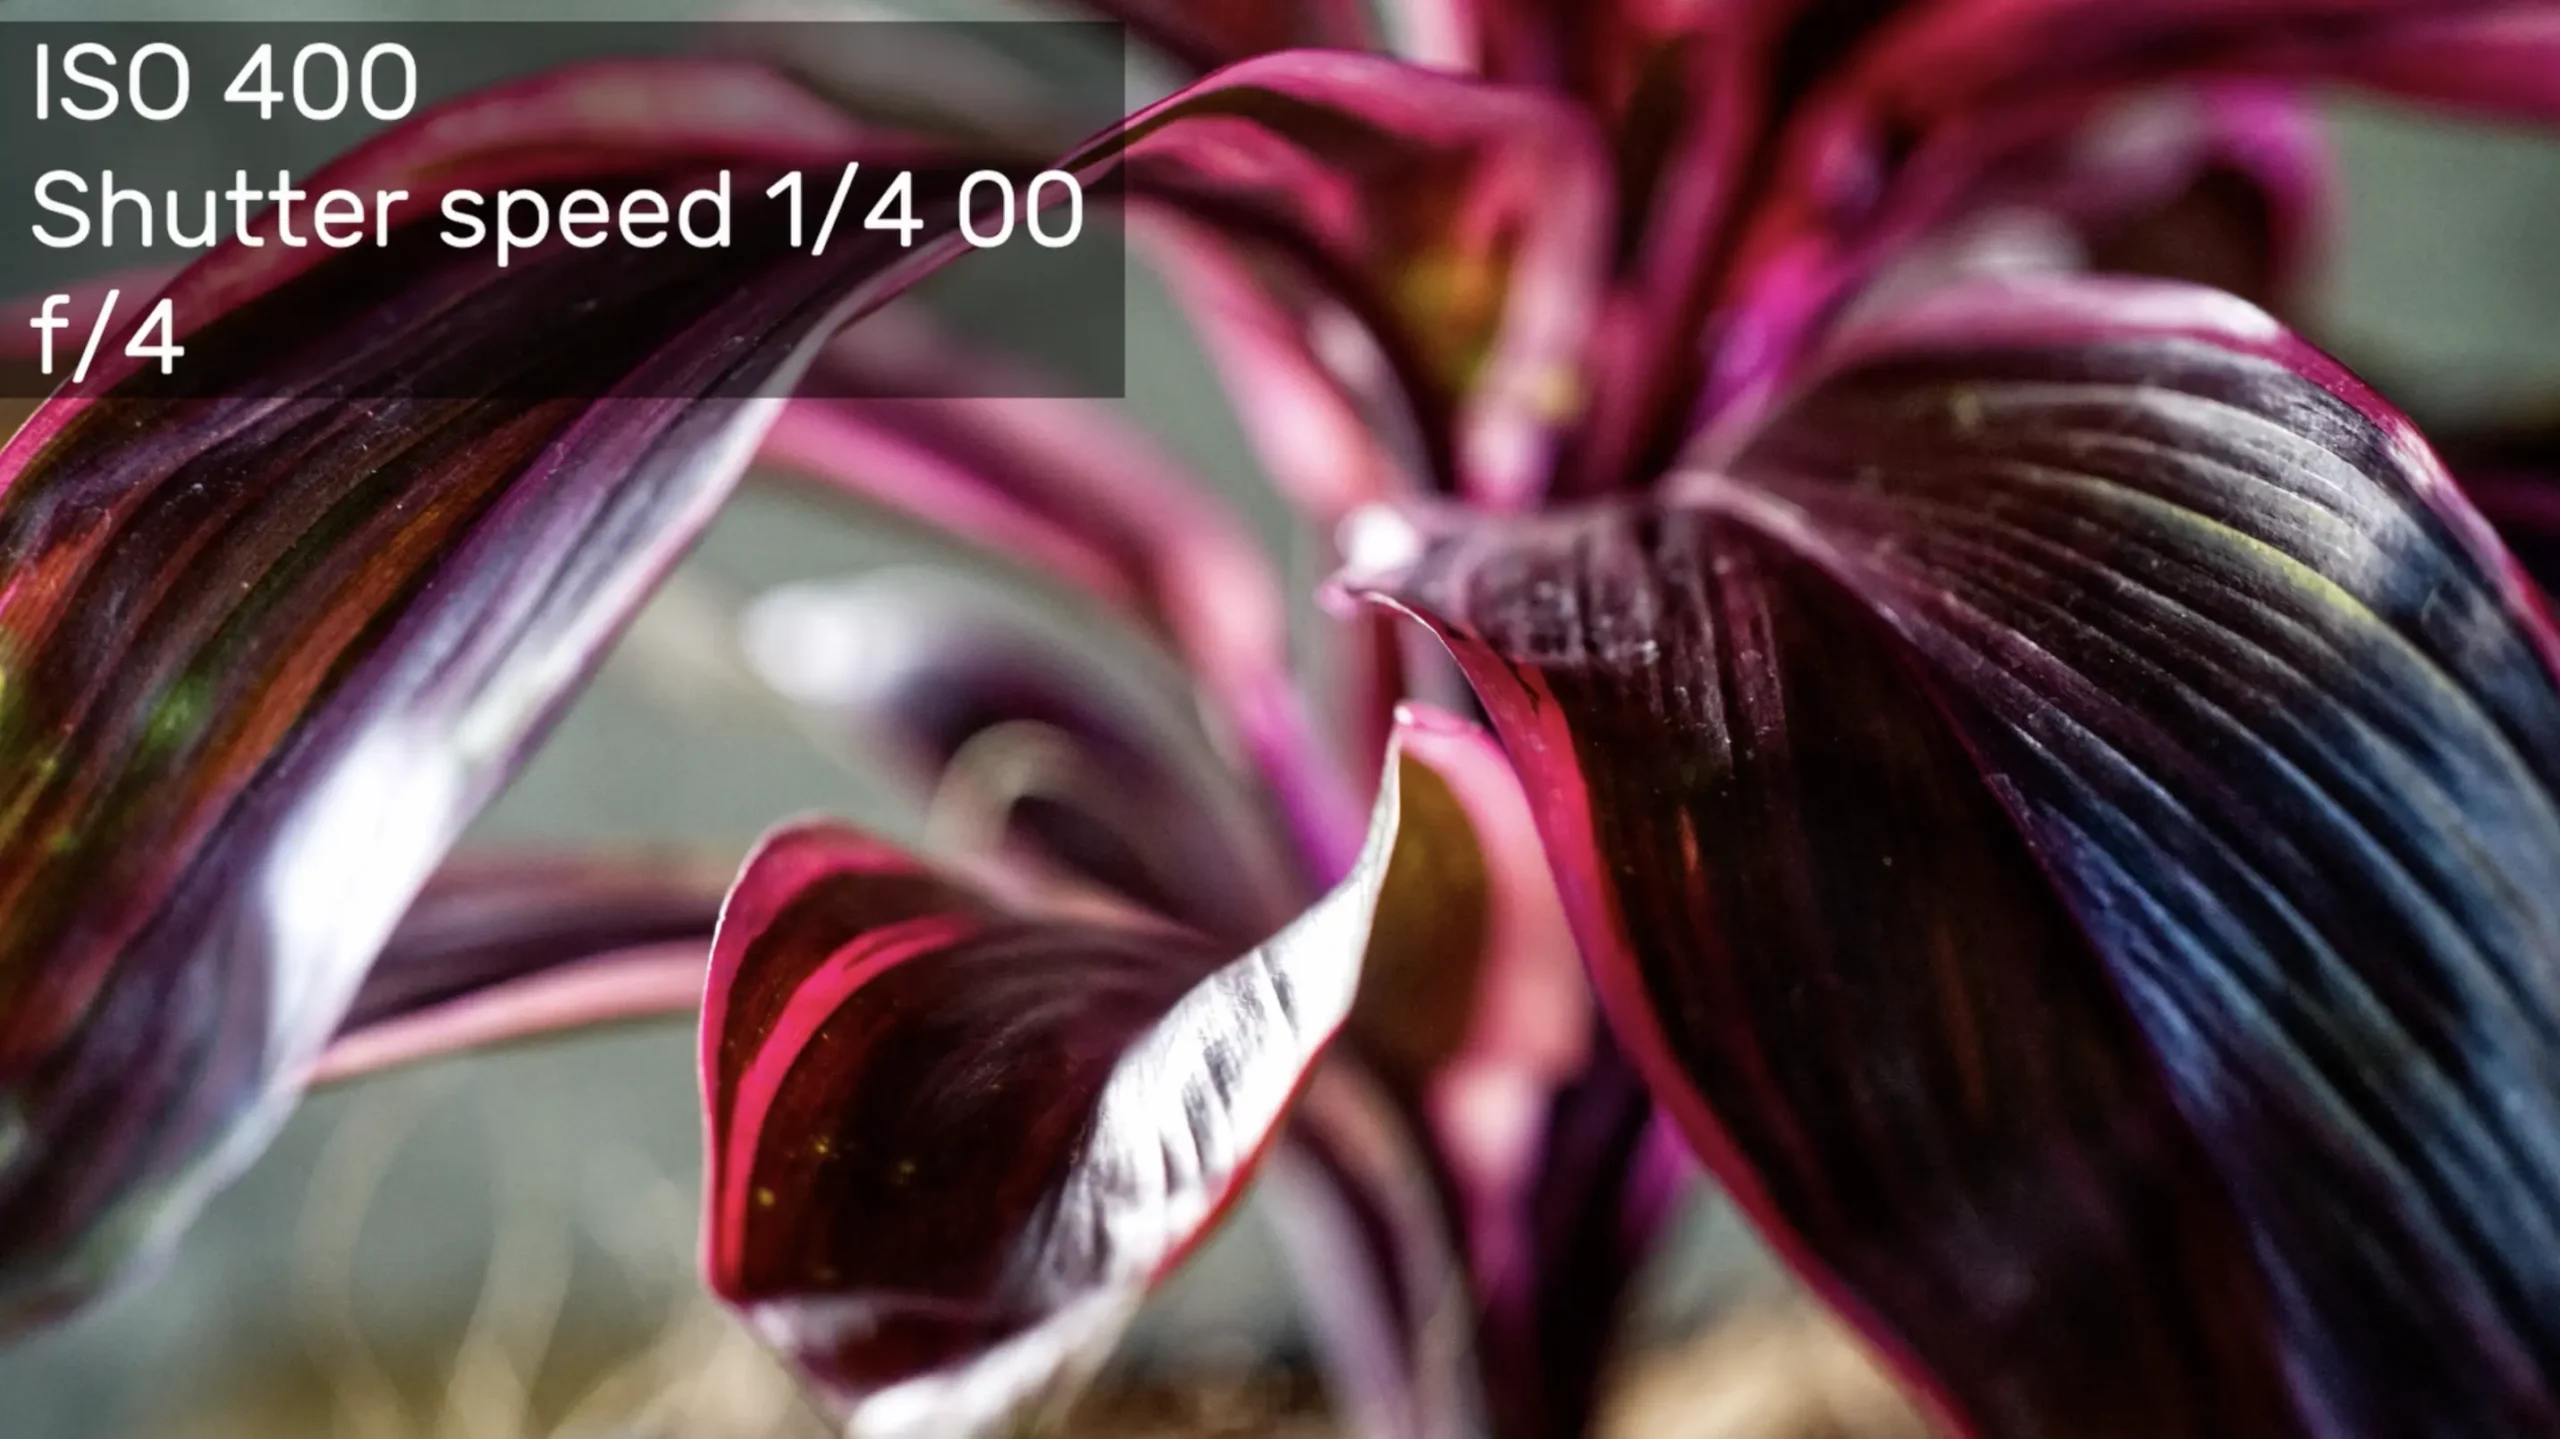
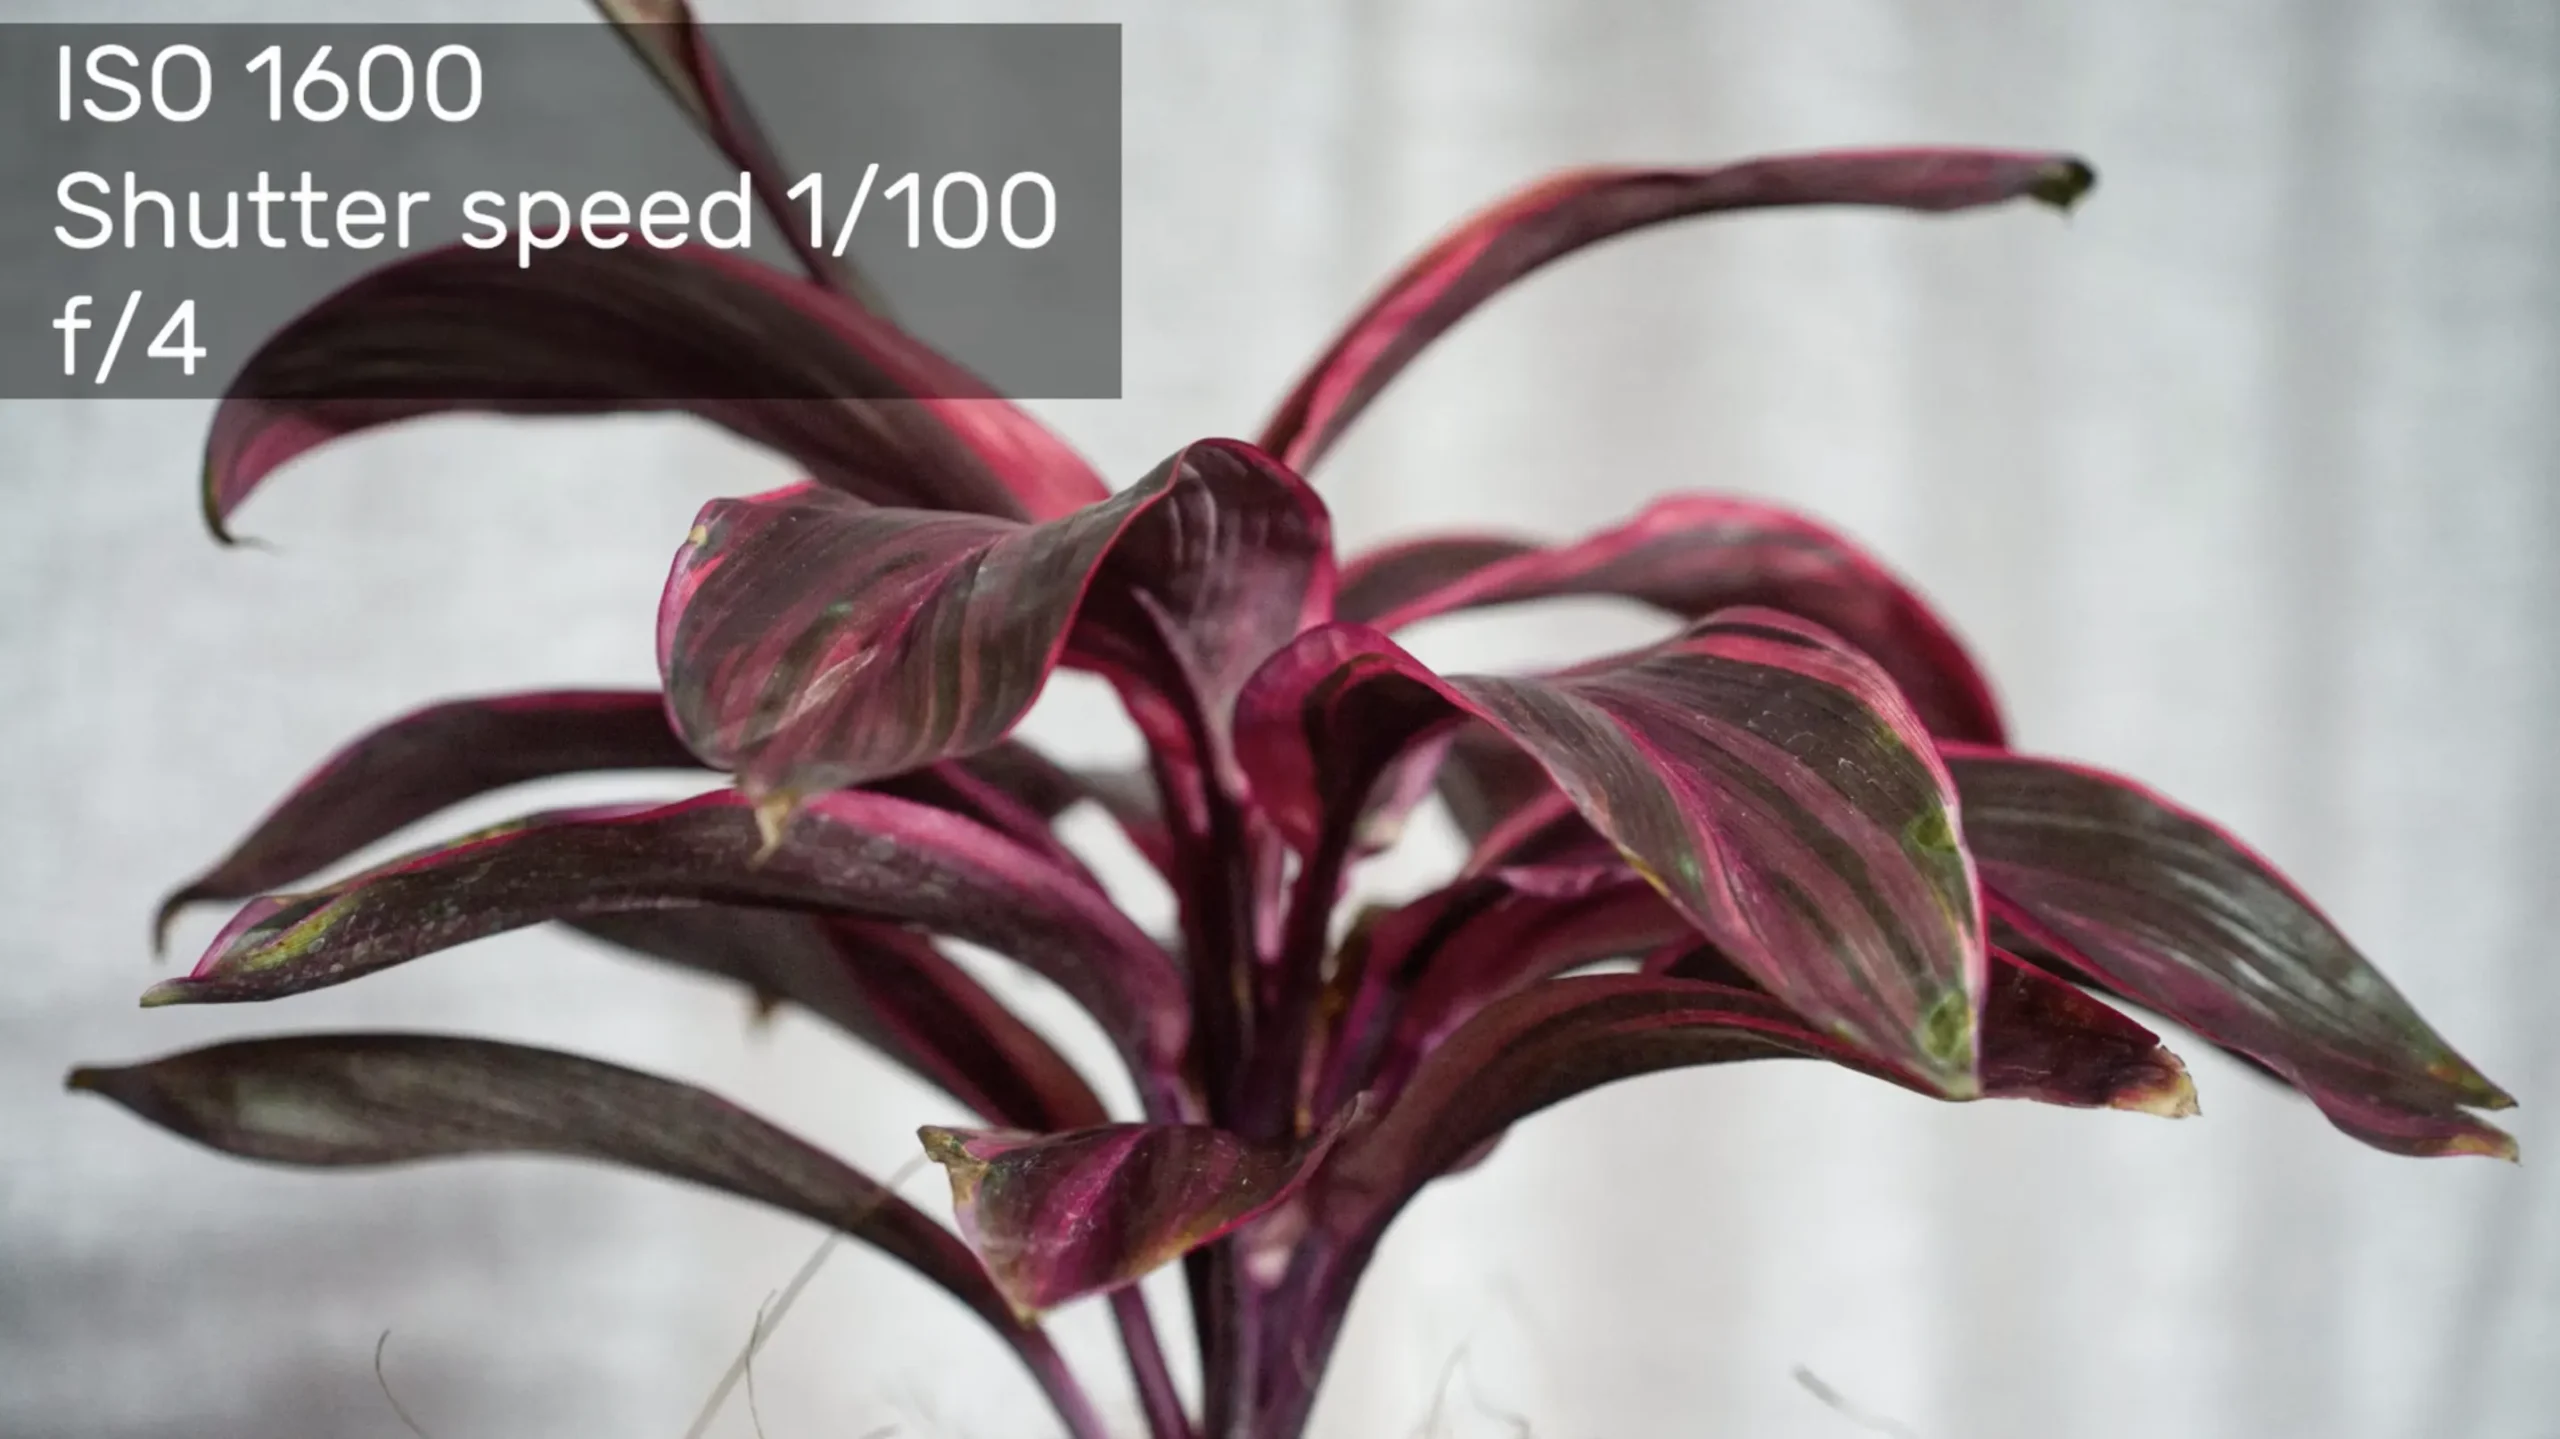
Debunking the ISO Myths
There are many misconceptions about ISO and how it works. Let’s take a quick look at the most common myths:
- ISO is related to exposure.
Interestingly, ISO is not part of exposure. Whereas aperture and shutter speed physically capture more light into the camera sensor, ISO doesn’t do that. Instead, ISO brightens or darkens a photo based on the captured image. This is why many photographers don’t consider ISO part of the exposure triangle. - ISO is the sensor sensitivity.
This is probably the most common myth about ISO, and it’s actually false. ISO doesn’t reduce or increase the amount of sensitivity in your camera sensor. In fact, your digital camera only has a single sensitivity. ISO simply brightens your photo based on the current exposure. It maps how bright or dark the photo will be based on the ISO values.
Conclusion
Learning to control ISO helps to get your images correctly exposed. It helps us control the other two parameters of the exposure (aperture and shutter speed), which all work together to create a proper exposure.
- The higher the ISO, the more responsive the film or digital sensor is to light.
- ISO speed affects aperture and shutter speed choices.
- The higher the ISO, the more grainy or noisy pictures may appear.
Knowing how these parameters work together will help you grow as a photographer. This understanding helps develop your creative vision. Especially when you are photographing in various light conditions, with enough practice, you’ll be turning the dials and adjusting your ISO settings without thinking twice.
We hope this information was useful and that you’re ready to start controlling your ISO! Let us know your thoughts, comments, and experiences below about ISO.
Practice Exercise
The aim of this exercise is to determine the highest ISO setting you are comfortable using.
| Lens: Standard | Exposure Mode: Manual |
| Focus Mode: Single point auto, Single Servo | Location: Indoors on a cloudy day |
- Set your camera up inside, close to a window on a tripod or a stable surface such as a table, if you don’t have a tripod. You do not want to have bright sunlight coming through the window.
- Find a subject to photograph, preferably something that’s not black or white but has a more neutral tone. Turn on the lights in the room. Set your ISO to 100, your aperture to f/5.6, and your shutter speed so your exposure meter is reading 0. Take a photograph. Each time you make a change, make a note of what you are doing so you can remember later when you review your photos.
- Now close the curtains or blinds to block the light coming in the window. Adjust only the ISO setting so the exposure meter is reading 0. You will be choosing a higher ISO number. Take another photo.
- Next, turn the lights out and adjust the ISO again so the exposure meter is reading 0, and take another photo.
- If your ISO is not yet very high (if there is still quite a lot of light in the room), set your shutter speed to a faster setting (higher number) and adjust the ISO higher again so you are seeing a zero reading on your exposure meter. Take another photo.
- Keep setting your shutter speed and ISO higher until you reach the highest ISO setting on your camera.
- Compare the quality of the photos at lower and higher ISO. You are looking to see digital noise in the image. It appears as lots of lighter-colored little spots in the photos. It will be best to do this on a computer monitor and zoom in to 100% on the photo. Look mostly at the darker parts of the photos, as this is where the digital noise will start to show first.




This lesson sums it up just fine so that I understood it exactly with a few precise words- rather than a lot of long paragraphs. I will play around in your site more. This was my first spot on the website.
Thanks for the information and for taking your time to post it.
Margaret
Your welcome. I hope you enjoy the rest of the lessons. If there’s anything you think we’re missing let us know. We’re always looking for new lesson material.
Enjoyed the review on ISO. I now use a digital camera most of the time. If I set it to “No Flash” Does this force the camera to automatically increase the exposure time in a low light setting? I like to use a tripod and often do not want the glare of a flash.
If your camera is set to automatic then it will automatically update the exposure. If it’s set to manual you will have to compensate for not having a flash. It’s great that you use a tripod in such cases and I agree that a flash can ruin any great composition.
Thanks a lot always wondered how it worked. Still have a lot to learn but your site helps a lot. Thanks again
Hello,
From the lesson I have understood what ISO is, but i still have not figured as to when one could use higher ISO’s or lower ISO’s. Could you give an example. In the sense, if you are capturing a bright object, is the ISO to be set to at a relatively high number and vice versa?
Awaiting your response!
Thanks in advance,
Nutts
Because lower ISO provides higher quality photography it’s recommended that you use low ISO sensitivity as often as possible. High sensitivity ISO, around 1600, results in grainy photography. High Sensitivity is typically used when you want to capture very quick motion such as in Sports Photography, or when you cannot make the shutter speed any slower or open the aperture any larger in low lighting conditions.
Thanks a lot for the brief and to the point explaination. I understand ISO a lot better now.
Thanks a lot, it is what we say less words more knowledge. i am beginner in photography and i am gaining a lot of information from this site. ENJOYING PHOTOGRAPHY WITH MY NOKIA N86 8MP Camera. KEEP GONING DUDE
u wounder how ISO is short for International Organizational Standard, which intials IOS instaed of ISO
I’m a beginner in photography and I need to learn everything I can. Thanks for the explanation of ISO.
Thank you for this wonderful lesson very straight forward and easy to understand! i’m a beginner and I’m trying to learn everything i can! congratulations to the admins for the good work!
David
NOW I understand why I’m getting grainy photos in certain low-light conditions. I need to use the ISO setting! A simple discover that will make a huge difference in my low-light photos.
Hi,
Thanks a lot for understanding on ISO..I’m new to photography and want to learn it badly, I first thought ISO was just to improve the light factor? but never heard the term aperture before? not sure what that is, I have a Canon Rebel XT.. I was planning on buying Nikon D90(felt really comfortable with it)not sure to ask but do you favour Canon and why ?
Kindly let me know.
Nice description of the photographic term ISO .I am a beginner I learned and want to learn more thanks admin
Oh! at last i got the answer,(what is ISO?)…
I m a beginner and very confused about ISO & Aperture.Now i get it.Thanks a lot……I also want to learn more from u…I know u help me to be a professional…
WOW. It is nice. Straight & to point. Now I have a question, somehow I think maybe it has to do with ISO but not sure. I have a basic Nikon CoolPix S570 with wide 5x zoom & no clue what that means either lol. BUT, I want to know how to blur the background in a photograph. Maybe what the wide 5x zoom means Thanks in advance!
Tammy
What you’re referring too is the depth of field. To get the effect you’re talking about you need a wide open Aperture. And a long focal length (Zoomed all the way in). You’ll have to use manual mode to change the settings, even then your camera may not have a long enough focal length or an open enough aperture to make the effect you’re looking for.
Your ISO really help me lot to make my photography better. Thank once again for the details you provided about the difference between Film ISO and Digital ISO.
I love to do photography but i am little slow in english thats why sometimes I don’t understand but this time it was very easy and quick to learn photography. I tried this at my own I got wonderful pictures
Thanks to this website who teaches a free photography course very easy and quick
Aditya
Want to know more about being a professional photographer. Any useful training guide and resource will be appreciated.
Thanks.
Thanks,now I understand better about digital ISO.I use to take my pictures, the Nikon D50 and Nikon D80.Thanks again.
Its really simple and superb. I will start my photography from today onwards with my Canon PowerShot A590 IS.
I have had my Nikon D80 for 2 years and don’t know how to use it properly. I have now learned about ISO. Will practice tomorrow at day light. Any tip on how to get great pictures with the Nikon D80 will be appreciated. I love photography. Thanks to all who reply.
The lecture was great but I wanted to know if zooming has any thing to do with ISO because whenever I zoom the picture appears darker.
ISO isn’t effected by zooming but the aperture is. The more you zoom in or the longer the focal length: the less the aperture can open and that’s why you are getting darker pictures when you zoom in. After you zoom you have to re-evaluate your exposure.
I have a cannon 5d and am still learning. My photos have been selling well but I am concerned that they don’t have that real sharp clear look to them. Can you give me any tips. Also if the iso should be lower and it isn’t a really bright room would I just have to change other settings to let more light in instead of going higher in iso. The last practice I did was in a bedroom and the photos were very noisy.
This is the best site I have come across by the way. IT’s fantastic for us beginners !!
If you want to get rid of the grainy look you’ll have to lower your ISO. That might require a tripod. If there is motion you’ll have to add more light in order to keep your iso low and still freeze the motion.
Just found this site…I’m a beginner myself and I really want to learn Photography and hopefully get a degree. I actually learned a lot with not so much of reading long paragraphs. I like how its straight to the point and understandable at the same time.
God bless you all for all the information on this site, I’m just about to buy my first dslr and I’ve always loved photography and wanted to be a pro. I’m excited and eager to learn, I’ll update you as I get along.
Great class, is there worksheet that I can use as a guide for which ISO to use.
Lowest is always best, but it depends on if you can use a tripod or if your subject is in motion. If they are moving and there isn’t much light you’ll have to increase the ISO. It’s kind of a last resort setting.
This is great! I´ve heard all this concepts before but had no clue what they meant. I love it how you “tranlate” them into examples. Now I know what to do with ISO! It´s not chinese anymore. This is exactly the type of site I was looking for to learn about photography in simple words. Thanks again!
love the site! have a question on ISO: when I’m on manual mode I currently have ISO on auto. But having read the above I understand that the lower the ISO the better. so if I’m setting aperture and shutter speed I’m assuming that the ISO will automatically adjust to get the best exposure? which may mean the ISO goes higher than it needs. So it would be better to set this manually too?
also when you’re in fully manual, which do you set first? aperture or shutter speed and ISO? I know it’ll differ if the subject is moving or not – if moving you want to reduce shutter speed. and then for static pictures would you always set aperture first to control the depth of field?
so far I’ve been trying to get my head around the technical side of things, but when it actually comes to taking a photo on manual mode I feel completely at a loss!!! Are there any good starting points? I liked the guidelines for aperture dependent on how much natural light there is but not sure where you would start on shutter speed….
Looking forward to your response
Thanks