Are you a photographer who desires to better understand exposure and dynamic range? Learning to use the Zone System is a great foundation on which to build a stronger understanding of these aspects of
The Zone System can help you read the light and tone in a scene. When you can do this, you can set your exposure with confidence. You will know how the image will render as a photograph, either in color or in black and white.
You may have read opinions suggesting the Zone System is too complicated or not designed for digital
Contents
- What is the Zone System?
- How Does the Zone System Work?
- Does the Zone System Apply to Digital Photography?
- Metering From a Gray Card
- Why Using the Zone System Can Help Your Photography
- The Zone System and Post-Processing
- Putting the Zone System into Practice
- Conclusion – Your Creative Intent is Critical
- Practice Exercise: Using the Zone System
My challenge is to present it to you in such a manner that you’ll want to love using it. But if you prefer doing things the easy way and are happy taking snapshots, this article may not be for you. If learning to control your camera to make expressive, creative photos is something that interests you, keep reading.
Like learning anything creative, you have to grapple with some theory to master the craft. The method of the Zone System provides you with the means to confidently make more bold, creative choices when setting your exposures. Once you have an understanding of it, you’ll set your aperture, shutter speed, and ISO controls with greater certainty.

My aim in this article is to explain as practically as I can, how I use the Zone System and how it can help you improve your
What is the Zone System?
The Zone System provides photographers with a scientific method to evaluate the tone range in a composition. It also guides the photographer to adjust the camera’s exposure settings to capture an image the way the photographer imagines it.
American photographers Ansel Adams and Fred Archer developed the Zone System. They came up with it to help them be more scientific and precise about black and white sheet film exposure and processing. This was long before the invention of digital
It is a scale of eleven tone values. The darkest being pure black, the lightest being pure white. Black is Zone 0, white is Zone X. Each gray value between these two extremes is exactly one photographic stop different than the gray tone on either side of it. So, Zone III is one stop darker than Zone IV and one stop lighter than Zone II. Zone VII is one stop darker than Zone VIII and one stop lighter than Zone VI, and so on.
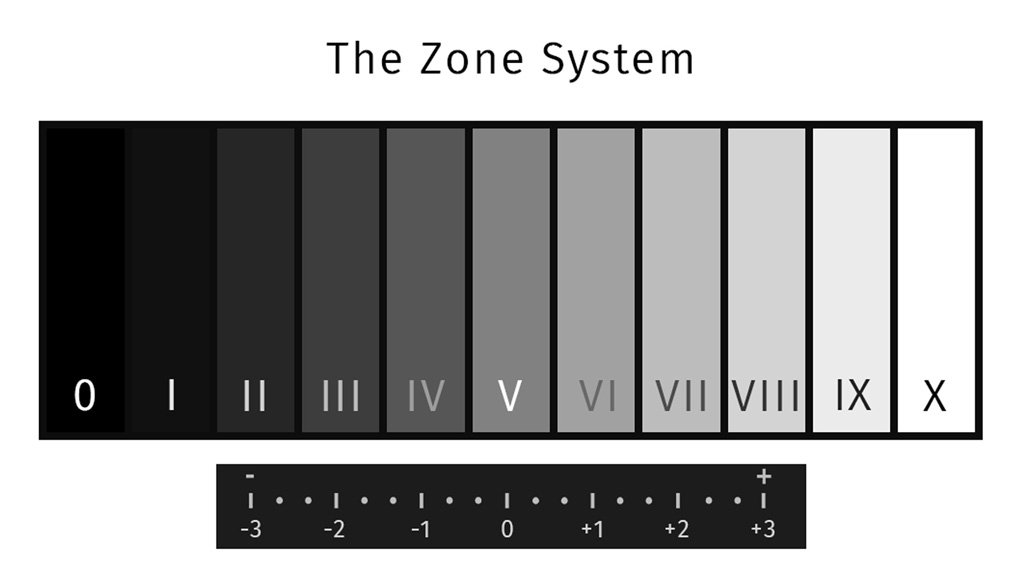
Alan Ross, an assistant to Ansel Adams, had this to say about Adams and Fred Archer developing the Zone System.
“Their intention was not to create any sort of dogmatic methodology. It was instead to give a photographer the ability to effectively evaluate the qualities of a scene and follow through with confidence that the information necessary for the photographer’s visualization would end up on the film.”
How Does the Zone System Work?
The vital key to making good use of the Zone System is knowing that Zone V represents the same tone any camera meter can relate to. Exposure meters record reflected light as if it’s reflected off a surface that is middle gray. This is the tone at Zone V, which is halfway between black and white. It is also known as 18% gray.
Try This Photography Exposure Exercise
A correct exposure is not always what you think it might be. Point your camera at a scene that’s all white and evenly illuminated. When your exposure value reads zero, take a photo. Your subject will look gray in the photo. Take another photo of a composition that includes only black and is evenly lit. Your subject will look gray in the photo, not pure black. This is because the exposure meter needs a foundation to work from, and this is middle gray.
Your camera never knows what your subject is. It does not know what colors or tones are contained within your composition. The camera does not know the quality of the light illuminating your subject. But your camera’s exposure settings must be adjusted correctly for you to capture well-exposed photographs. To make exposure calculation practical, all light meters are calibrated to this middle gray, or Zone V in the Zone System.
When you know this, and you take a spot meter reading from the part of your composition you consider most important, you can control its tone.
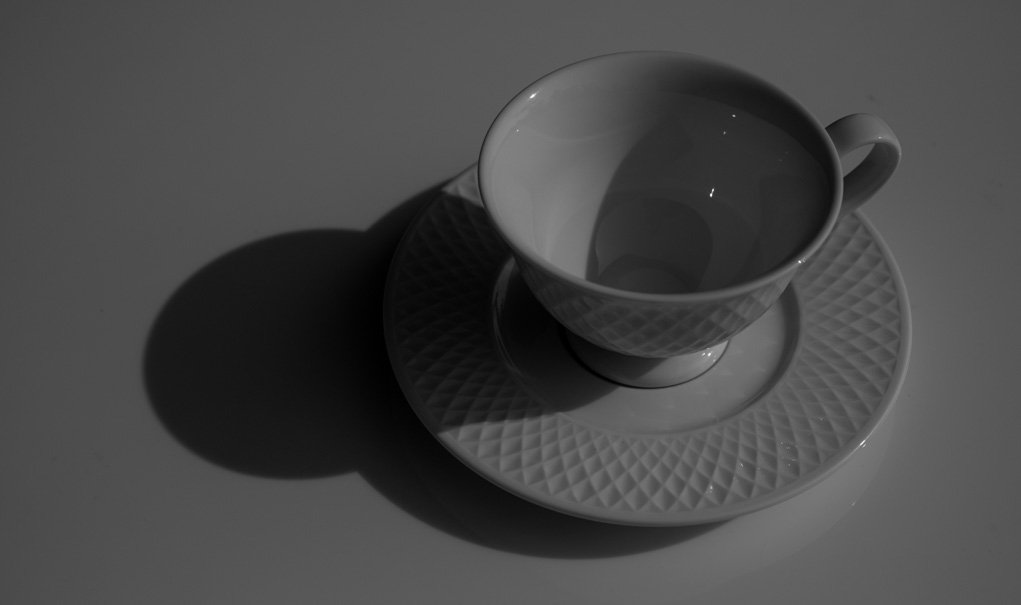
Take an exposure setting from a white subject. Set your exposure so the meter reads zero. You know the white subject will render as middle gray in the photo. The same result occurs using any of your camera’s auto-exposure modes or auto ISO. Adjusting your exposure value to four stops lighter will render your white subject so it looks white in your photo. The reverse applies to capturing a black subject so it looks black in the photo.
Making a Correct Exposure
Often, what your camera indicates as a correct exposure will not make a photo that looks like what you see with your eyes. If you want a photo that does, you need to use exposure compensation or adjust your aperture, shutter speed, and/or ISO.
Always using auto-exposure modes and not dialing in any exposure compensation often results in dull photos. This is because the camera is programmed to read everything as being a boring gray tone, no matter what color or tone it actually is. This is a technological limitation that our eyes are not restricted by.
You can use photos to document reality, as a creative expression, or in many other ways. A ‘correct exposure’ is what you want it to be. To obtain this type of exposure, you must take control away from the camera because not all we photograph is middle gray. You also must know what you want to achieve as you set your exposure.

Does the Zone System Apply to Digital Photography ?
Since Ansel Adams and Fred Archer developed it, the medium most of us use to capture photos has changed. But light and tone remain the same. For this reason, it remains relevant, and some of it can be applied directly to digital
Certain aspects of the Zone System relate to black and white negative film processing techniques. The manner of processing could alter the film emulsion density and therefore influence how prints were made.
Like other aspects of using either negative film or slide film, this can help you gain a more in-depth appreciation of digital
Considering Dynamic Range
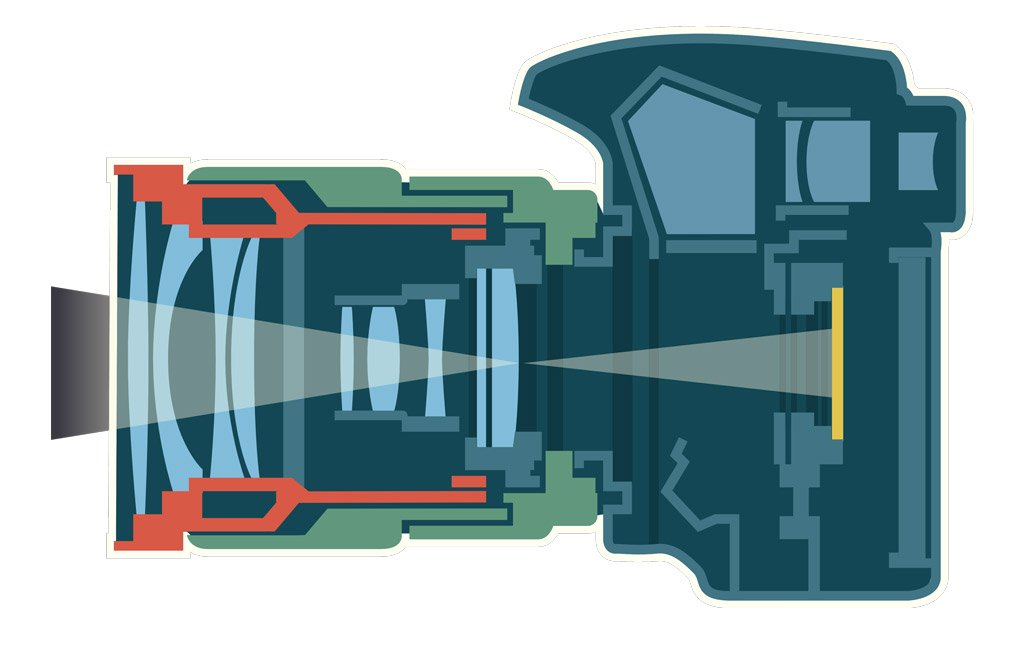
Other than processing differences, the dynamic range also differentiates film and digital
Dynamic range is the difference between the lightest and darkest tones recorded in a photograph. With film and early digital cameras, the dynamic range was far more limited than it is with modern digital cameras. This is why some people consider the Zone System redundant. They think that because Ansel Adams and Fred Archer devised it for use with black and white sheet film, it is not relevant to photography. Once a piece of sheet film is processed, you cannot alter the negative. During processing, a skilled technician can control the density of the film emulsion. This then affects some aspects of how prints from the negative are produced.
With digital processing, you have much more flexibility and, with RAW files, the changes you make are non-destructive. This means you can make mistakes and correct them as many times as you like. With film, you don’t have this luxury. The Zone System gives a photographer confidence with exposure and development.
High Contrast and Dynamic Range
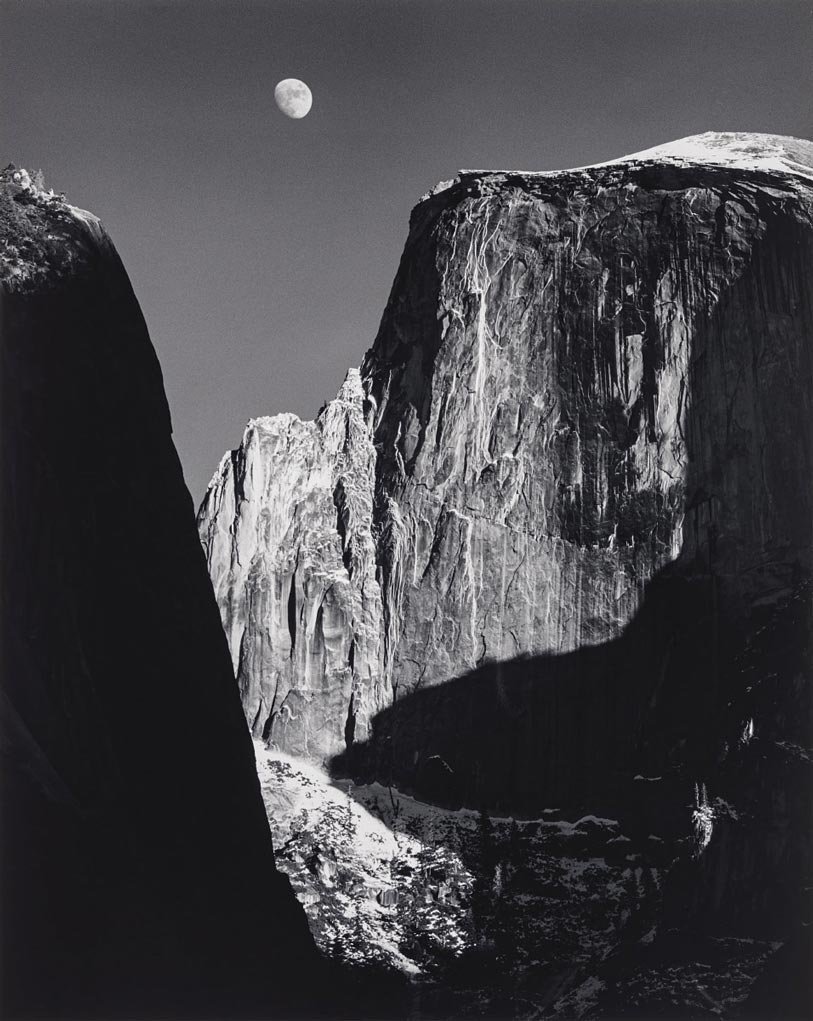
Even as digital camera sensors have become advanced, there are limitations on the tone range they can capture in a single image. So understanding and implementing the Zone System can help you expose digital photos with more skill.
In high contrast scenes where the tonal range is broad, making careful choices about your exposure settings is more vital. If you’ve ever photographed a traditional church wedding, you may understand what I mean. The groom is in pure black. The bride is in pure white. A lovely sunny summer day. How can you make exposures that retain detail in both her dress and his suit?
If you set your exposure so the white dress is in Zone IX, his suit may be in Zone III or Zone IV and not look pure black. Alternatively, if you expose the suit so that it is in Zone I, her dress may be in Zone VII or Zone VIII. It will look dull and off-white. Not something a bride is likely to appreciate.
With careful post-processing of a digital image, this can be corrected if you have exposed your photograph well. If you are not careful enough, you run the risk of blowing out the whites or losing any detail in the blacks.
Being aware of the dynamic range helps you know when the brightness of a scene may exceed your camera’s ability to record it well. You can then make choices about your exposure settings with the guidance of the Zone System. This can be helpful to landscape photographers, portrait photographers, and any photographer.
It can apply in any lighting conditions, but it’s most vital in bright, hard light. This is because the contrast is greater, and the tone range between pure white and pure black is broader.
Metering From a Gray Card
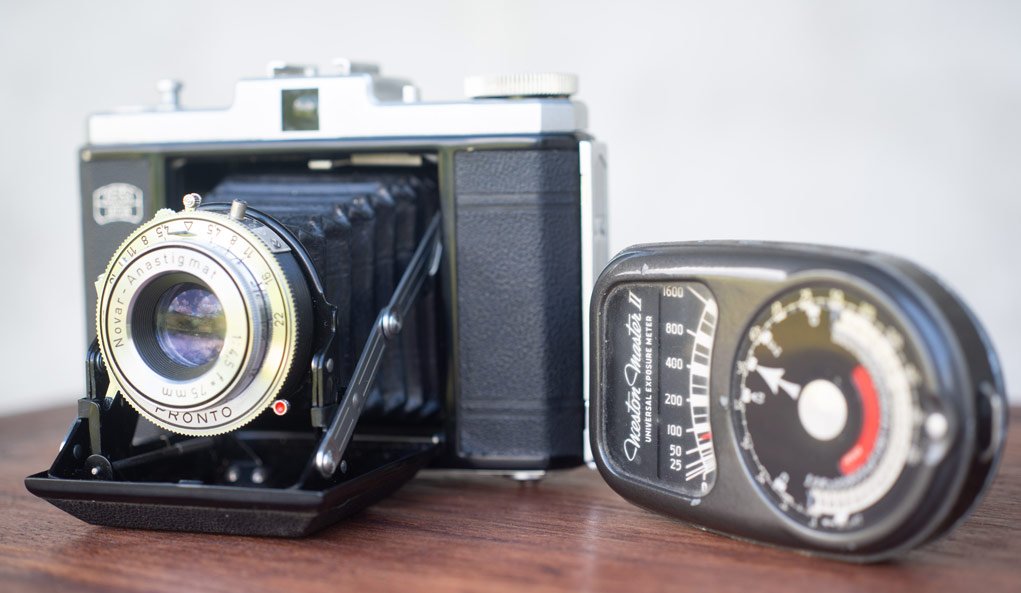
Old school photographers used a gray card or an incident meter to help them determine a good exposure. Bother these methods provide a good exposure for mid-tones. The photographer could then make adjustments to their exposure settings based on their knowledge of the Zone System.
A gray card is what the name suggests. It’s a piece of an 18% gray card that is held in front of the lens, and an exposure reading is made. The card needs to be in the same light as the scene you would be photographing. If, for instance, you are standing in the shade and taking a photo of a sunlit scene, you’d need to hold the gray card in the sun to take a reading from it.
An incident meter is usually a handheld light meter that reads the incidental light. This is light that’s not reflecting off anything. The light meter will display information for an exposure setting for the mid-tones for anything in the same light.
Meter readings made like this provide you with a clear idea of where to expose for the mid-tones in a scene. Once you know this, you can then adjust your exposure by the number of stops you decide on where you want your various zones to be.
Why Using the Zone System Can Help Your Photography
Being aware of the tonal range in a scene helps you determine whether you need any exposure compensation. Using a spot meter to measure the reflectance of a Zone V area shows you where middle gray is. You will then know how many stops to adjust your exposure by to make something pure white or pure black. You will also be able to calculate placing various tones in Zone II, Zone IX, or any other Zone.
When you’re photographing a person, it’s usually most important to expose their skin tone well. You want them to look as natural as possible. In some situations, you may want their skin tone to be darker or lighter than it actually is. Photographing women in Thailand, they usually like it if their skin is one or two stops lighter than in reality. It’s a vanity thing.

Understanding the Zone System and using your camera meter well, you can adjust the way tone values appear in your photographs. You can seek to always render the values as close to real as possible. You can also manipulate the tones to appear as though they are lighter or darker than they are.
To use the Zone System may seem complicated, but like anything creative, it is. Once you practice it, you will become proficient and confident in using it. It does take time to implement this photographic theory. But when you do, more and more you will notice how much you can control shadow detail and highlights in any scene you are photographing.
The Zone System and Post-Processing
“The truth is, in the five+ years I worked with him in the darkroom, I never saw Ansel make a straight print. An ideal Zone System negative, if there is one, might actually look boring as a straight print. But the information is there to achieve what was visualized the moment the shutter was released.” Alan Ross talking about Ansel Adams ‘post-processing’.
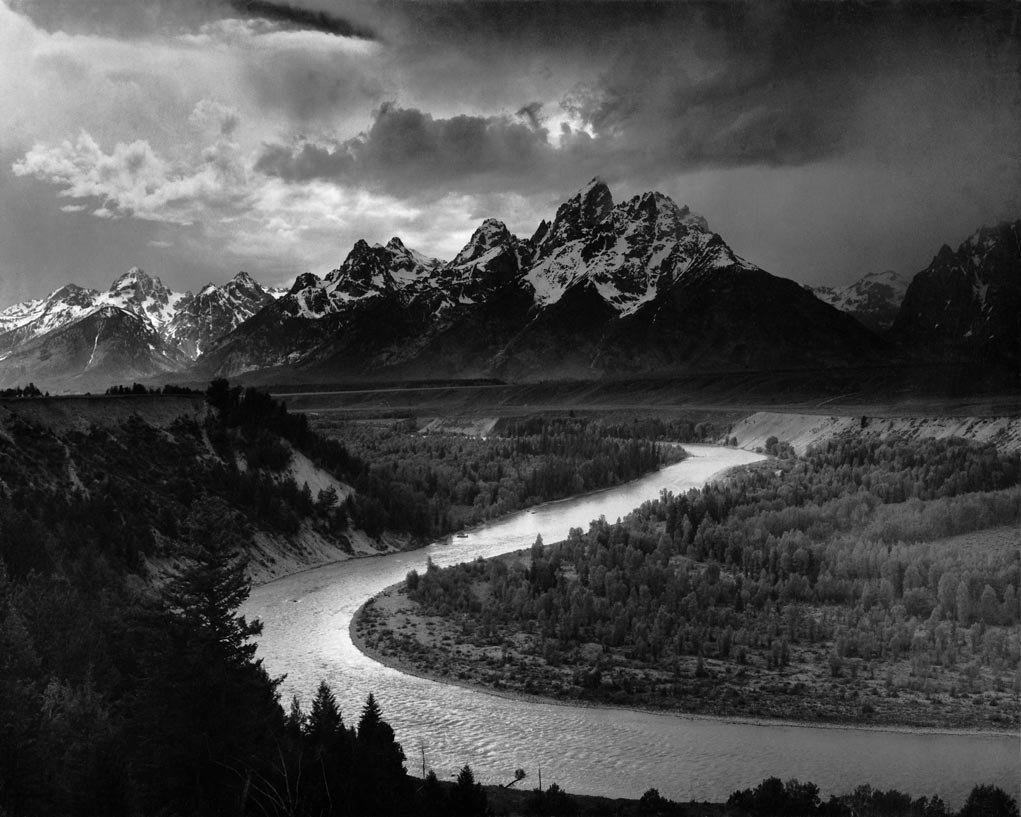
Anyone who’s read about Ansel Adams or watched any videos about his printing methods knows he was a meticulous man. As the quote above emphasizes, his printing methods were not so straightforward.
A lot of his landscape
Use the Zone System While Digital Post-Processing
With digital
When you start post-processing a well-exposed digital image, you have a lot of flexibility and scope. Far more than when an image has been poorly exposed. Metering the light well and knowing how to use the Zone System gives you a solid foundation from which to control your camera settings. This will produce a well-exposed image every time. You can then work to post-process the color and light details either globally or locally with your preferred editing software.
Programs like Photoshop provide so much more scope for detail editing than was ever possible in a traditional darkroom. Many darkroom tools, such as dodging and burning, are present in modern editing software. They perform pretty much the same functions as they did when printing in a dark room, but with way more ability to control.
To use the Zone System while digitally post-processing allows you to control the detail and how much tonal range you want in each image. It is the same for color as it is for black and white. You can manipulate your image so that you have a full tonal range. Or you can limit it as much as you like. Being aware of what Zone any element in your image falls within can help you make more dynamic prints.
Putting the Zone System into Practice
Light is the essence of
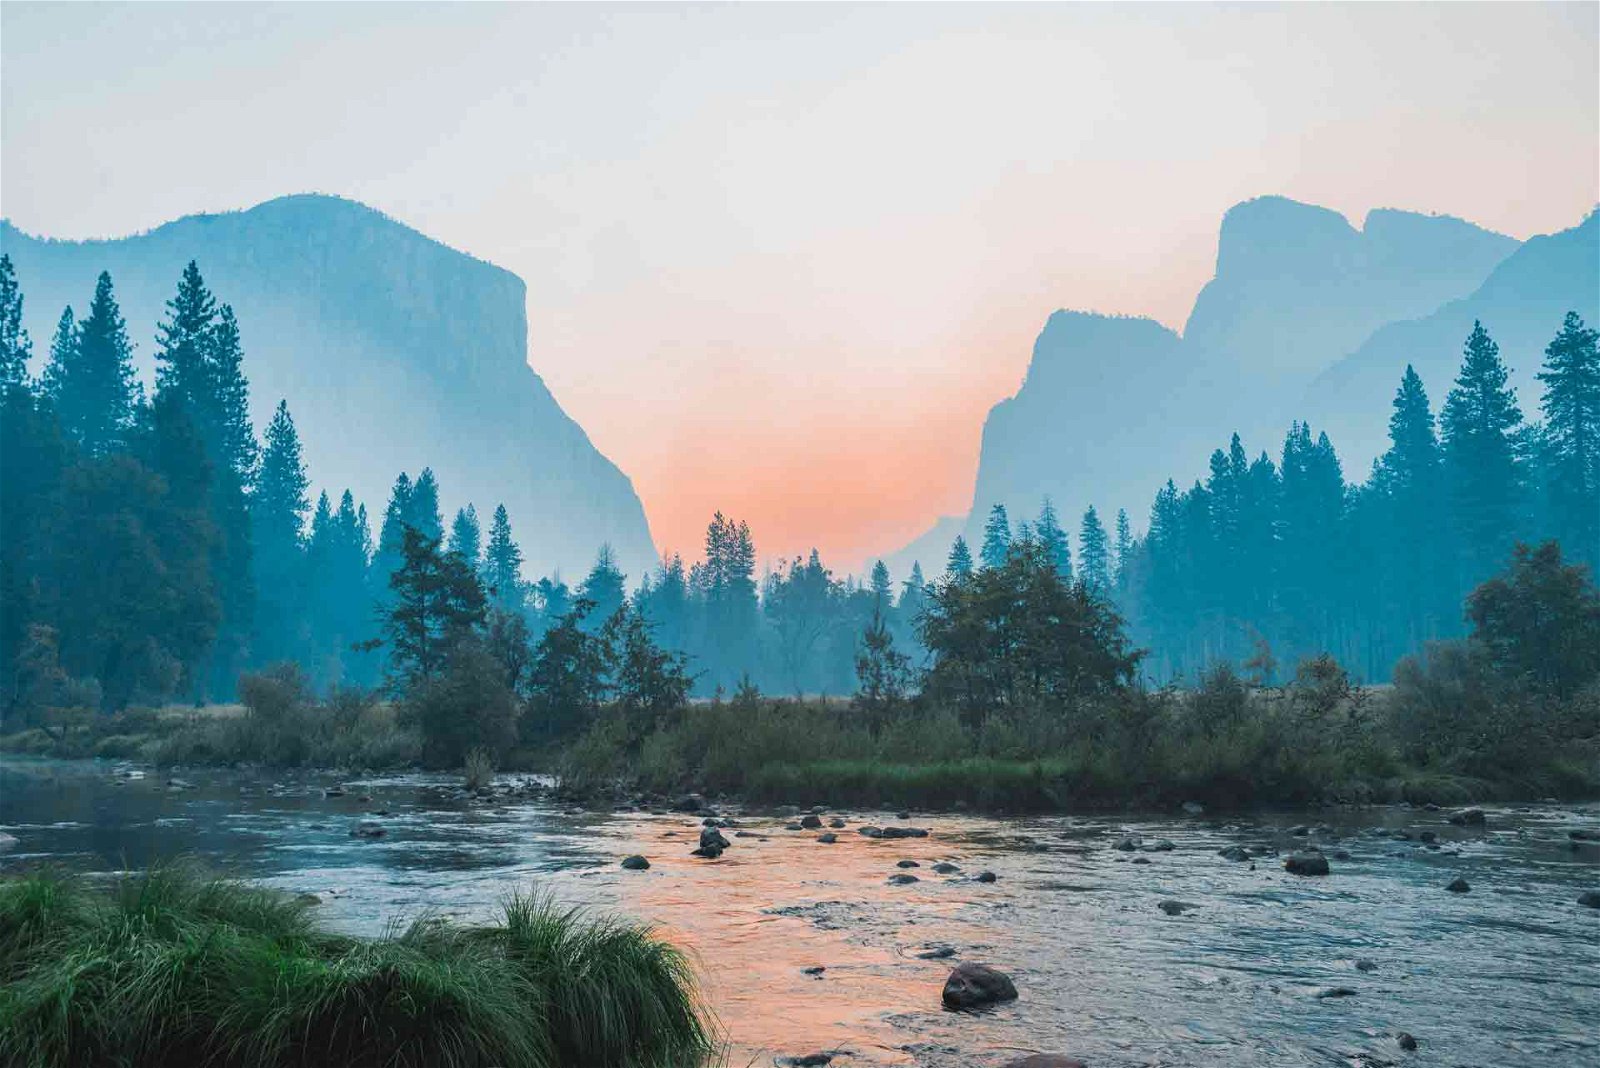
Thinking in black and white can help you understand how to meter well. Seeing the zones’ different colors fall into place when metering takes practice. As you learn to do this, you will know how many stops of adjustment you need to make to obtain the exposure you want.
Embrace Manual Mode
Using the spot meter to take readings from the areas you want to contain the most detail will become second nature as you put this into practice. If you’re used to using your camera in any of the auto or semi-auto modes, this is a major adjustment. Ultimately, it will bring you to a greater understanding of light and exposure. More so than if you only use the exposure compensation setting on your camera. You will be more precise in knowing the number of stops difference as you take manual control of your exposures.
This is a detail worth noting. The more you rely on auto and exposure compensation, the lazier your brain becomes about the camera settings that are being made. When you switch to manual mode, you are forced to pay attention. You will find that you will have to work at a slower speed for a while.

Slow Down
There is nothing bad about approaching your
Maybe think as though you are using a film camera with slide film. If you have ever photographed with slide film, you’ll know that setting your exposure well is so much more vital than with a modern digital camera. You are forced to work at a slower speed and take fewer photos.
You’ll also know you have little or no scope to make alterations during post-processing. If your sky is too bright, you’ll need to use graduated neutral density filters to control the tonal value. This will bring it down from Zone X to Zone IX or lower, depending on the strength of the density filter. When you have to think about these things, you’ll be more tuned into seeing the tonal zones. Then you can make better choices of where and how to read the light with your meter.
Eventually, you will automatically know how many stops you need to adjust your exposure by to keep the tonal range in the zones you want it to be. You’ll also be able to make these judgments in relation to how you want to expose the color in your images.

Conclusion – Your Creative Intent is Critical
As you become more aware of light and color, you will learn to know the number of stops you need to adjust your settings. If you prefer light or dark skin tones, you can control them. With your landscape photography, you can be more precise with the zones and colors as you learn to use your spot meter well. Then, use the Zone System to place the various elements in your scene in the zones you want them to be.
Having intent for how you want your final image to look is a strong factor when you want to use the Zone System like a genius. Without really knowing how you want the image to appear, you won’t always capture the best zones. This will affect the color and tones in your images. Being sure of what you want helps you best expose your image.
Practice Exercise: Using the Zone System
Description: The aim of this exercise is to take a series of photos that demonstrate how the zone system works with digital photography in manual mode.
Estimated Time: 30-45 minutes
Skill Level: Beginner-Intermediate
Tools and Supplies:
- Lens: Standard
- Camera with Manual exposure mode
Conditions:
- Location: Outdoors or Indoors
- Time: Any time of day
- Exposure Mode: Manual
- Focus Mode: Single point auto, Single Servo (or your preference)
Instructions:
| Step 1: Find something black and something white to photograph. If you can find a shiny and a dull thing in both black and white to photograph, this will be even better. |
| Step 2: Arrange your objects in an interesting way. Photograph them in hard light and in soft light if you can. If you’re somewhere you don’t get much sun, set up a lamp to provide a hard light. You may need to put your camera on a tripod or use a high ISO. |
| Step 3: Set up or find a composition that has some areas with black, white, and mid-tones. With your exposure mode set to manual, set your metering mode to spot. Take a reading from the middle tone in your composition. Set your exposure so the meter is reading zero and take a few photos. |
| Step 4: Move your spot so you can take a reading off the lightest part of your composition. Set the exposure so your meter is reading zero and take some more photos. Now change your exposure setting so it is three stops brighter. Take some more photos. |
| Step 5: Point your meter at the darkest part of your composition. Set your exposure so the meter is reading zero and take more photos. Now change your exposure setting so it is three stops darker. Take some more photos. |
| Step 6: Photograph from different angles. For each composition you make, try to adjust your exposure settings so your light subject looks like it’s in Zone 0 or 1. Then try other settings to make your dark subject appear as if it’s in Zone 9 or 10. |
| Step 7: Take notes of what you’re doing and why you are choosing the settings you are. |
| Step 8: How do the results look? Compare your photos side by side on your computer and see which ones render the tones in the composition most correctly to how you saw them. |
| Step 9: If you want the light area in your photo as it does to your eye, you’ll need to adjust your exposure by 3-4 stops lighter. If you want your dark area to look natural, you’ll have to adjust your exposure by 3-4 stops darker. Using the zone system can help you visualize this. |


Thank you so much for the clear, concise guide . This was so confusing all these years, though I read & re read.