As a food photographer, creating delectable eats is your job and your passion. But, aside from your props, lighting, and ingredients, your other best friend in the studio is your camera settings.
Are you going for a shallow depth of field, or do you want everything enticingly in focus? Are you aiming for photos with motion blur, or are you looking for overhead shots with every place setting sharply laid out?
Your depth of field, your primary focus, and your background are all controlled by your settings, and the more you master them, the more control you have over your final images and the sensory impact on your audience.
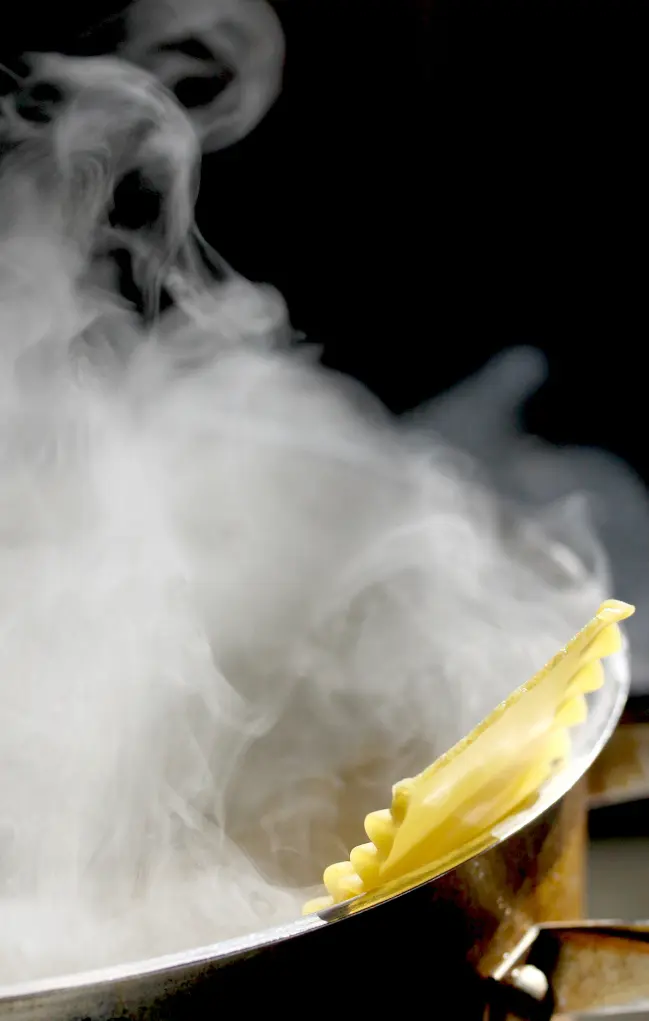
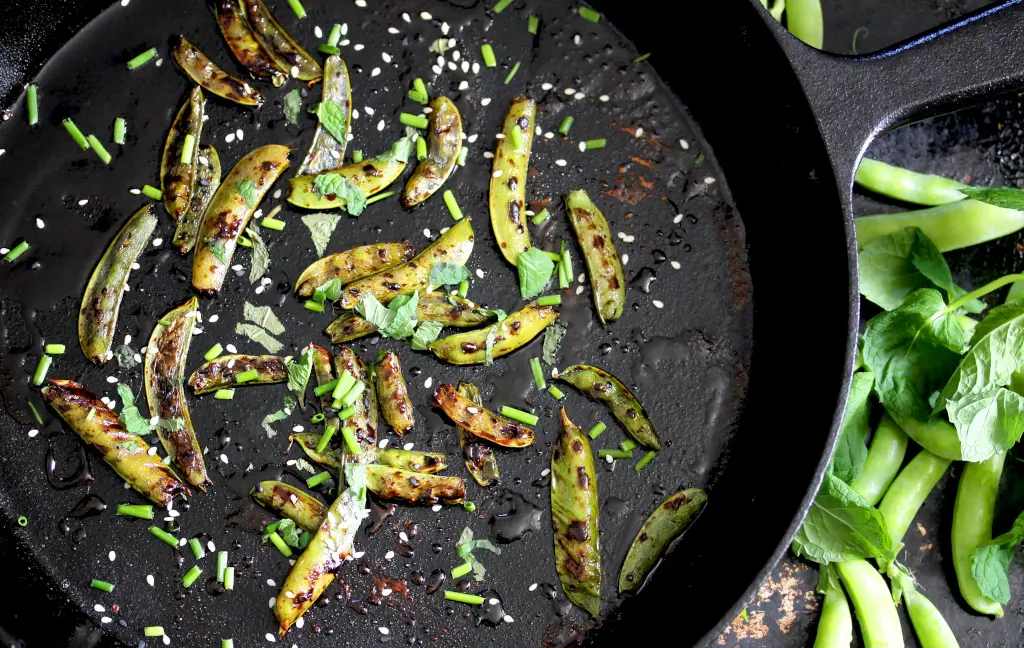
The shallow depth of field draws the eye to the gruyère melting from a piece of bread on a fondue fork. The fast shutter speed captures when the popcorn pops. All of these things create a visceral response to your images.
In this article, we’ll discuss the best camera settings for photographing food and how to apply them in ways you may not have even considered before.
Contents
Understanding Your Camera: Getting Started
My go-to lens is my Canon 60mm f/2.8, along with my Canon 35mm f/2.8. The 60mm can capture a droplet of water on a strawberry so lovingly that it brings a tear to the eye. My 35mm is the perfect lens for flat-lays because everything from the main course in the center of the table to the dessert spoon at the farthest edge is clear, clean, and sharp.
Zoom lenses can work in a pinch if you’re shooting a live event like an outdoor food festival and you can’t futz with changing lenses, but I’ve found nothing beats the clarity of a single focal-length lens.
When “Digital Single Lens Reflex” (DSLR) camera lenses have “full frame” sensors, they correspond to 35mm (36x24mm) film. In the world of film, 35mm was considered small because of its big brother, the 120mm (although 35mm was much larger than its little cousin, 16mm or “110”. But, for sensors, the 35mm is the king of the jungle, and is the largest consumer sensor in the digital world.
The sensor controls how the camera reacts to lighting (especially in low lighting conditions) and composition.
So, a full-frame lens actually ends up having a shallower depth of field than a crop sensor. Whereas a “crop sensor” has a narrower field of view because it’s only 22.2mm x 14.8 mm. But that can work to your advantage, because you get a slight telephoto factor. The pros and cons depend on your environment and/or setup.
If you’re looking for faster action in burst mode, a crop lens is your friend. Because it’s taking in less peripheral information, it’s quicker. If you’re looking for more information in your digital files (especially in low-light situations), a full frame is your best friend.
The Best Camera Settings for Food Photography
When it comes to camera settings for photographing your delectable creations, there are a few main ones to master. And the best way to do that is in manual mode. In manual mode, you’re controlling the shutter speed, aperture, and ISO.
And there’s a mile of difference between photographing a pan of pastries on f/2.8 and f/18. If you really want to showcase the hero of your shot, you’re going to go for the wider aperture f/2.8 and blur the background.
If you want everything perfectly in focus, you’re going to want to go with the smaller aperture and shoot it on f/22, or another higher aperture.
But, if a cloud comes across your window, you’re going to have to tweak the shutter speed and/or change the ISO from 100 to 200 or even 400. You’re the boss, Hoss!
Manual Mode Overview
In auto mode, the camera makes all the decisions for you. It chooses what it thinks you want in focus, the exposure of your image, and the shutter speed.
In manual mode, you have full control over your shot. If you want the middle tomato of a sheet pan full of them in focus, and the rest to be slightly soft, you can do that without fighting your camera. Manual mode is liberating.
The “exposure triangle” is aperture, shutter speed, and ISO. Your aperture is the hole in your lens that determines how much light makes it to the sensor. Your shutter speed controls the length of time light is allowed in, and your ISO tells the camera how to correct for low light or brightly lit situations.
When you combine the three things, you make a perfect triangle of information for your camera’s settings!
Aperture (f-stop)
To me, the aperture is the main storyteller in food photography. It controls the depth of field and composition.
When you set your aperture to f/2.8, you’re really going to be telling a dramatic story with your food. Your “hero” (your main dish or most important ingredient) will be sharp, while the background will be blurred out.
In the inverse, when you go up to f/11, all of your ingredients and main dish will be in focus.
A friend of mine never shoots anything food over f/5. I thought that was a cool experiment, so I tried it for a month or so. And while that kind of dramatic look works well for her, it just doesn’t work for me with everything, especially because my main love is ingredients, rather than ornate desserts.
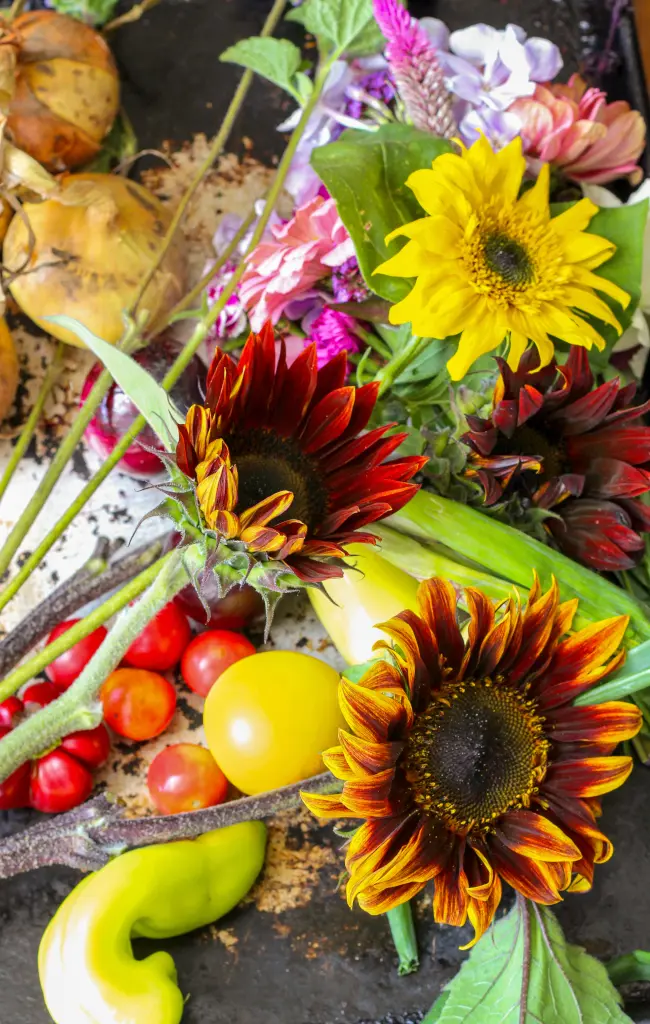
A basket full of rainbow carrots and green beans wants to be loved equally. At the same time, a three-tiered cake wants to steal the show.
Your aperture really does tell the story.
When I’m photographing flat lays, I find that f/8-f/11 is the magic number. This f-stop range gives everything a chance to shine and be in focus, while still minimizing camera shake.
Those aperture settings also let me give some depth with prop selections like napkins, plates piled high, and scattered utensils.
Shutter Speed
Shutter speed is important partly because it lets you freeze motion or create motion blur. If you want to capture maple syrup dripping languidly down a pile of pancakes or a whisk emulsifying a vinaigrette, it’s time to talk about shutter speed.
A good baseline for a drizzle of maple syrup or powdered sugar falling from a sifter is to start with a fast shutter speed, try between 1/320 and 1/800 sec. for starters. Faster shutter speeds will freeze motion more cleanly, and slow shutter speeds will give more motion blur. Experiment to see which works best for the subject and your own tastes.
As you play with shutter speeds, you’ll also notice how your other settings change. Fast shutter speeds let in less light, so you need to adjust your f-stop for a wider aperture, switch to a higher ISO, or add more light.
Shutter speed also interacts with f-stop and exposure settings in ways that make it central to great food photography, even when nothing is moving, which is often the case.
Because we don’t always have to freeze motion, we can use slow shutter speeds and a tripod, prioritizing other settings for the right exposure, a smaller aperture, or moody lighting, or whatever you’re after.
ISO
Your ISO setting is also an extremely important part of manual photography.
The general rule is to shoot at the lowest number possible for the highest quality images. In most studio situations, you can definitely use 100-200 ISO, especially when shooting on a tripod.
But, in lower light situations, for instance, if you’re shooting professional food photography in a restaurant, you’re going to need to bump your ISO up. And while your images will be sharp, you can run into problems with graininess or other noise and colors going off balance.
However, it all depends on what you’re going for. If you’re looking for the clarity of faces huddled around a candle in a corner booth of a restaurant, you’ll probably get that cozy atmosphere even pushed to 6400 ISO.
And here’s where auto ISO is handy. It allows seamless adaptability in changing lighting conditions during a shoot in the studio, outside at a food festival, or in an intimate restaurant. So, you can let the camera worry about that while you still control the aperture and shutter speed.
Advanced Settings and Techniques
Now that we’ve covered the basics, let’s really get the party started by doing a deeper dive into what your camera can really do!
From helping you determine the best white balance, to avoiding camera shake, to helping you score some cool bokeh, your camera setting options for photographing food are pretty vast. And all of those settings are there to make your photos look as sharp, elegant, professional (or whimsical) as you’d like them to be.
White Balance and Exposure
White balance is crucial to conveying the mouthwatering images you’re composing. Without it, your eggplant can look washed out, your tomatoes lackluster, and your vanilla cake, well, like a lemon cake that’s been out in the sun too long.
Your camera has auto white balance adjustments for accurate color representation. They range from matrix metering to center-weighted metering to spot metering.
Matrix metering works fine when everything in your shot is equally lit. That’s basically just letting the camera choose what it thinks looks best. Center-weighted metering works well when you’re letting the camera focus on the center of the subject or subjects. Spot metering is when you tell the camera to expose on the main subject.
Your white balance can help evoke desired moods and emotions as well. By tweaking the meter to make the colors warmer, you’re conjuring up a cozy atmosphere for your audience. By making the colors cooler, you’re calling to mind refreshing foods and drinks that everyone wants on a hot summer’s day.
Focus Settings
Personally, I like to use auto focus in dark situations like restaurants and in hectic situations when I don’t have time to futz. Those adorable kids you’ve been hired to photograph at the farmers market aren’t going to slow down enough for you to change your camera settings. That moment the sun slips behind the clouds won’t wait for you either.
Your camera wants to help you out. And it wants everything to look sharp. But, if you’re using auto focus in the studio, your job is to give it something big enough to focus on.
So, make that slice of pie a little bigger. Mound those rainbow radishes on top of the salad. Make it obvious to your camera where the focal point is in your food photos.
Focus stacking is a fabulous way to get detailed clarity in complex food situations. For instance, if you’re shooting an ornate cake with loads of flowers and other ornate decorations, you really want every aspect to be perfectly in focus from the side to the top. For this, you definitely want to be in manual camera mode.
In case you’re not familiar with the technique, you shoot several photos with different points of focus in each one. And then you put them into your editing software and, voila! It takes the photos and compiles them into one, with all of those points perfectly clear and crisp.
Lighting and Composition
Your camera settings can be helped along tremendously by the way you control the light streaming onto your shooting table.
Whether it’s natural window light pouring into your camera lens or artificial lighting setups illuminating the room, the quality of light is foundational to your food photography.
Controlling Light
Funnily enough, direct sunlight can be as much of a villain as a superhero. It can throw the color temperature off, messing with the white balance. That’s when diffusers come in handy. By softening and lowering the temperature of the light, you’re controlling it.
Using natural light effectively means keeping some tools handy, like diffusers, bounces (both white and black), and matte finishes on your tableware. They’re all ways of having nature work with you.
On the other hand, if you prefer to have a mix and match of natural and artificial light, you’ll use some of the same equipment (diffusers, bounces), and you’ll add a few other things as well, like softboxes and LED panels, to your photo shoots.
Composition and Styling
When laying out your shoot, whether on storyboards or in notes, keep in mind the food styling props you’ll also want to have on hand, as well as how your camera settings can help create the desired look.
For instance, with flat lays, you’ll want to think about how to keep everything in sharp focus. For layered foods, you’re looking for a straight-on angle, so you’re going to keep your exposure in mind because there are going to be natural shadows.
Around your main dish, you’ll want to have fun with garnishes, crumbs, and other textures. Which means you might be shooting for more depth of field. Or you could aim to leave your props enticingly just out of focus.
You should be thinking about your exposure while choosing your backdrops. Look for harmony with flattering colors to highlight your dish. It’s easy to fall in love with props or backdrops and start from there, rather than looking at the dish and then picking the complementary colors.
And you want to tie everything together in a metaphorical bow by guiding the viewer’s eye to the final dish with matte utensils, homey or elegant napkins, and ingredients for props.
Troubleshooting and Creative Tips
When you’re thinking about the best camera mode to shoot in while you’re storyboarding your table, here are a few things to keep in mind to make everything run smoothly. (Note: These mistakes are from personal experience. Learn from my goof-ups!)
Common Mistakes and How to Avoid Them
- Don’t overuse your flash. It can really be detrimental to the overall look and texture of your food. It can blow out colors and leave things looking overly processed.
- Keep those diffusers, reflectors, and bounces handy! The last thing you want to deal with while handling time-sensitive foods (like ice cream or the perfect cheese pull) is having to stop everything to grab your favorite light diffusing tool.
- It can be a fine line between “complementary” and “distracting.” Sometimes you can’t even tell that something looks, well, wrong until you’re in post-production. So, take the time to really evaluate your choices of plates, bowls, and backgrounds before you grab your camera.
Practical Tips
- Using props: Matte or brushed cutlery, napkins, ingredients, and tableware enhance storytelling and can really set the mood of your food photography. (You may wonder why I was so specific about “matte or brushed cutlery”, and it’s because without a texture, spoons and butter knives can pick up more reflections than you think. A lot more.)
- Planning with storyboards: I find it incredibly helpful the night before a shoot to sit down and storyboard ideas from start to finish. Everything from the props and ingredients on the table to the garnishes for the final dish. Also, because I do a lot of shooting with natural light, I check the weather forecast for the next day to give me an idea of the best time to plan on shooting with a lower ISO.
- Professional tricks: It’s important to keep garnishes fresh. My trick is to keep them in a semi-closed plastic bag in the fridge with a damp paper towel. If I need condensation on a glass, I freeze it ahead of time and pull it out a few minutes before adding the liquid. And I always bring a tray of extra ingredients into the studio in case I need a quick backup to make the food look natural, yet polished.
Conclusion
Using the right camera settings for food photography is incredibly important! They can help you be proactive in getting the look you want, and can help you problem-solve if you’re having a crisis of creativity.
Playing with f/stops, aperture, and shutter speeds gives you control over the mood of your food photography and keeps your audience engaged and delighted.
From capturing the perfect droplet of water on a fresh strawberry, to having everything completely in focus on an ornate three-layered cake, to spooning up a cozy chicken casserole, settings on your camera are like having an incredibly attentive assistant in the studio. Learning the best times to shoot manually and on auto in low lighting is a time saver, too!
And the best way to learn about your camera settings is to get into the studio and practice, practice, practice, until you know what works best for you and you’ve mastered what you’re looking for. Photography is as intuitive as cooking, so you’ll feel comfortable and inspired in no time!