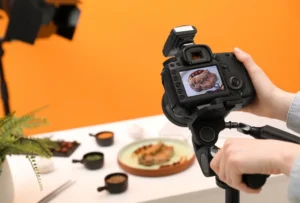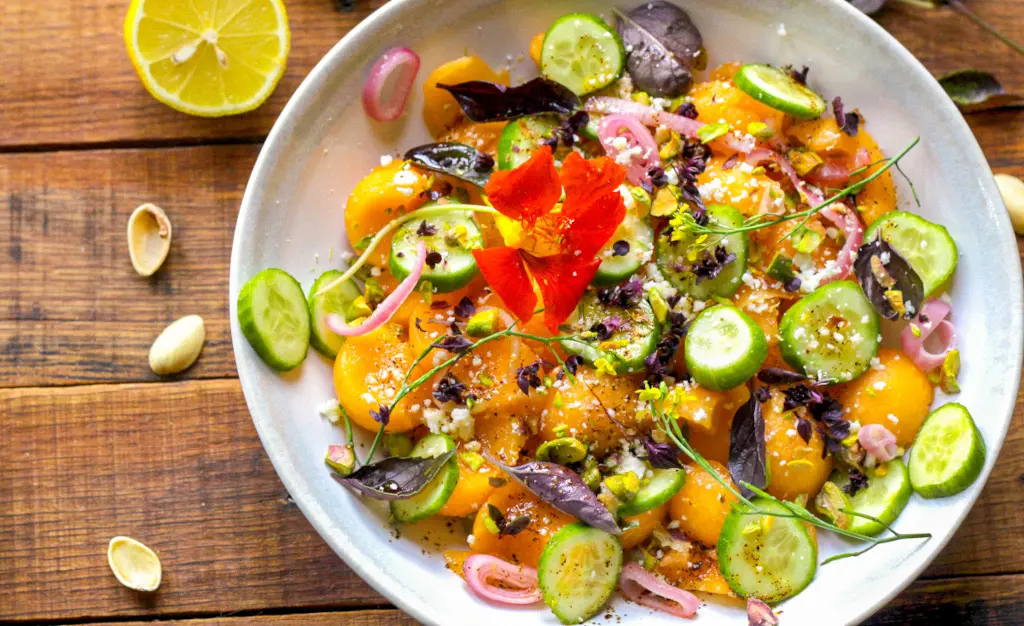
Staging food to look bright, fresh, and visually appealing is the goal of excellent food presentation. Whether it’s for a still food photography shot or video, you want that food to make people hungry! (As a side benefit, you may inspire people, too.)
To my mind, there’s food styling that inspires people to get into the kitchen and do it themselves, and then there’s styling work that allows people to enjoy it simply because it’s beautiful, sumptuous, and tells its own story.
The first makes the dish attainable and aspirational. It inspires the viewer to take their home plating up a level. The second elevates the mundane into stunning, sometimes complex visual storytelling. It invites the viewer to sit back and soak in the scene, not to immediately jump up and start cooking.

And we can’t forget the tools that help us get there. Whether it’s using tweezers, cotton swabs (my best friends!), or spray bottles, there are a lot of tools that will make your styling flow more smoothly. But, sometimes even the best tools can only help you so much. Stand by for anecdotes!
Contents
The Art of Food Styling in Photography
Using a cinematic metaphor, I like to think of a food stylist as a costume designer and a food photographer as a film director.
Styling is crucial in the overarching story (or film) that you’re directing. Do you want to take viewers to a rustic seaside cottage or an upscale French bistro? Is it a bawdy girls’ night in a pub, or a cheery family picnic? The right touch with styling will get you there.
But don’t forget that cooking is the first step. A few months ago, a friend who knows what I do (but hadn’t given it much thought) came over for dinner. As we chatted about our day’s work, a look of horror slowly crept over his face.
“Wait a minute. Are you telling me you have to prep the food, cook the food, hope it turns out perfectly, then you have to make it look good on the plate, then you have to make the table look like a fancy restaurant, and then take photos of the recipe? On TOP of having to cook the food?”
“Yup. That’s the job of food styling and food photography.”
He tucked into his (perfectly plated) dinner of chicken cordon bleu with respect bordering on awe. It was sweet, actually.
Editorial vs. Advertising Food Stylist
The two main types of food stylists are editorial food stylists and advertising food stylists.
An editorial food stylist is usually operating on a lower budget and is required to style several recipes in a single day for cookbooks or magazines. An editorial food stylist can be expected to set up around 5 to 10 recipes per day and may be working with recipes that have not been tested before, so they will have to make the food themselves or get more creative.
Whereas, an advertising food stylist usually works for big brands and has a bigger budget. The main purpose of their job is to sell the food. Think of menus in a restaurant or a billboard with food photography on it. The food must be shot well, otherwise no one buys.
Must-Have Tools for Food Styling
You’ve got to have the right camera equipment and tools in the studio to make your food photography jump from your imagination into reality. And here’s where you start.
Photography Gear You Want to Make Friends with for Styled Shoots
When you’re looking to buy equipment for food photography, make sure that you research whether or not your camera performs well in low-light or macro settings. That’s your bread and butter, folks.
And then you’ll want to pair that camera body with fixed focal lenses (50mm, 85mm, 100mm macro) for sharpness and depth in your food photography. You want to catch those water droplets on freshly washed leeks, rivulets of caramel finding the edge of the plate, and steam coming off of bowls of corn chowder. (Or, “chow-dah,” if you prefer.)
But don’t limit your lens collection to fixed focal lengths. You want to have a couple of zoom lenses around for when you’re shooting in tight set-ups, and for some flexibility with varied distances. A 28-70mm or a 24-70 might just take you where you want to go.
Curious which lenses will make your food photos pop? Check out this fun round-up of lenses.
Essential Supporting Equipment:
You absolutely need a tripod for stability and consistent framing. Without a tripod, you can have 100 blurry photos out of the 100 you took. Not a great average. Be your own hero and always keep that tripod within arm’s distance.
A tethering setup lets you review shots in real-time on a laptop or tablet. With tethering, you can really see what you’re getting in detail. It’s one of your best friends in the studio.
Reflectors and diffusers are amazingly useful to control lighting direction and intensity. And if you’re working on a strict budget, white cardboard works surprisingly well as a reflector.
I’m a big fan of using a remote shutter release. Even if you think you’re steady, you may realize that you probably shouldn’t have had that second cup of Earl Grey before work. Using the remote shutter release means your overly caffeinated self won’t get camera shake during long exposures. (Or even medium length exposures!) Silly jokes aside, you need it far more than you think.
Food Styling Tools (The Kit Behind the Shot)
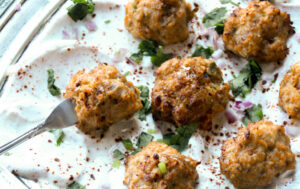
- Tweezers: They’re not just for eyebrows! They’re the go-to tool for gently placing delicate green herbs onto the plate in recipes, or repositioning ingredients like noodles in an Asian noodle stir fry.
- Makeup wands & wedges: These are great for wiping up unsightly spills on plates or fingerprints from glasses.
- Small scissors: These little guys are fabulous for cutting herbs over plated foods.
- T-pins & toothpicks: If you need to delicately lift up an ingredient to adjust it on a mound of plated food, reach for a toothpick.
- Squeeze bottles: These aren’t just handy in the studio! I think every kitchen should have a few jars to store homemade sauces, salsas, flavored oils, and things like lime crema. In the studio, it helps your sauces land with precision on the plate.
- Funnels: You want to keep a variety of these on hand in different sizes. It makes pouring wine into a glass less likely to have “legs” in the glass, unless you’re looking for that particular look. They’re also great for pouring thick liquids like smoothies and shakes into glasses without splashing.
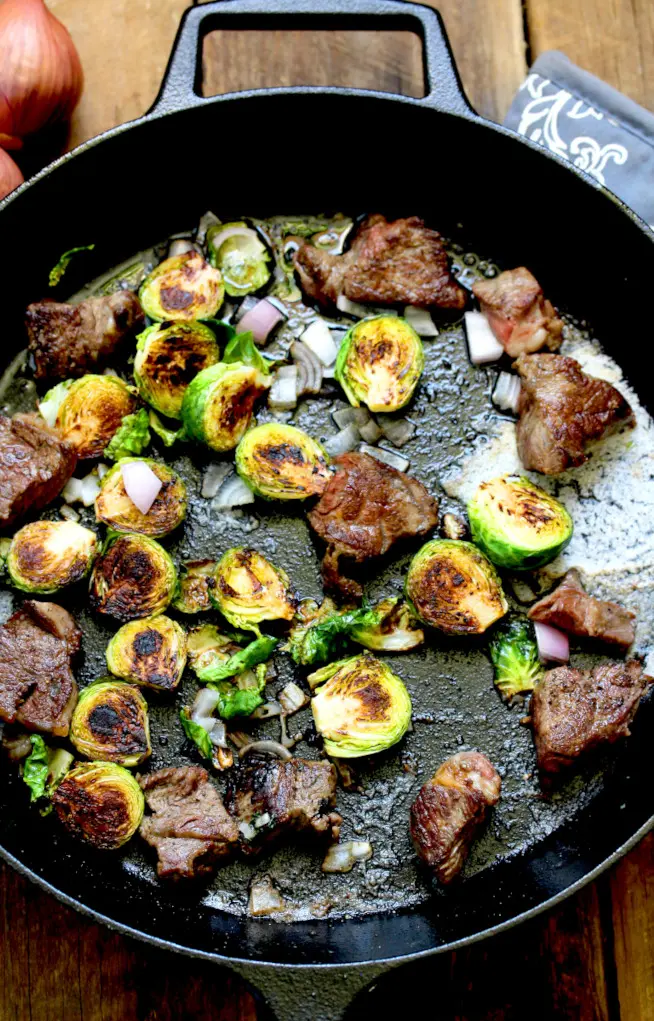
- Heat gun: Hello, stunning creme brulee! A heat gun also gives you more precision for melting cheese or getting a little extra color on things like chicken skin. It’s also fantastic for quickly searing meat to give it a delectable crust. Oh, and meet your best friend for charing marshmallows.
- Matte spray: Reduces glare on reflective items like glassware or metal, which is phenomenal in the studio, because we all know that shiny things are the enemy of the food stylist.
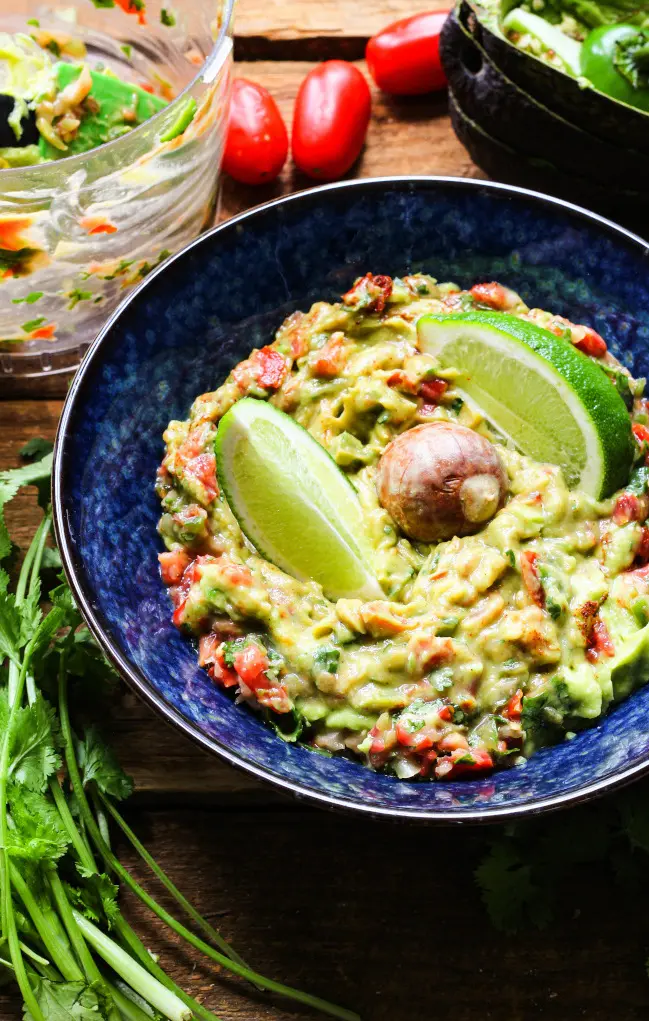
- Spray bottles: Oh, how lost I’d be without the invention of the humble spray bottle! It adds controlled moisture to fruits and vegetables to make them look farm fresh. As a food stylist, I’ve learned it’s also great for a quick spritz of oil on greens without drowning them in liquid.
- Glycerin & water mix: If you’re tired of freezing your glasses and then bringing them to room temperature to create the perfect amount of condensation, meet glycerin! Also, it cuts down on fingerprints when you inevitably have to touch your frozen glass at some point. Let’s face it, we’ve all been there.
- Fake ice cubes: You’ve got to love frozen ice cubes! They keep the drink cool without melting during a long shoot. However, mine has a little telltale plastic nub on the bottom that I need to hide. So, here’s a little styling tip. If yours has a “tell” like that, make sure it’s submerged at all times.
- Makeup brushes: These little brushes are the perfect tool for dusting breadcrumbs off plates or getting rid of extra char on meat or vegetables. Here’s a little food stylist shopping tip, though: reach for the fan-type of makeup brush, they’re top notch!
How to Stretch That Dollar or Prop Styling on a Budget
When searching for the biggest bang for your buck in styling food for recipes, you can’t go wrong with the classics. Rustic boards (both light and dark) are a solid “go-to” in the studio. For dishes, bowls, small plates, and trays, neutral tones are your friends. They always let the food shine and leave the viewer thinking, “bon appétit!”
For linens, neutral tones are also something you should always keep within arm’s reach. They go with everything. (However, there is a caveat: I have one blue napkin that’s my “lucky napkin.” It never fails to bail me out if I’m feeling like a shoot isn’t coming together for some reason. You know how ballplayers won’t shower during the playoffs for luck? That’s my blue napkin.)
Now that you’ve got the basics, it’s time to go shopping for one-of-a-kind pieces that won’t be your everyday gear, but are perfect to bring an extra “something, something” to your photos. Thrift stores, antique markets, or dollar stores are all resources for getting items for food styling.
Want more prop styling ideas? Check out our full guide on food photography props for creative ways to make your setups shine.
Note: As I’m writing this, it’s May. And do you know what that means in the northeast? Lawn and garage sale season! I can’t tell you how many great pieces I’ve found while a person sat in a rocker on their front porch with a coffee can as their bank, and a dog at their feet.
Let your artistic flourish fly when it comes to backdrops. (Or your wife’s, or your husband’s, or your kid’s!) Handmade or painted backdrops are a great way to get tons of backdrops on a budget. Foam boards, different colored tiles, or wood with different finishes are all really useful tools in the studio.
Heck, you could throw a “prop building party” and invite all of your friends with talent and power tools. And to pay them back, you can make their favorite recipes!
Also, the aforementioned garage sales and lawn sales are a great resource to stock up on seasonal elements ahead of time, so you’re ready to go when any of the holidays roll around. Also, those are wonderful places to find cultural items to tell a deeper narrative or add layers of context to your photos.
Creative DIY Hacks for Stylists & Photographers to Make Food Shine
If you want to add a brilliant (and realistic) shine to meat, fruits, or savory sauces, reach for the gelatin. As a food stylist, I really think it enhances the color and eye-popping appeal of whatever you put it on.
You’ve got your camera on the tripod and tethered to your laptop. You’ve got your deep silver bowl wiped down of any possible random dust. The light is perfect. And you add your freshly washed strawberries to the bowl. But then you suddenly realize you don’t have enough farm-fresh product. They don’t even peer over the rim of the bowl.
What do you do? You get creative. You add height from below. Whether it’s an overturned ramekin, a smaller bowl, a piece of cardboard, or a scoop of mashed potatoes, adding a booster seat for those beautiful berries gives them that majestic height you were missing.
If you’d like to add a little extra gloss to your food, try using syrups, honey, and agave. If you’re working on a budget, corn syrup will work in a pinch, too.
And if you or someone you love is getting ready to junk an old makeup kit, offer to take it off their hands. The brushes are great for applying oil to food.
Tips and Techniques in Food Styling for Photography
When you break it right down to the essentials, photography is as much about light as it is about the subject. Whether it’s a gleaming pile of berries piled high in a ceramic bowl, a glass of lemonade with the perfect condensation, or a mound of pulled pork on a platter, the light you choose matters.
So, whether it’s natural light by a window or a room flooded with softboxes on tripods, you’ve got options for your culinary masterpiece.
Lighting Mastery
Hard light is harsh. It makes things look like a vintage ad in a 1950s magazine. Bright to the point where the food looks a little bit like a parody of itself. “Whoa, that banana is REALLY yellow!” Soft light, by comparison, adds a little more depth along with subtle and mysterious shadows.
In my studio (no matter the season), the room is filled with harsh, hard light from my eastern-facing windows until noon. It’s just a hard pass until 12:01 p.m. Unless the day is overcast or has some high clouds, I don’t even plan to set up my kit until after noon. That is, unless I’m photographing something for a client who’s looking for hard light, and then very late mornings are the perfect time to get those angles from the sun!
But part of the job of being a food photographer is learning how to control the light temperature. One of my favorite tricks to deal with direct light is to hang an opaque cloth over the window. It mellows and filters the light, which gives me the freedom to work without wearing sunglasses.
If you need to brighten up the shooting table and soften shadows, you need a white bounce. (Or more than one!) It allows you to manipulate the light and let the food bask in the bright and heightened light.
When shooting tea or coffee, remember to use backlighting to highlight the steam rising from the glass and the liquid inside. If you are unable to see the steam in your photographs, you can always add steam in post-production. Drinks can be one of the most challenging things to style. Ice quickly melts, so it’s important you come prepared with fake ice in your toolkit.
Check out our guide on food photography lighting for more tips and tricks!
Composition & Framing
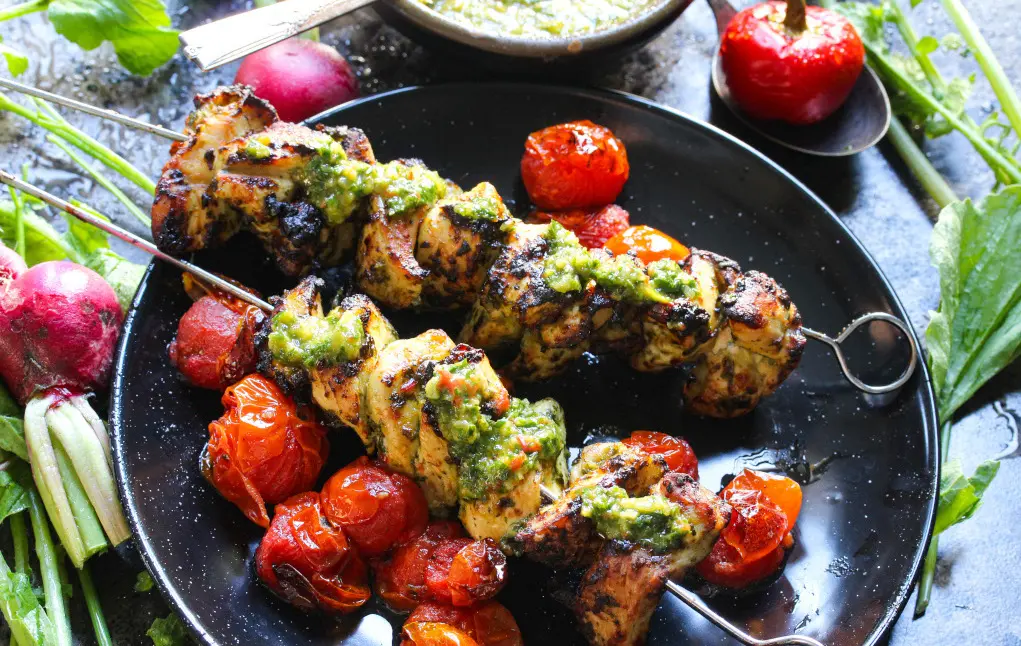
The “rule of thirds” is a fun photographic technique that allows you to easily compose and envision your photos so the subject is slightly off to the center (left, right, up, down), to attract the viewer’s eye. It creates movement. Basically, you’re envisioning a grid with two equally spaced vertical lines and two equally spaced horizontal lines, which creates four intersecting points. Then place your main subject off center. And, voila! That platter of taquitos, salsa, and mounds of cilantro is telling its own vibrant story.
Another great styling technique is the “golden triangle,” where you place your food and props in an offset manner. Picture your shooting surface having a left-to-right line running diagonally from top to bottom. Then, imagine approximately a third of the way down a line veering perpendicularly to the top left, and another one a third of the way from the bottom jutting to the right. (Note: The 90-degree lines can also be reversed.) And, voila! Boy, does the subject of the photo just leap off the screen for the audience!
Also, it’s good to have an idea of the type of angles you’re going to be aiming for while setting up the shoot. Do you want to lay your food and dishes out for an overhead shot? Do you want to set up a background for an eye-level shot? Does the dish have layers and subtleties that call out for a 45° angle (3/4 view)? Or would a 90° angle (overhead view) take the photo of your recipe where it needs to go?
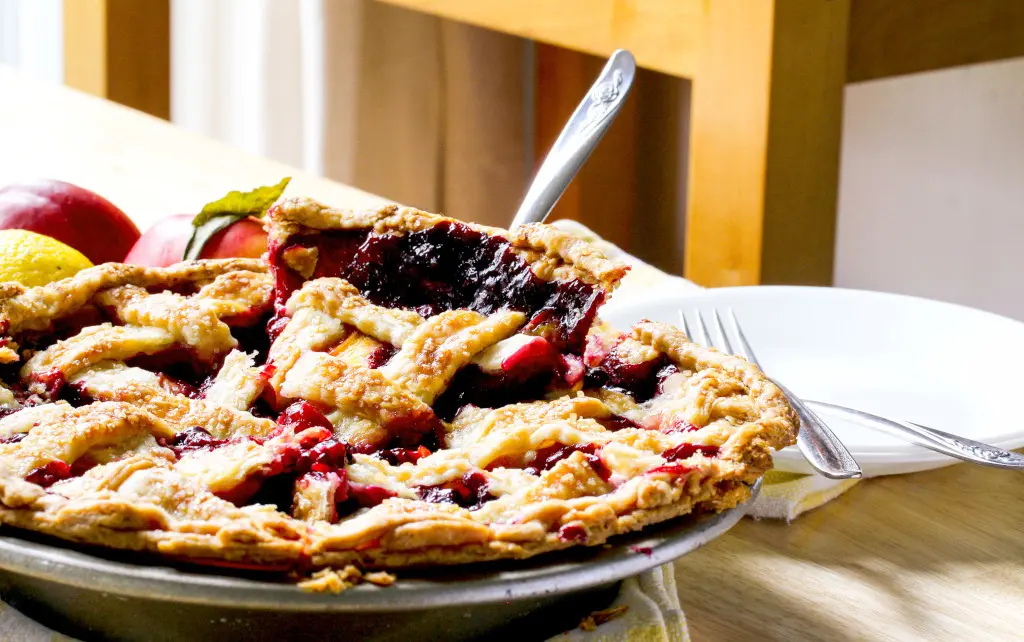
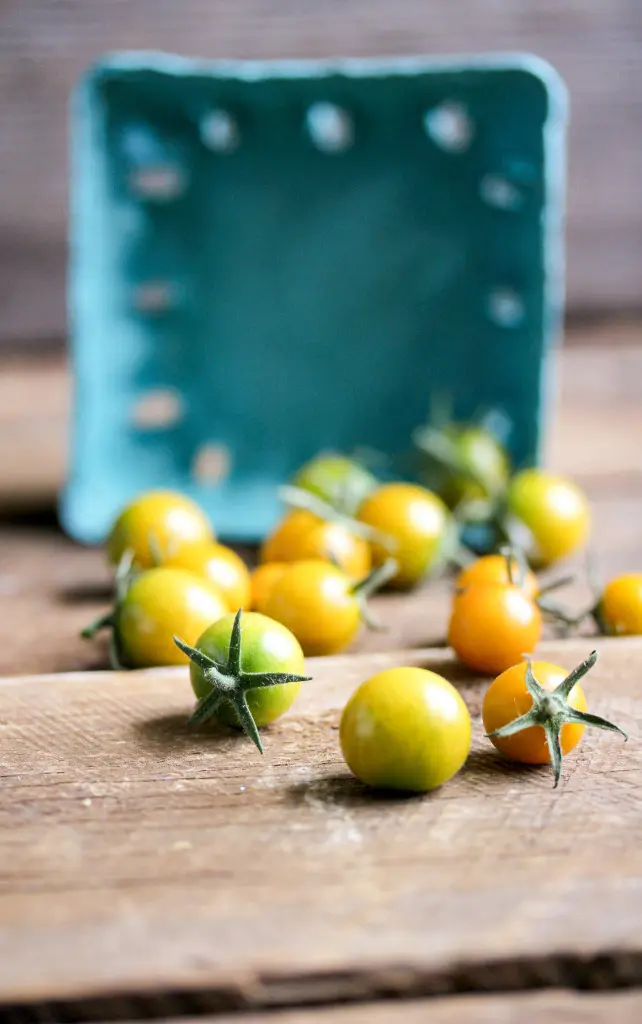
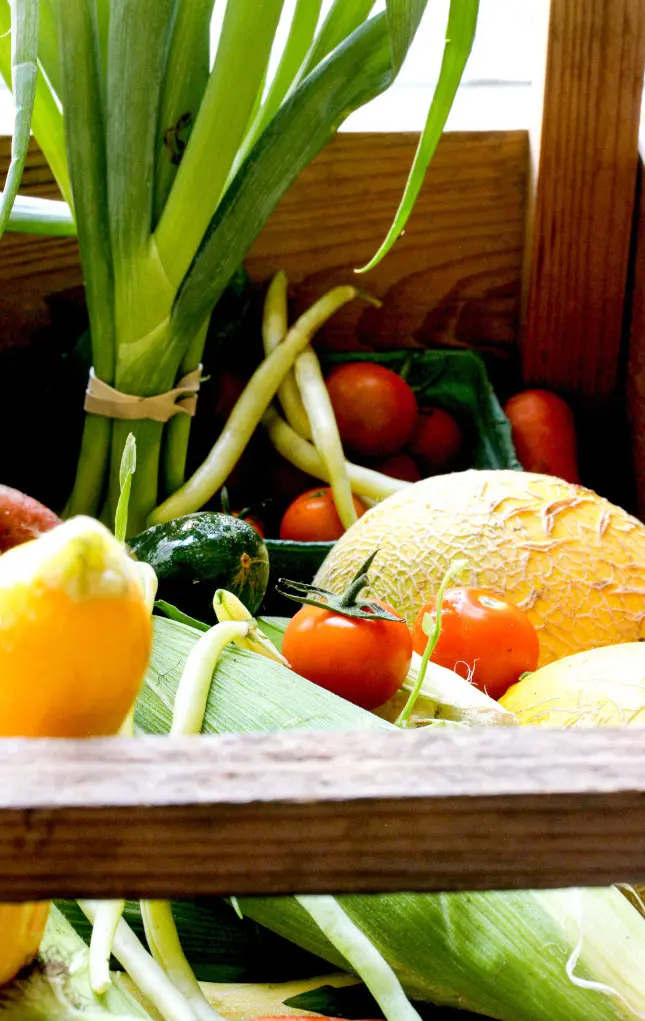
For my money, as a food photographer, an eye-level shot is great for food coming at you like tomatoes tumbling out of a basket. A 45° angle would be perfect for a sandwich on homemade bread. You want to showcase both the top of the sandwich, along with its filling, and add some depth. An overhead angle works amazingly well for fully telling a story about food and getting a bird’s eye view.
The act of cooking is just as pretty as the end result, so draw viewers into your dish by showing them how it was made and telling a story. If you are cutting bread, and crumbs fall onto the plate, leave them. It’s always a great idea to add little sprinkles of different elements of the recipe to the corners of your frame.
Twirl That Wheel or Color Theory in Food
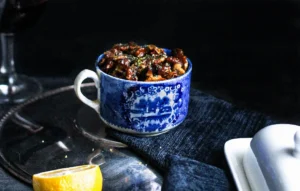
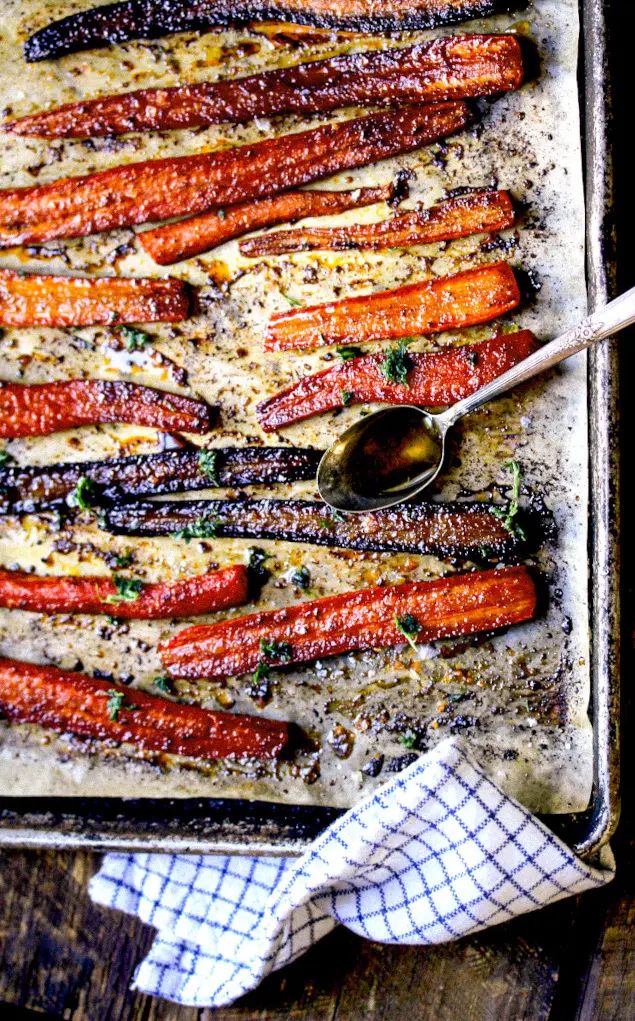
As I’m sure you can imagine, brown food is notoriously tricky to photograph. It can be the most delectable pot roast in the history of pot roasts, but it’s going to want some photographic love. And that’s when I reach for a plate with blue or another color for contrast. Just that small bit of brightness elevates the brown and makes that pot roast recipe go from looking mildly boring to interesting and wildly craveable!
And, if you remember your color charts from grade school, you’ll know why. Contrast is your friend.
Of course, layers of colors from backgrounds, bowls, plates, and garnishes affect the mood of your audience. As a stylist, I truly believe pale blues and greens in plates and dishes give people a sense of calm, while white and silver give the optics of sophistication.
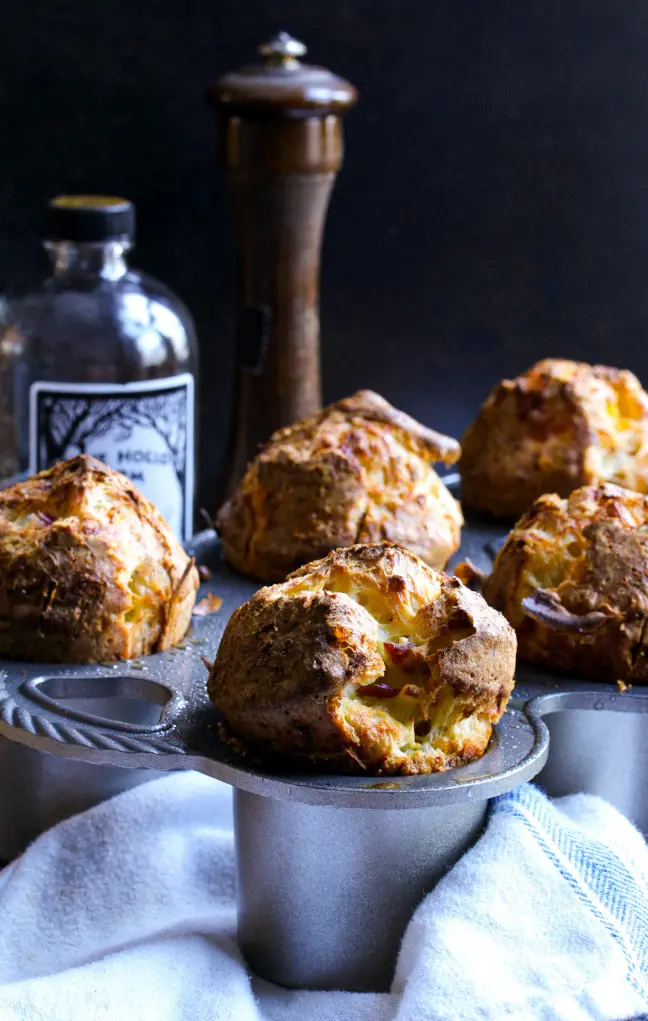
Grab those dark brown wooden boards if you want the focus of your food photography to feel rustic and effortlessly elegant. And all those fun color choices make people happy, my friends.
Layering & Prop Styling
As a stylist and photographer, you’ll find that layering elements like napkins and towels can add a sumptuous, softened feel to a shoot. French or “classic” linen towels with the blue stripe draped over the handle of a cast iron pan or peering enticingly over a large, rimmed sheet pan indicate care and warmth in your images. A generous pile of pastel or white linen napkins creates a sense of abundance in your food.
The Importance of Ingredient Prep & Selection
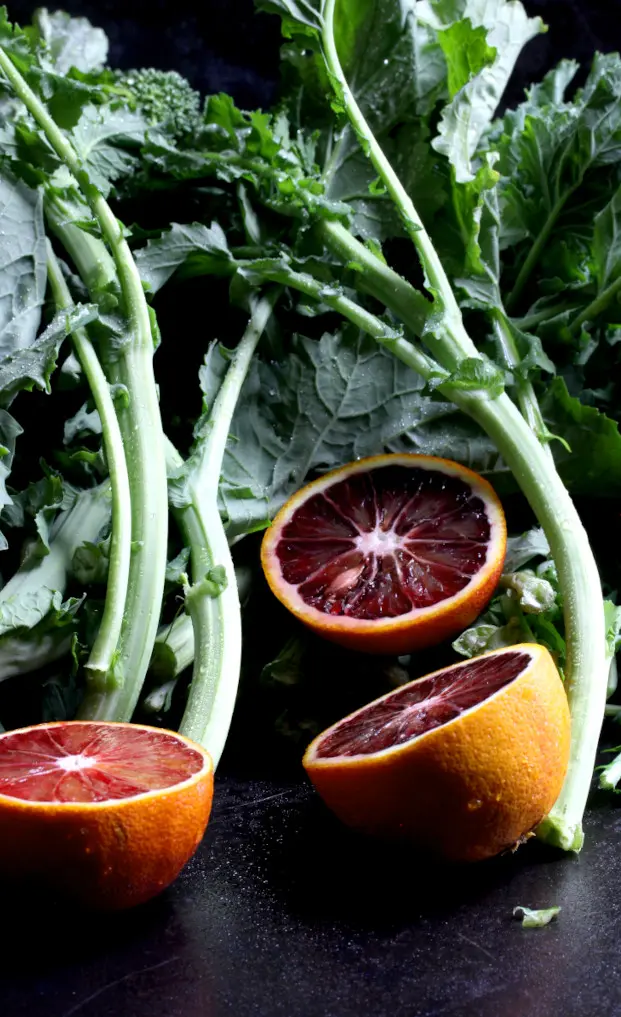
Slightly undercooked vegetables can be more visually appealing than when they’re totally cooked through. Sure, broccoli roasted for 15 minutes may be fork tender, but when it’s bright green and partly cooked at 8 minutes, that’s probably when you want to grab your camera. You can finish cooking the food after the photo shoot.
If you are photographing a fish, do not cook the fish until your set and lighting are completely prepped and ready; you are in a race against the clock and want your food to look fresh and tasty, not like it’s been sitting under your lighting for hours.
Also, keep small toothpicks around for hamburgers and sandwiches so they maintain the desired angle. And finally, don’t forget to keep some oil on hand in the studio to lightly spritz salad greens to make them look delicious, but without weighing them down. A sparkle of oil catches the light beautifully.
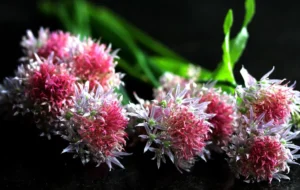
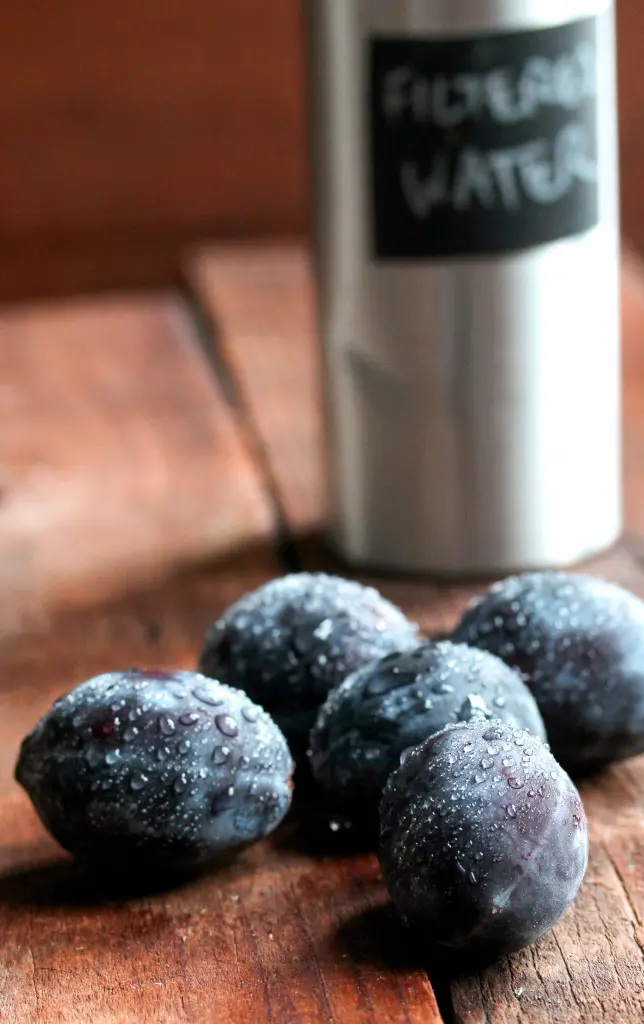
In the same vein as undercooking vegetables, fresh food is always (to me) the ultimate joy to photograph. Fresh fruits and vegetables photographed the same day they were picked feel like a masterpiece just waiting for you to capture it.
And unless the produce is noticeably dirty, I think a great styling tip is to hold off on washing until after it’s been photographed. Greens (even spun) can look a little lackluster. So, keep that bottle of water close at hand to spritz them to evoke that “fresh” look, but postpone the actual washing until later.
But sometimes you just can’t get your hands on a fresh ingredient you want in a shot. While there’s a whole industry devoted to artificial food for styling, I’ve never found any I truly think would be passable, other than as background ingredients shot on a VERY shallow depth of field.
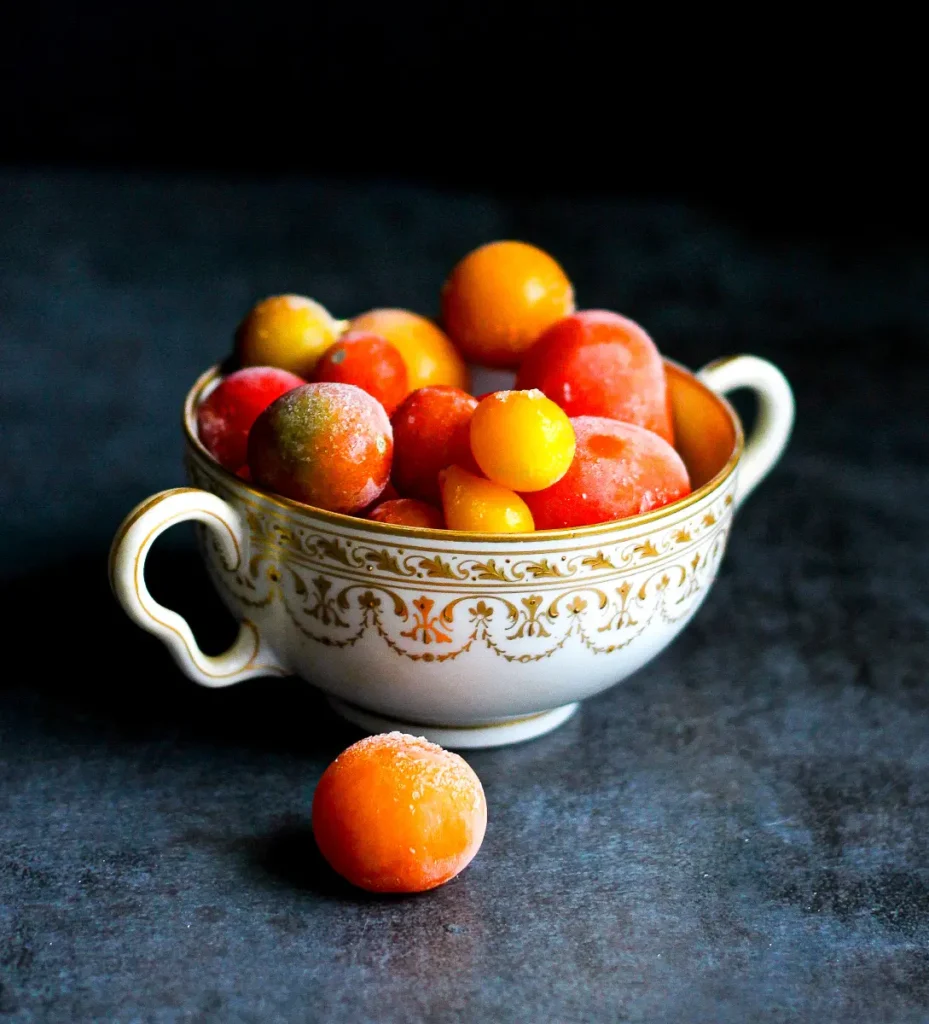
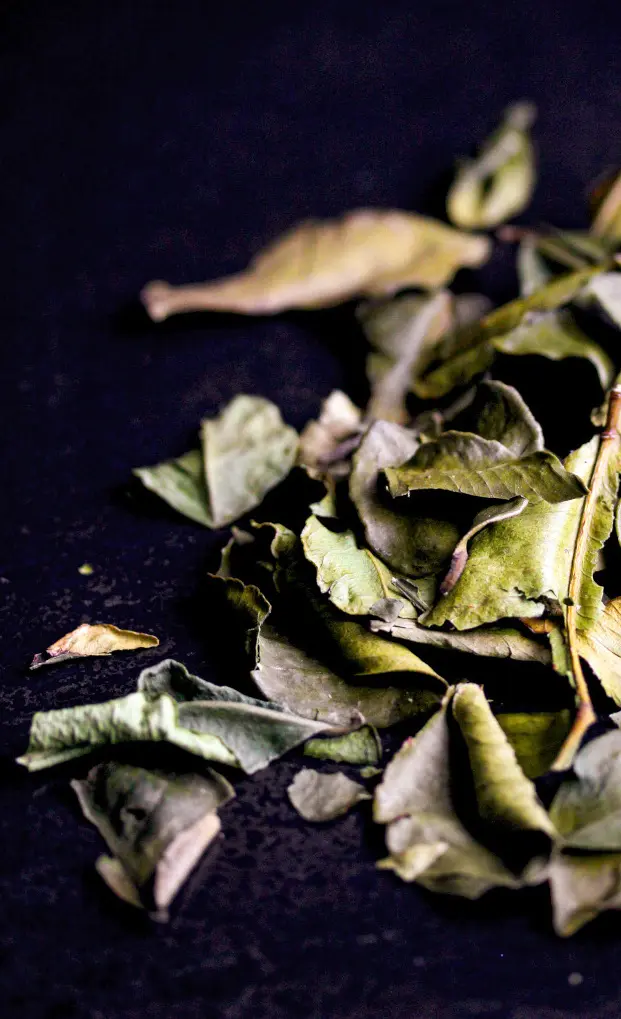
But, that’s when your freezer comes in! Farm fresh fruits like berries, mango, freeze beautifully. Sturdy herbs like parsley, oregano, and bay leaves can be frozen and go straight from the freezer to the shooting table with minimal defrosting. Another example of things that can be frozen is a variety of cheeses, like sliced cheddar, Swiss, and gruyere, grated parmesan, and crumbled blue cheese.
Also, my freezer is full of things like summer cherry tomatoes, every type of hot pepper I can get my hands on, and bell peppers. (Whole and sliced.) Those types of ingredients can go straight from the freezer to the shooting table with just a few seconds in your hands to thaw them, a stylist’s dream!
And finally, avocados! I have whole ones along with sliced avocado (soaked in lemon water and patted dry before freezing in a single layer on parchment paper to keep them from oxidizing), all nestled happily in bins marked as “props” and ready at a moment’s notice. (And in case you’re wondering, yes, my husband is a saint. He has just enough room for ice for cocktails, and a couple of snacks in the freezer, scattered around all of my work items.)
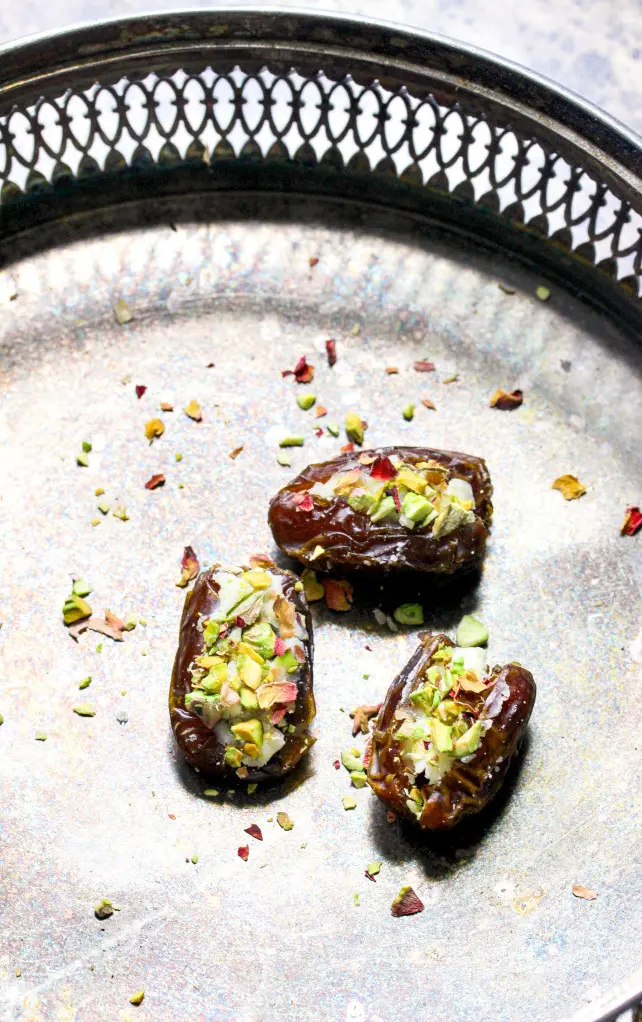
Cultural & Seasonal Themes
Food is the universal language. A beautiful bowl of beans, a loaf of well-baked bread, or a mouthwatering platter of apples are all images to put a smile on the face of your audience, the world over.
But when you want to narrow your focus to a particular region or seasonal theme, shop for interesting props and fabrics that resonate with your audience. Don’t forget to check out little secondhand stores for cultural or seasonal treasures in food styling.
Planning for a Food Shoot
When you want to photograph food that’s not only merely edible, but something truly craveable, everyone wants to be eating, you’re going to want to walk into the studio confidently, like the professional food stylist you are! And for that, you’ll want to have an extensive list and well-laid plans of action. Nothing is going to throw you off your game.
Planning that Special Shot Through Moodboards & Storyboarding
Before you assemble your shot, take some time and sketch out ideas on what you’d like the final result to look like. Is it moody? Is it thoughtful? Is it rustic or urban? What is the emotion you’d like to convey to your audience with your food photography? What are the elements you need to assemble to convey in this particular shoot?
In terms of food, you can find tons of inspiration on Pinterest and other social media and save the images for a quick reference “moodboard.” Of course, you can also go old school and sketch out the idea using a pencil and paper.
Or for those of us who can’t draw a stick figure, you can make copious notes regarding your styling. Everything from the plates, cutlery, and the lighting angle is a great note to have in the studio.
Ingredient Logistics
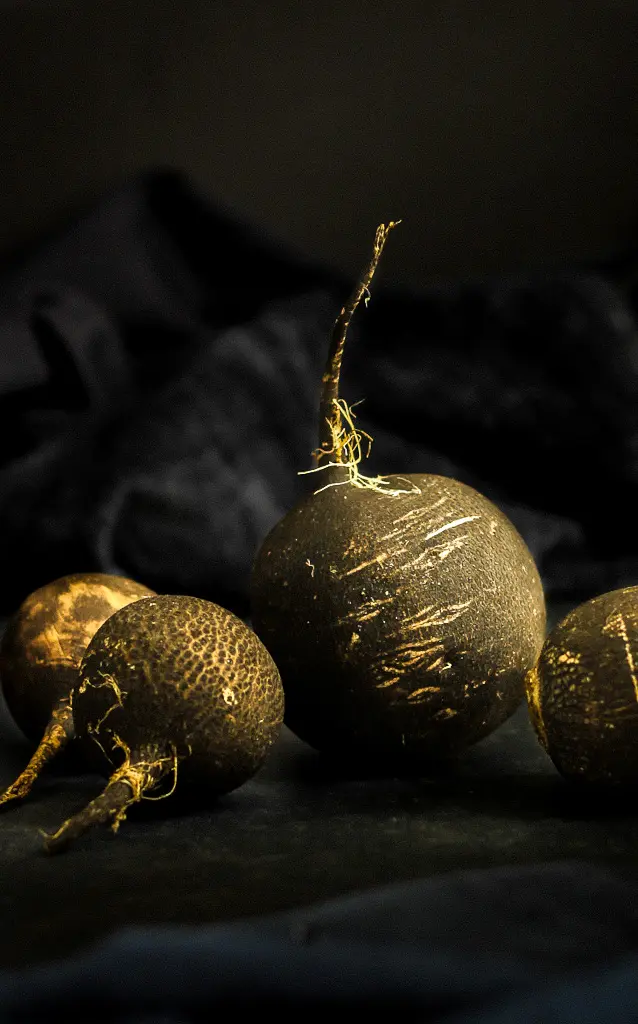
When it comes to ingredients, as a food stylist, you want to take care picking them. Do you want your satsuma oranges with or without the leaves attached? Which would be more photogenic, carrots with or without the tops? Take your time at the market, and grab the ingredients that look like they’d really shine on camera.
Also, like I said earlier, as a styling tip, unless the ingredients are noticeably dirty, hold off on washing them until either right before you want to shoot them to keep them at peak freshness, or until after you’ve photographed the food. And keep that spray bottle of water handy for a quick spritz!
Helpful Tip: In warm weather, always keep a cooler full of ice in your vehicle because heat can make fresh food look unappetizing or even “food inedible.” Just 10 minutes in a hot, sun-drenched car can make even the most beautiful produce wilt like it’s nobody’s business. And no one wants to see images of that!
Sustainable Practices for the Win
To lower your carbon footprint and reduce food waste, compost any leftover food you aren’t going to be eating yourself or giving away. Speaking of which, it’s worth checking out whether local services that help people experiencing homelessness take donations of prepared meals. Those two gallons of soup you made could go to a good cause!
And if you’re making something in quantity, like a soup, where the final product is going to be chopped, here’s yet another tip: grab “ugly” produce. Things that are funky in shape that otherwise might go to waste. If you’re styling a shot of something that’s blended, you only need the “hero” prop to look perfect; the others don’t need to be “camera-ready.”
Also, eco-friendly props like woven baskets or wooden boxes look absolutely out of this world in photos! Pile your baskets loaded with produce next to brightly colored compostable linens for a “green food look.”
Owning Your Space Through Workflow Efficiency
Before you start chopping ingredients and assembling your recipe, you want to make sure you have everything set up in your shooting space. Getting your computer tethered to your camera, backgrounds set up, and your table well organized means you’ll be ready to go the second your food is perfectly photographable.
Common Mistakes in Food Styling Photography (and How to Avoid Them)
1. Over-styling or Making Food Look Inedible
You want your food photos to be a love song to your audience. You want the recipe to look delicious and approachable, even if you’re also styling it to look a little dark and mysterious. The food is the star after all! So, you want to walk that fine line between the food making people interested enough to try to make it, or purchase pre-made from your clients.
In other words, you want the food to look good, but naturally so, not overly fussy to the point of being unattainable. Metaphorically, as a photographer, you want your food to be someone your audience would want to have a beer with. (Or wine!)
2. Poor Lighting or White Balance Mismatch
I haven’t mentioned the unsung hero of the studio, the gray card. Feel free to hug it and give it the praise it deserves. It’s insanely helpful in assisting you with your exposures, and it gives you a good idea of how to set your camera to keep your recipes looking realistic. Another great tip is to get into the habit of adjusting your white balance often, especially in shifting natural light. Good habits make a real difference!
Also, reflectors can be as inexpensive as buying some white cardboard, and can save you hours of struggling in poor lighting conditions. Although, do you know what works surprisingly well too? Silver insulation. When I first started as a professional food photographer, my mother-in-law (who’s also a photographer) gave me a massive roll of the stuff. And trust me, it works. Just a little tip for the next time you’re at a home improvement store.
3. Cluttered Frames or Distracting Props
There are always props that you love, that you just want to get into the frame, no matter what. But being a food stylist and food photographer means having the knowledge to let your food breathe and make sense in the frame. Sure, that copper bowl looks stunning in photography with whipped cream or with bountiful salads, but it doesn’t make much sense when you’re photographing a sheet pan dinner.
And while that cake looks uber fancy on a cake stand, it makes a lot less sense in your images when it’s balanced on that new roasting pan that you just bought. Your images should be interesting, but you’re not creating an abstract painting.
4. Generic Aesthetic:
When you’re trying to refine your own personal style as a stylist and food photographer, look to the external as well as the internal. I find a lot of inspiration from cookbooks, photography books, and social media. Sometimes it will be on how to dress a shooting table up, but just as often it’s how to dress the table down and let the food shine with inspired lighting. Like my mother says, “There’s no shame in learning something new every day!”
5. Case Studies & Visual Fixes:
Maybe I shouldn’t admit this, but why not? I talk to food. In fact, I talk to food more often than you’d think a sane stylist would talk to food. “Come on, darlin’, tell me what you need” is something I’ll say to a lackluster bowl of food that should be perfectly styled, but isn’t jumping off the plate or out of the bowl.
I recently had this happen with, of all things, two crocks of French onion soup. I had chosen the dishes carefully and with intent. The soup was delicious, the bread was perfectly toasted, the cheese had melted beautifully, and the garnishes looked great. What. Did. It. Want? So, I decided to get creative, and I put a second piece of bread with melted cheese on top, which gave the bowl of soup a little extra height and a whole lot of whimsy. Bam! It worked!
So, the big takeaway of this example is don’t be afraid to talk to the food you’re styling. Sure, it won’t talk back, but just thinking things through by talking can be extremely useful in the studio.