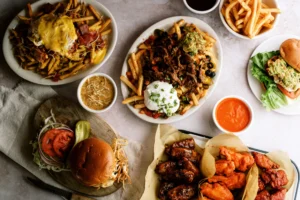
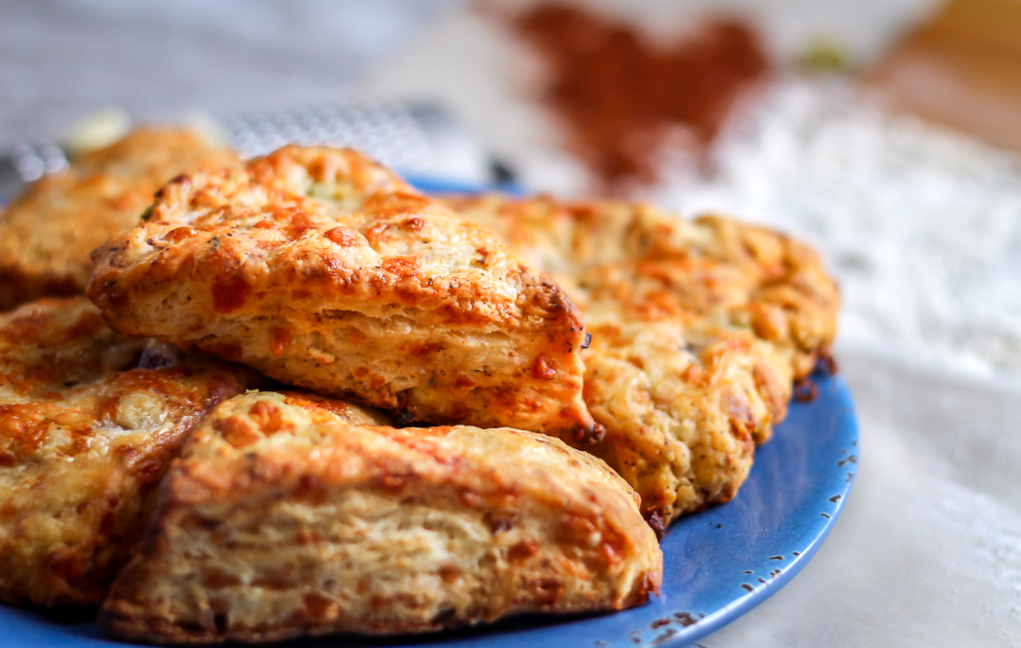
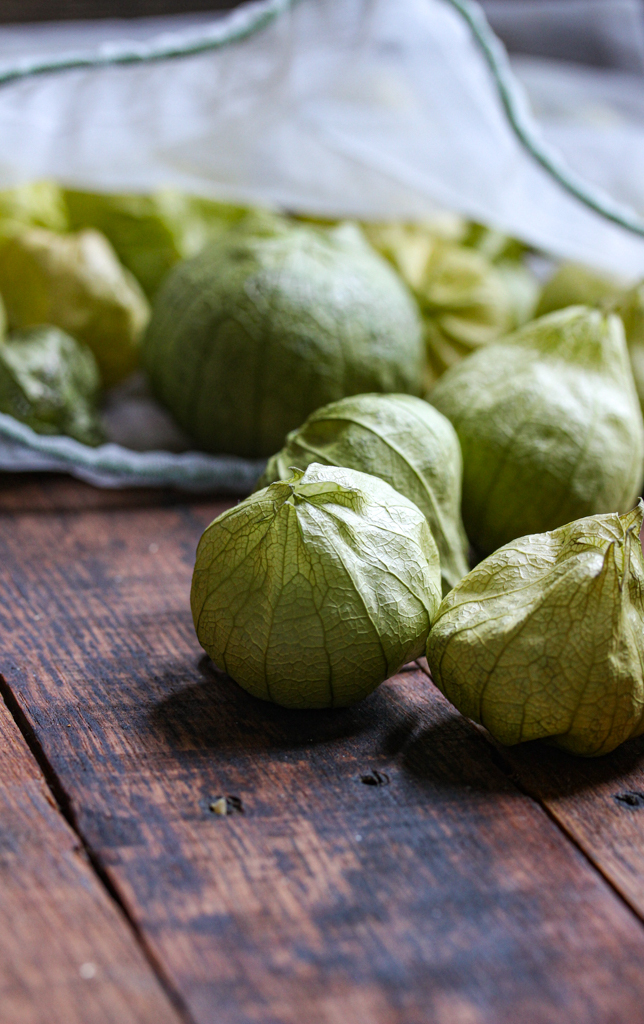
When you want your poblanos to pop, your oranges to amaze, or your stew to be stellar, you’re going to want your images to be attention ready and portfolio worthy, because our social media feeds are also our portfolios.
And learning to edit photos in Lightroom is a big help in that regard. The right edits can make your images immediate and even more appealing. If they’re not properly saturated, or if the white balance is off, people are going to just keep scrolling. And no one wants that.
I am here to help you learn how to adjust exposure, fine-tune white balance, play with your hue or shadows, and achieve the most natural-looking photos possible.
Because, while you’re working on your emotional resonance in food photography, you’re striving to evoke moods and desires, not just aesthetics. You want people to want that chicken tinga, and to crave that chocolate bark. And that’s where good post-processing comes into the picture.
Contents
Preparing for Editing Food Photos
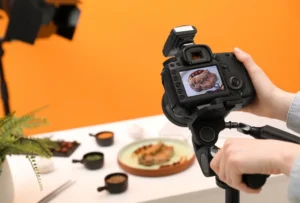
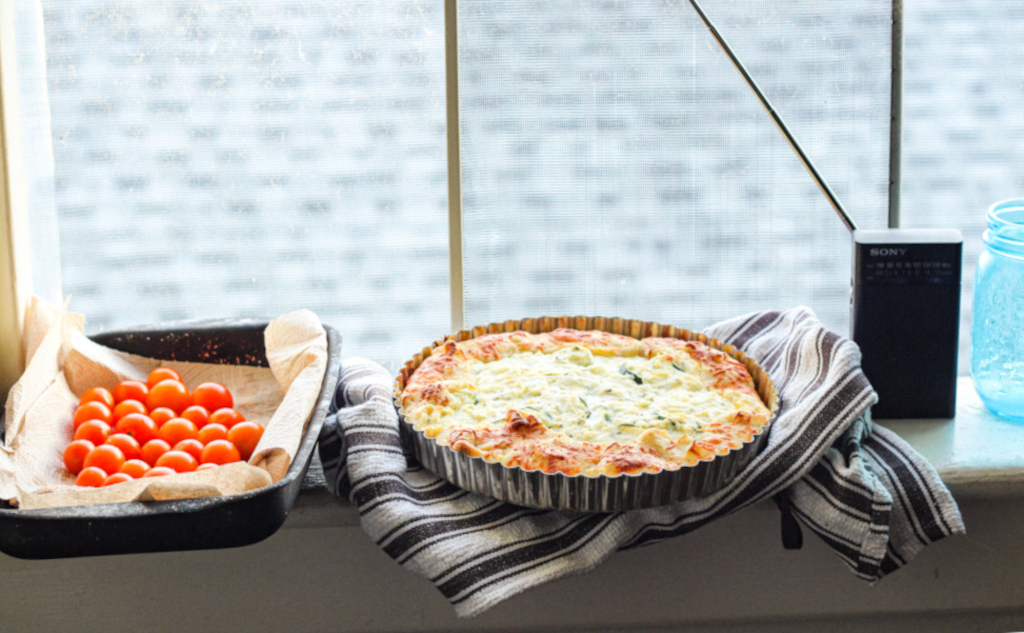
Throw on your favorite background music and prepare to get Zen. You’ve worked your magic in the camera, and now it’s editing time!
You’re going to be concentrating on the basics, and then you’re going to work your way into post editing for some tweaks that you may never have thought were possible.
Understanding the Basics
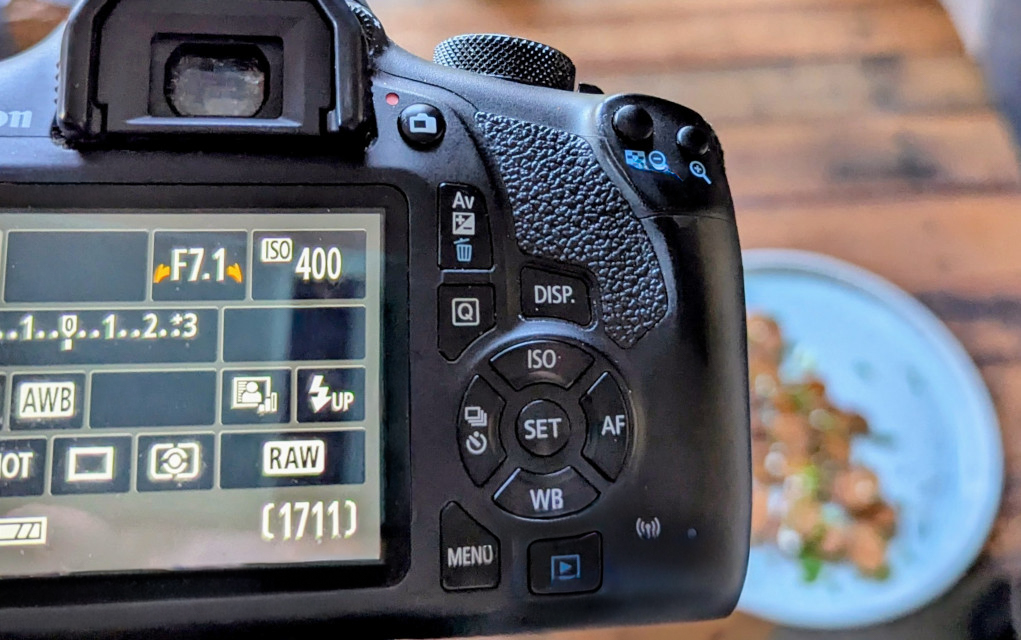
RAW is your friend. It’s your buddy. It’s who you call when your car metaphorically runs out of gas and leaves you stranded by the side of the road. In other words, RAW is what you want to shoot in for the best natural-looking images.
JPEGS can be bossy little buggers who want to override your opinions about contrast, brightness, and sharpening. So, when you shoot in RAW, you have the uncompressed file and all the information therein. High-quality RAW files are the ultimate foundation for food photography.
Another foundational thing you want to think about is light. You want the best possible natural-looking lighting to enhance the beauty of your food. Whether you do that through natural or artificial light is up to you.
Essential Editing Techniques
The editing process is as creative as styling your plate or choosing a background. You’re working on white balance and color correction. You’re enhancing details and sharpness in your food photos.
And you’re subtly making that photo go from something “pretty good,” to something you want to share with the world!
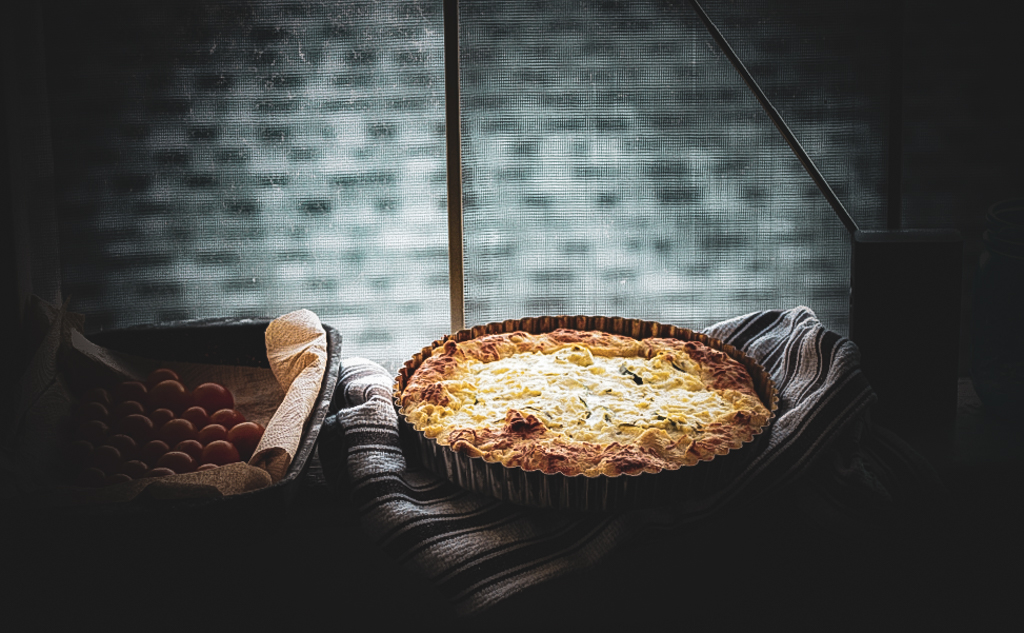
Adjusting Exposure and Contrast
When you’re adjusting exposure, what you’re really doing isn’t just evening out the light between too light or dark; you’re also adjusting exposure for detail enhancement.
From a small bowl of raspberries slightly obscured in the background, to shadows falling across a roasted chicken, exposure makes all the difference in the world.
When you look at a photo and think, “Meh. That’s really flat and kind of boring,” that’s often because of low contrast. It evens everything out, so nothing really pops. When there’s high contrast, both the shadows and the light make the texture of food appealing.
For instance, think of a loaf of bread with an enticingly craggy crust and a drizzle of olive oil glistening off the edge. That’s a “micro-contrast,” and it’s a technique where you can make adjustments to subtly enhance texture detail, without overpowering the image.
Managing White Balance and Color Correction
White balance is everything in food photography. When you’re shooting nature, the viewer can still enjoy the view even if the color is off a bit, and the sky is too blue or the grass is washed out.
But nobody wants to eat blue chicken. Or have salad greens look pale. White balance keeps your food true to life.
And that’s why using Lightroom’s white balance selector tool is great to let your natural food colors shine by referencing neutral tones or known color values within the image.
Why, yes, those blueberries are actually blue!
Enhancing Detail and Sharpness

I find that the sliders in Lightroom for Clarity, Texture, Dehaze, and Grain take me a lot further in tweaking detail and sharpness than the actual “sharpness” tool. That tool can very easily create artifacts like noise and visible lines.
When you’re editing in post, one of the most important tips I can give you is to keep an eye on your food texture. That grain on the slice of beef can easily turn unappetizing with too much sharpening or color adjustments.
Creative Adjustments
When you feel like going a little crazy, using filters, presets, and selective adjustments (dodging and burning) can take you where you want to go.
Lightroom has creative editing tools called “Subtle“, “Strong“, and “B&W” as presets, and they live up to their names. Subtle is nuanced, and strong will knock your socks off.
And it’s always fun to use split-toning to create unique visual moods, mimicking natural times of day like dawn or dusk.
Advanced Editing Techniques
Now that you’ve played around with the basics and some creative adjustments, let’s dive into more of the deep water of what Lightroom can do to your food photography.
Using Masks and Local Adjustments
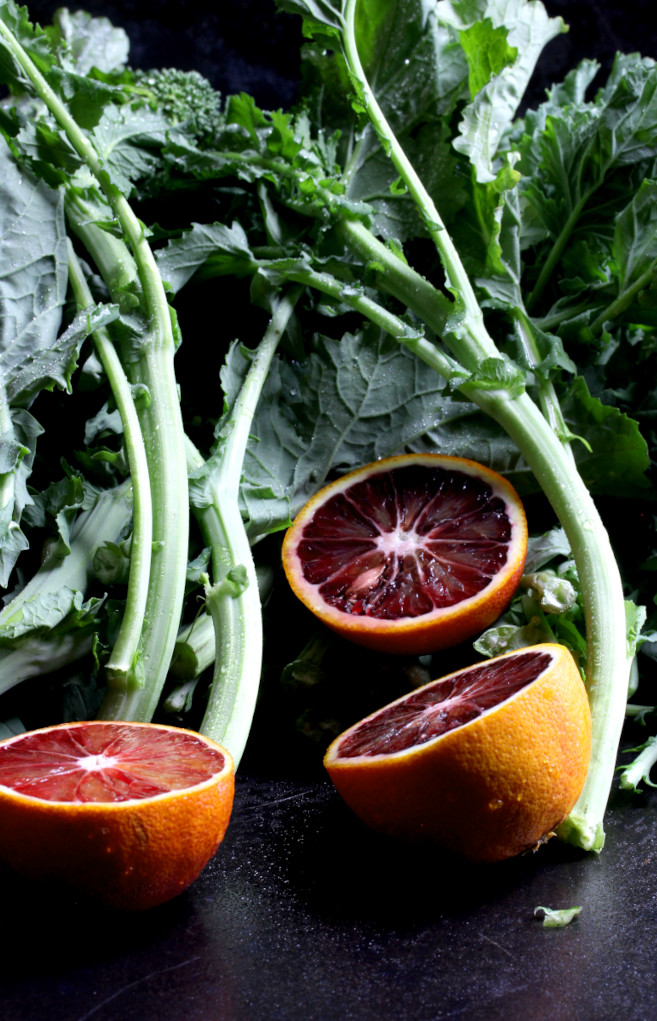
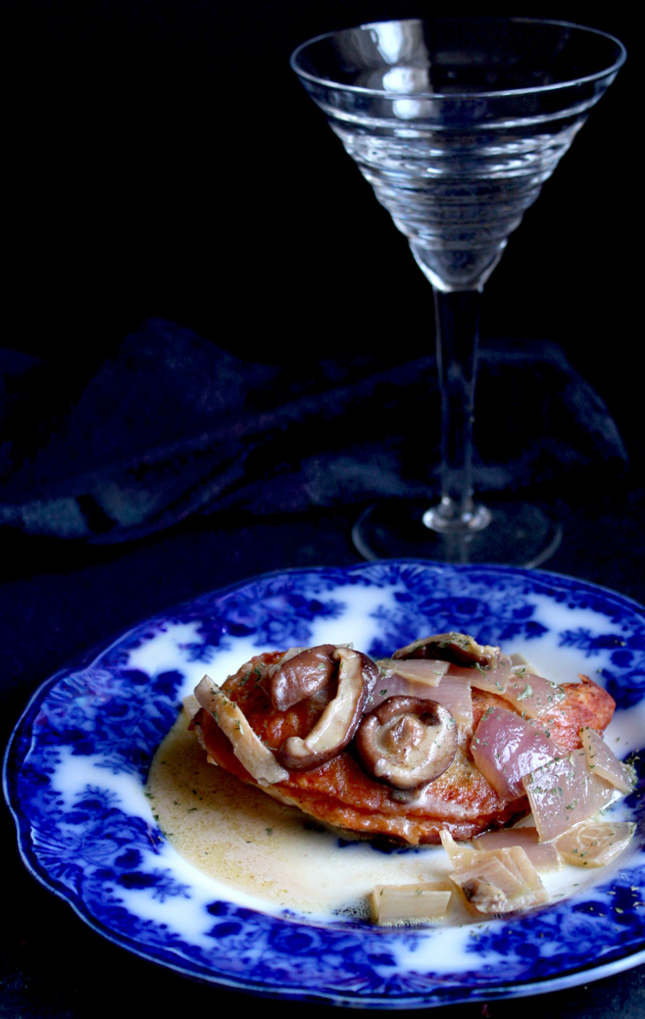
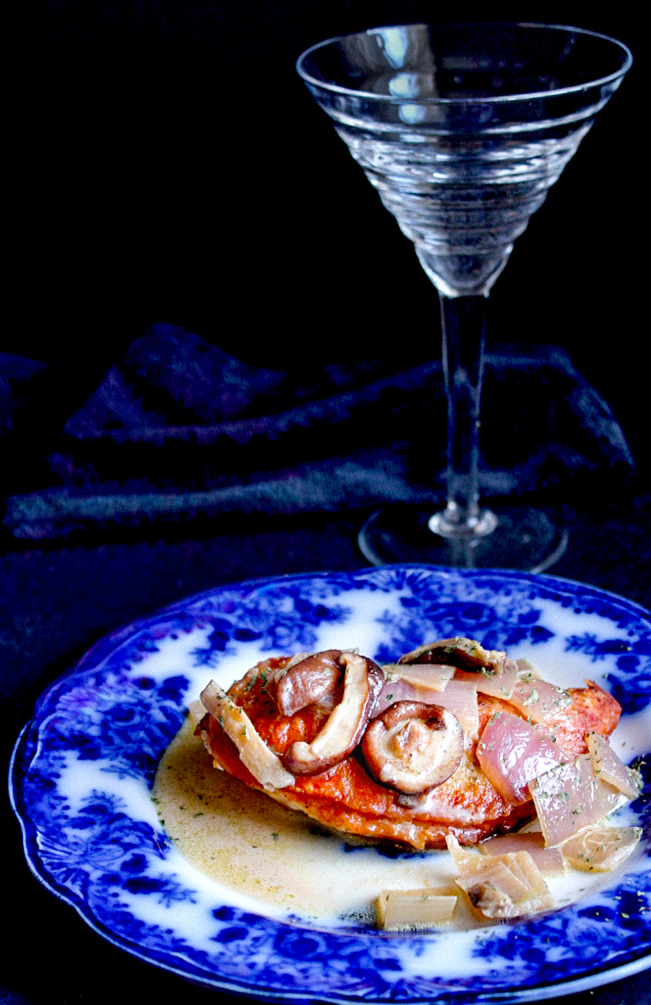
Let me introduce you to my friend, the mask! It’s great for highlighting specific areas or reducing glare in objects like silver utensils.
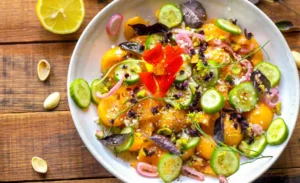
For instance, in these photos, you can see after masking how the oranges have been brightened and the glare of the broccolini has been decreased.
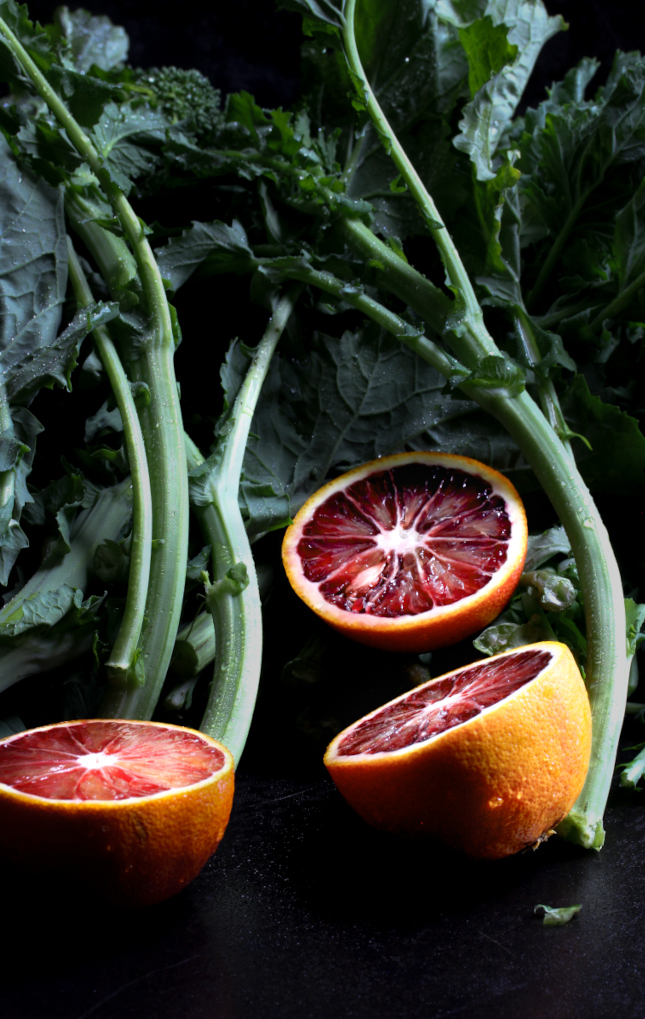
Using the masking feature allows you to create highlights and make localized, subtle (or not so subtle) tweaks to different ingredients or areas on plated food.
Did I mention how much I love this tool for food photos?

There is also the luminance range masking tool, which allows you to be hyper-specific for brightness and tone adjustments of similarly lit items in your food photographs.
But one rule of thumb with all masking is to start small and go from there. It’s easy to overdo color adjustments.
Effective Color Grading
Do you know who else is your bestie? The HSL panels in Lightroom. They allow you to control “Hue,” “Saturation,” and “Luminance.”
By utilizing those panels, you can bring out the colors you want to highlight. They also allow you to utilize curves for color correction and allow you to pop the saturation.
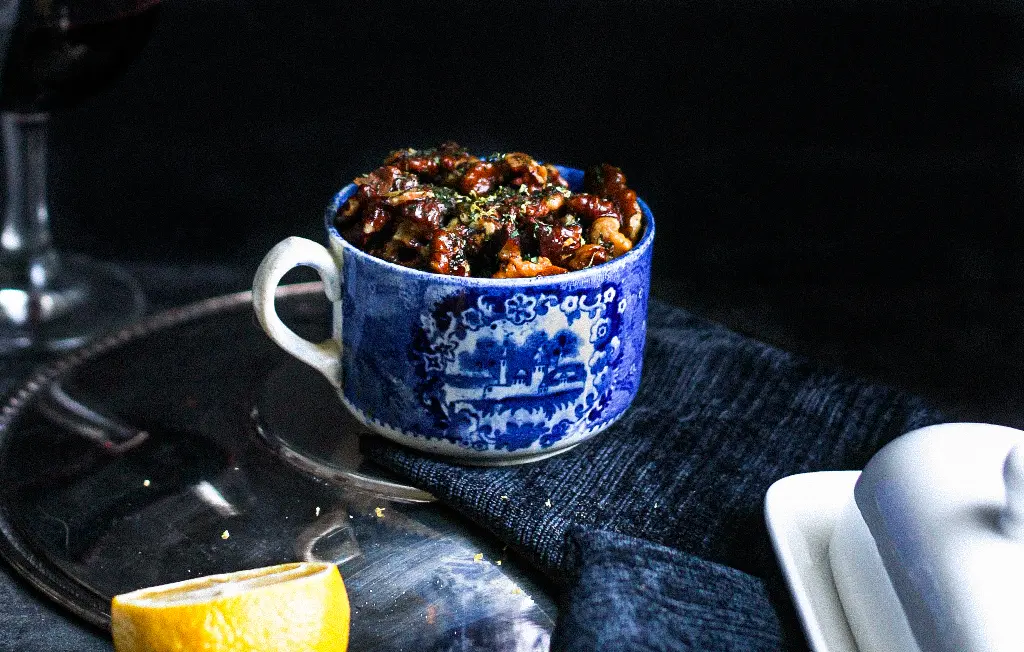
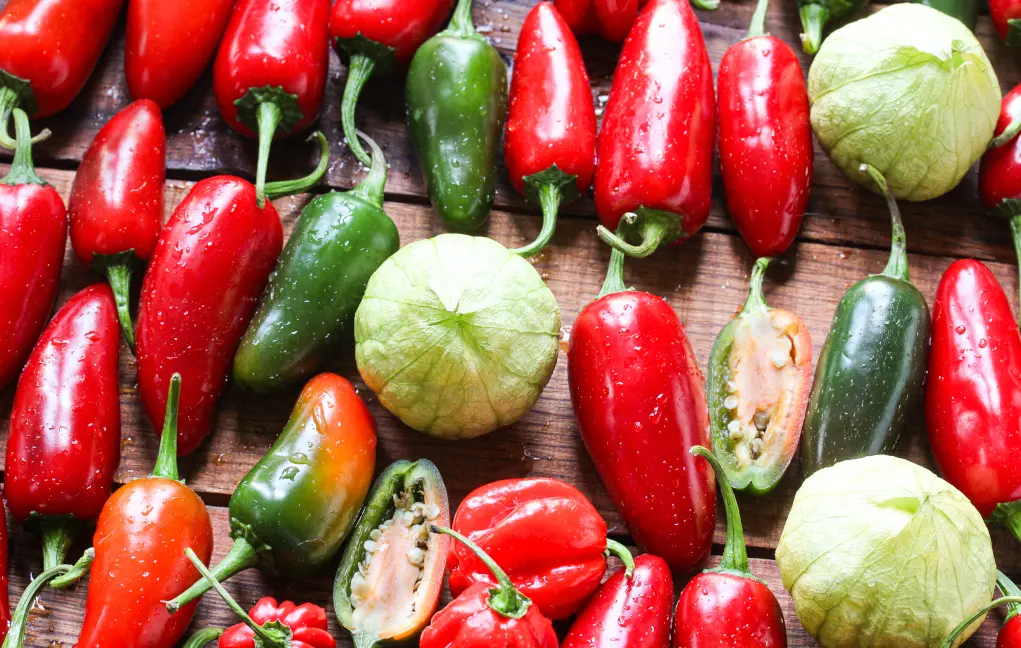
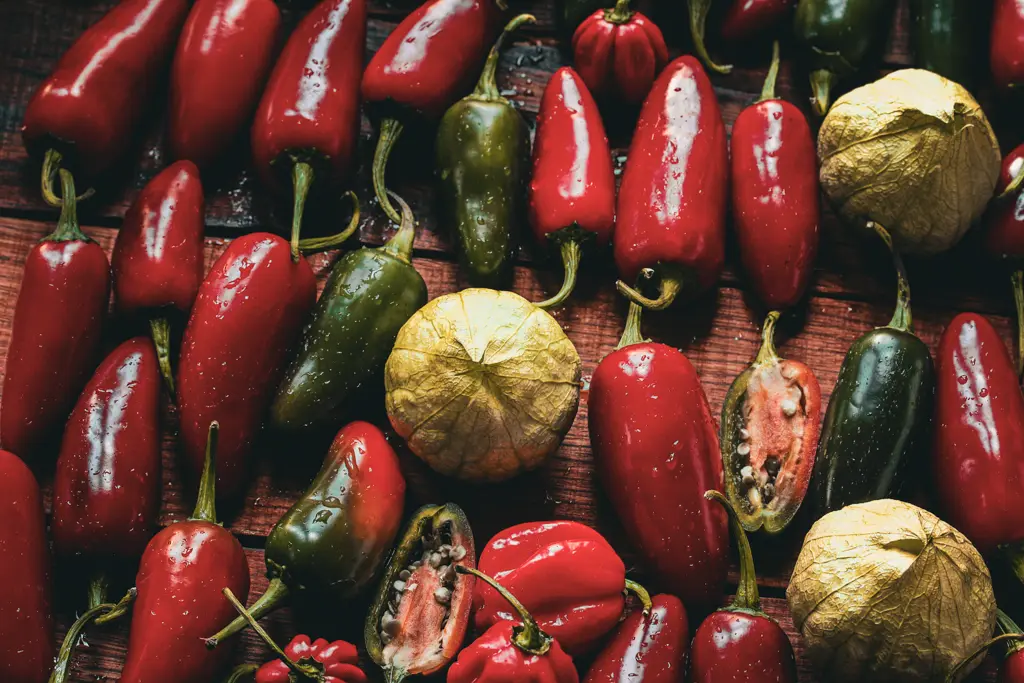
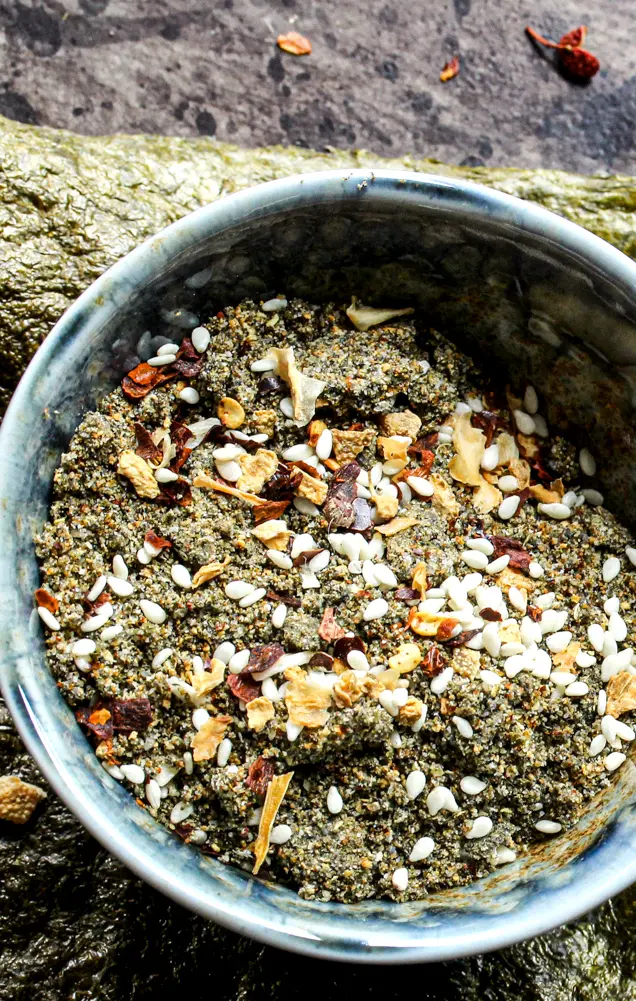
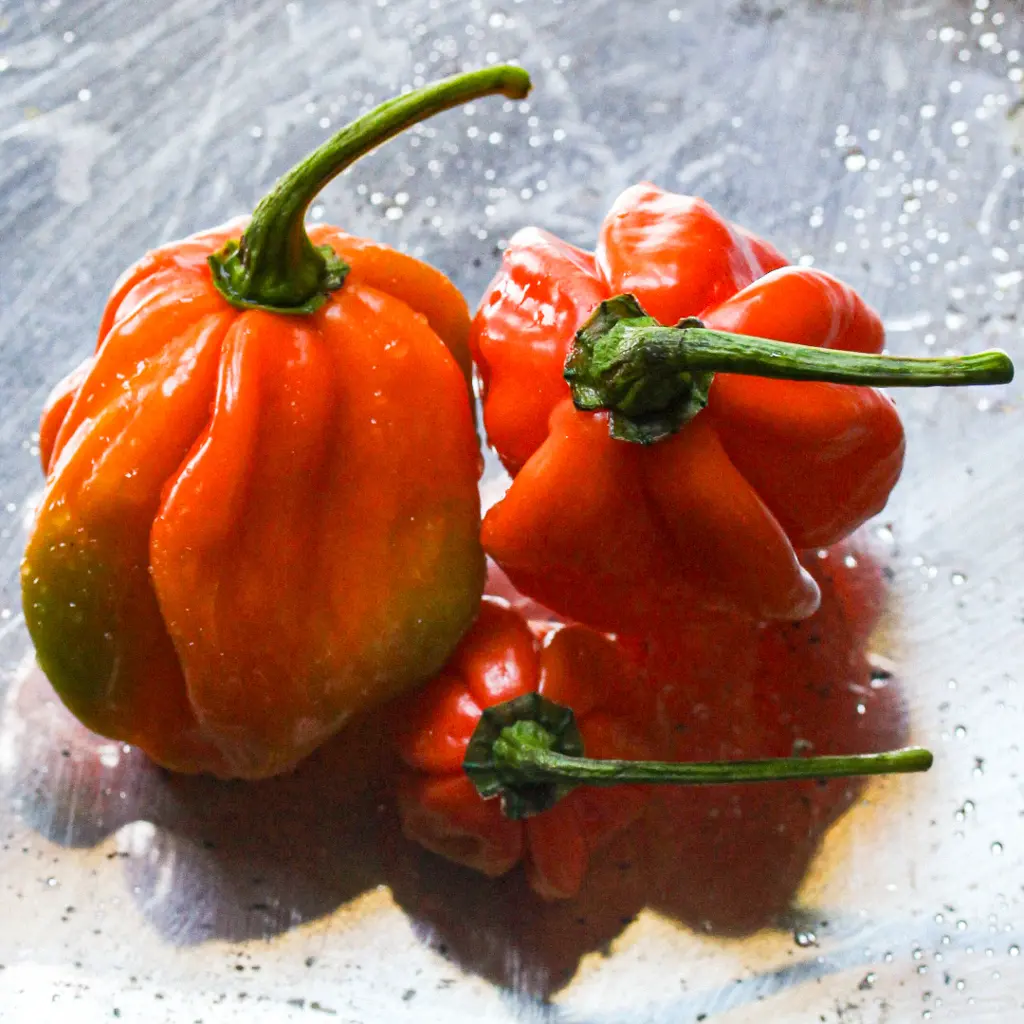
When a photo is just looking a little “meh,” because of the subject matter or I’m just stumped over the styling, I find the color that’s in the image the least, and that’s the one I saturate. For instance, the chilies and Shuhan peppercorns in the togarashi.
And when you really want to take your creativity out for a metaphorical spin, there are more “cinematic” grading presets in Lightroom than you can shake a stick at.
Have you ever wanted your food photography to look a little film noir, sci-fi, or glitzy and glamorous? Play around with those and find out!
Specialized Techniques for Challenging Subjects
A great editing technique for difficult-to-shoot things like brown or other difficultly colored food is to really lean into textures.
That’s when your fingers reach for the Clarity, Texture, Dehaze, and Grain sliders. Another tip is to warm up the colors, which will give the food a cozy feel.
Other things that can be challenging to edit are glossy foods like sauces or beverages. That’s another chance for you to play with masking to reduce the glare. And to play with HSL to make vibrant colors take front and center!
Practical Tips and Avoiding Common Mistakes
When photographing food, you’re keeping one hundred different things in your mind at once. The composition, the lighting, the perfect framing, and of course, the delicate food itself!
So, here are some tips and examples to help you streamline the process.
Composition and Lighting Setup
Making your own backdrops using white, black, or other colorful foam board will save you money and take your photography composition where you want to go. So, make sure to keep some of that around in case you’re in a pinch!
Also, keep your light sources in mind before shooting, so you can visualize how the end result will turn out after editing.
For instance, that pretty yellow backdrop might be a bit too much on a sunny day and blow out your bowl of curry soup.
We’ve talked about how brown food can be tricky, but one thing I’ve found is that it likes hard light, which shows off its textures.
A good tip for that is enhancing directional light using Lightroom’s Radial and Linear Gradient masks. This can mimic the sculpting of light done with bounces and reflectors.
You can also use the brush feature in masking to make it warmer and more vibrant.
Export Settings
Different social media platforms have different sizes and styles that they prefer. For instance, Pinterest adores a vertical shot at 1000×1500, and Instagram likes a square image at 1080×1080.
You can organize your preset management in Lightroom and export settings for various platforms.
Workflow
To maintain consistency in my editing, I start with exposure, white balance, and contrast. Then I crop or straighten if necessary, and then I dive into color correcting and finally masking or spot removal.
And then I keep in mind and adjust which social media platform I’m going to be posting on when I export.
Conclusion
Lightroom offers a great way to get creative with its tools for light, color saturation, and masking.
Get cinematic, get stark, heck, you can even go black and white for a noir look. It’s up to you, and you’re literally the director of your own story with food photos as the star in your production. And that’s the whole point.
So, go ahead and make that wild crop that captures your imagination, get crazy with composition, and indulge your inner child with props.
Like I said above, I have my own editing workflow with exposure and working my way through white balance, cropping, masking, etc. But you may want to start with cropping and go from there.
So, let me know what your process consists of in the comments. I’d love to hear about how you go from A to B in Lightroom.
Because, in this competitive market, your choices can create your own personal style, and that’s what sets us all apart. We all have our own gifts to give to the world of food photography, and what beautiful gifts those are.