Drone photography is no longer just a high-tech novelty; it has grown into a powerful artistic discipline and an industry all its own. Whether your goal is to elevate your landscape portfolio, experiment with new perspective layers, or eventually look into commercial paths such as architectural or aerial mapping documentation, taking your first steps requires balancing basic flight safety with sharp creative choices.
In the past, aerial photography was a highly exclusive field. Few professional photographers had access to the possibilities it offered. The only major exceptions were those affiliated with the movie industry, news agencies of the highest caliber, and the independently wealthy.
In the 21st century, not much of that applies anymore. Nowadays, anyone (well, almost anyone) can dip their toes into the world of taking incredible shots from above.
To get the most out of your limited time in the air, you need to understand your equipment, lock in the right settings, and know exactly what to look for through the lens.
Drone Photography Market Growth
The global aerial imaging market was valued at around $3.9 billion in 2026 and is projected to reach roughly $12.5 billion by 2034, a compound annual growth rate of about 15.6 percent (Straits Research).
That growth is fueled by steady advances in aerial camera technology, demand across defense and civil applications, and the rising popularity of aerial photography among amateurs and professionals alike.
Prerequisites for Drone Photography
Jumping straight into capturing images would be ideal, but the reality is a little more complex. Before taking off, every beginner needs to understand that a drone isn’t just a camera; it’s an aircraft operating within physical, regulatory, and environmental limitations.
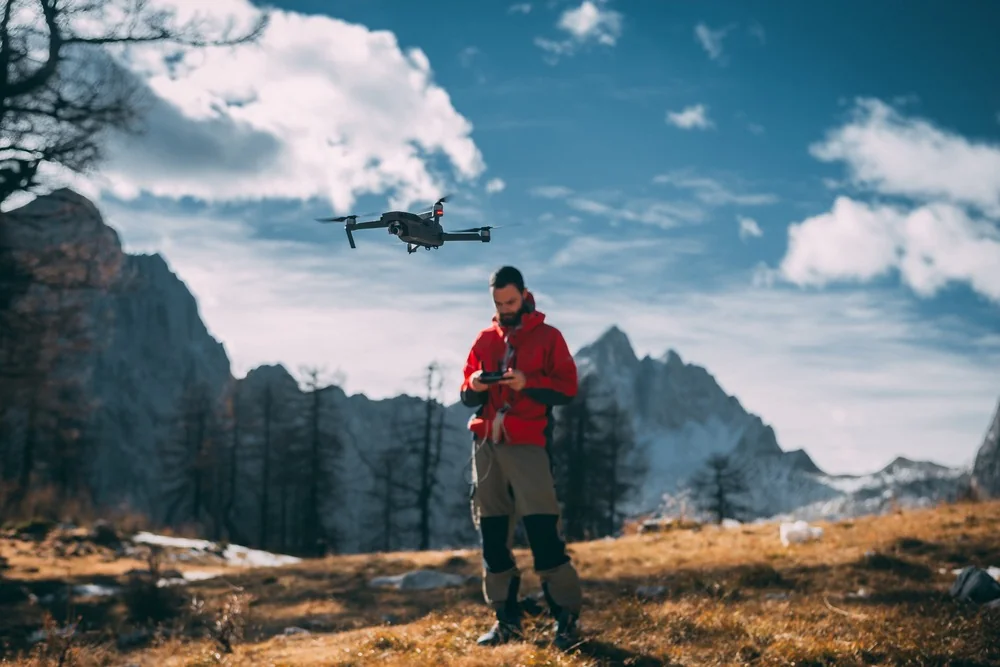
The long list of prerequisites and technical demands is often why beginners find drone photography so daunting, but it need not be. Much of it is common sense, and, OK, a little technical knowledge helps too. You can flatten that early learning curve by working through a simple pre-flight checklist and tackling the essentials one step at a time before you ever take off.
Upfront Costs
Most consumer drones today are all-in-one designs. The camera, the stabilization hardware, and the gimbal system all come built into the body, ready to fly out of the box. These complete systems were once out of reach for most photographers, but that has changed.
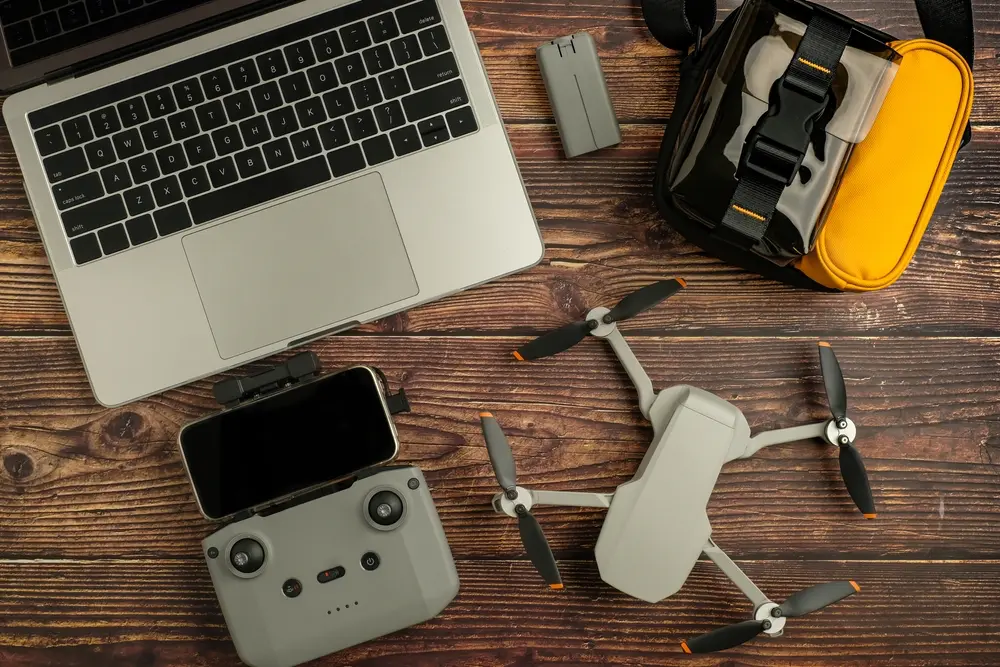
Entry-level options such as the DJI Mini 4 start at around $500, which puts them on par with a basic digital camera setup. If you are watching your budget, you can bring that down further by buying used or waiting for a sale. Pricier models cost more because they give you more, such as tougher weather and impact resistance, a dedicated controller, bigger batteries, and better optics for higher-quality images.
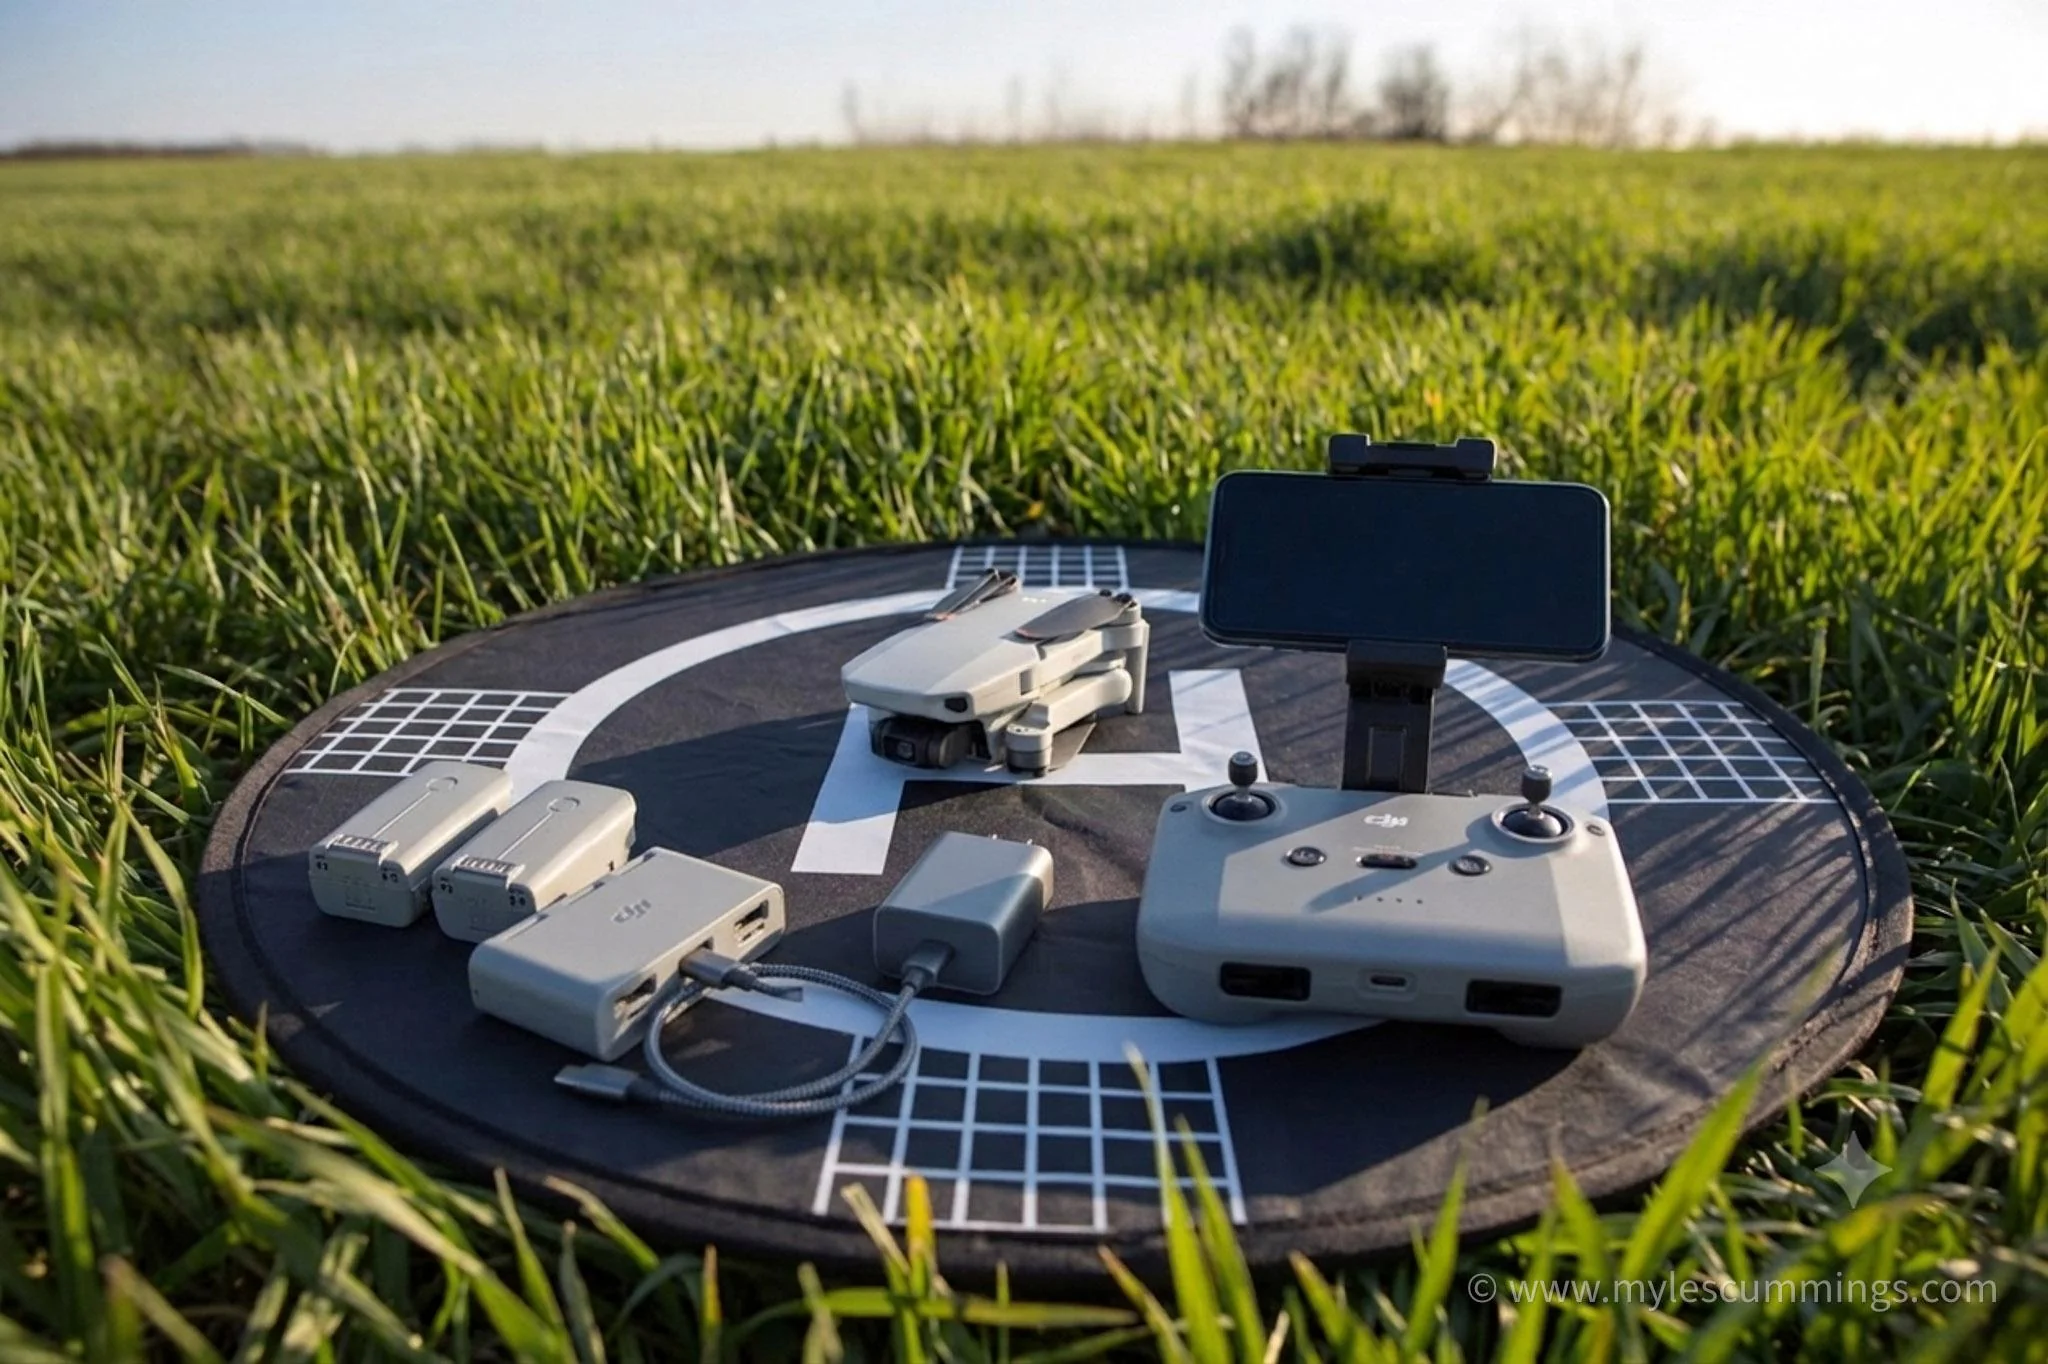
If you are looking to balance portability with high-fidelity ground and air footage, a compact all-in-one setup such as the DJI Mavic Mini, a sub-240g drone, makes an incredible, nimble travel kit.
Insurance and Protection
So you’ve bought your new drone, and you’re eager to get out there and fly, but before you do, it’s highly recommended to carry basic liability insurance. Additionally, consider enrolling in a protection plan such as DJI Care; accidents can happen, and having coverage for a lost or damaged drone or potential damage to people or vehicles is a wise investment.
Battery Life and Flight Time
Battery life is short. You don’t have unlimited time to fiddle with menus in the air. Pre-planning your flight path and scouting locations on foot beforehand ensures you use your flight time strictly for capturing images. Also, it goes without saying that you should charge everything (batteries and controller) the night before so that you arrive prepared.
Memory Cards and Storage
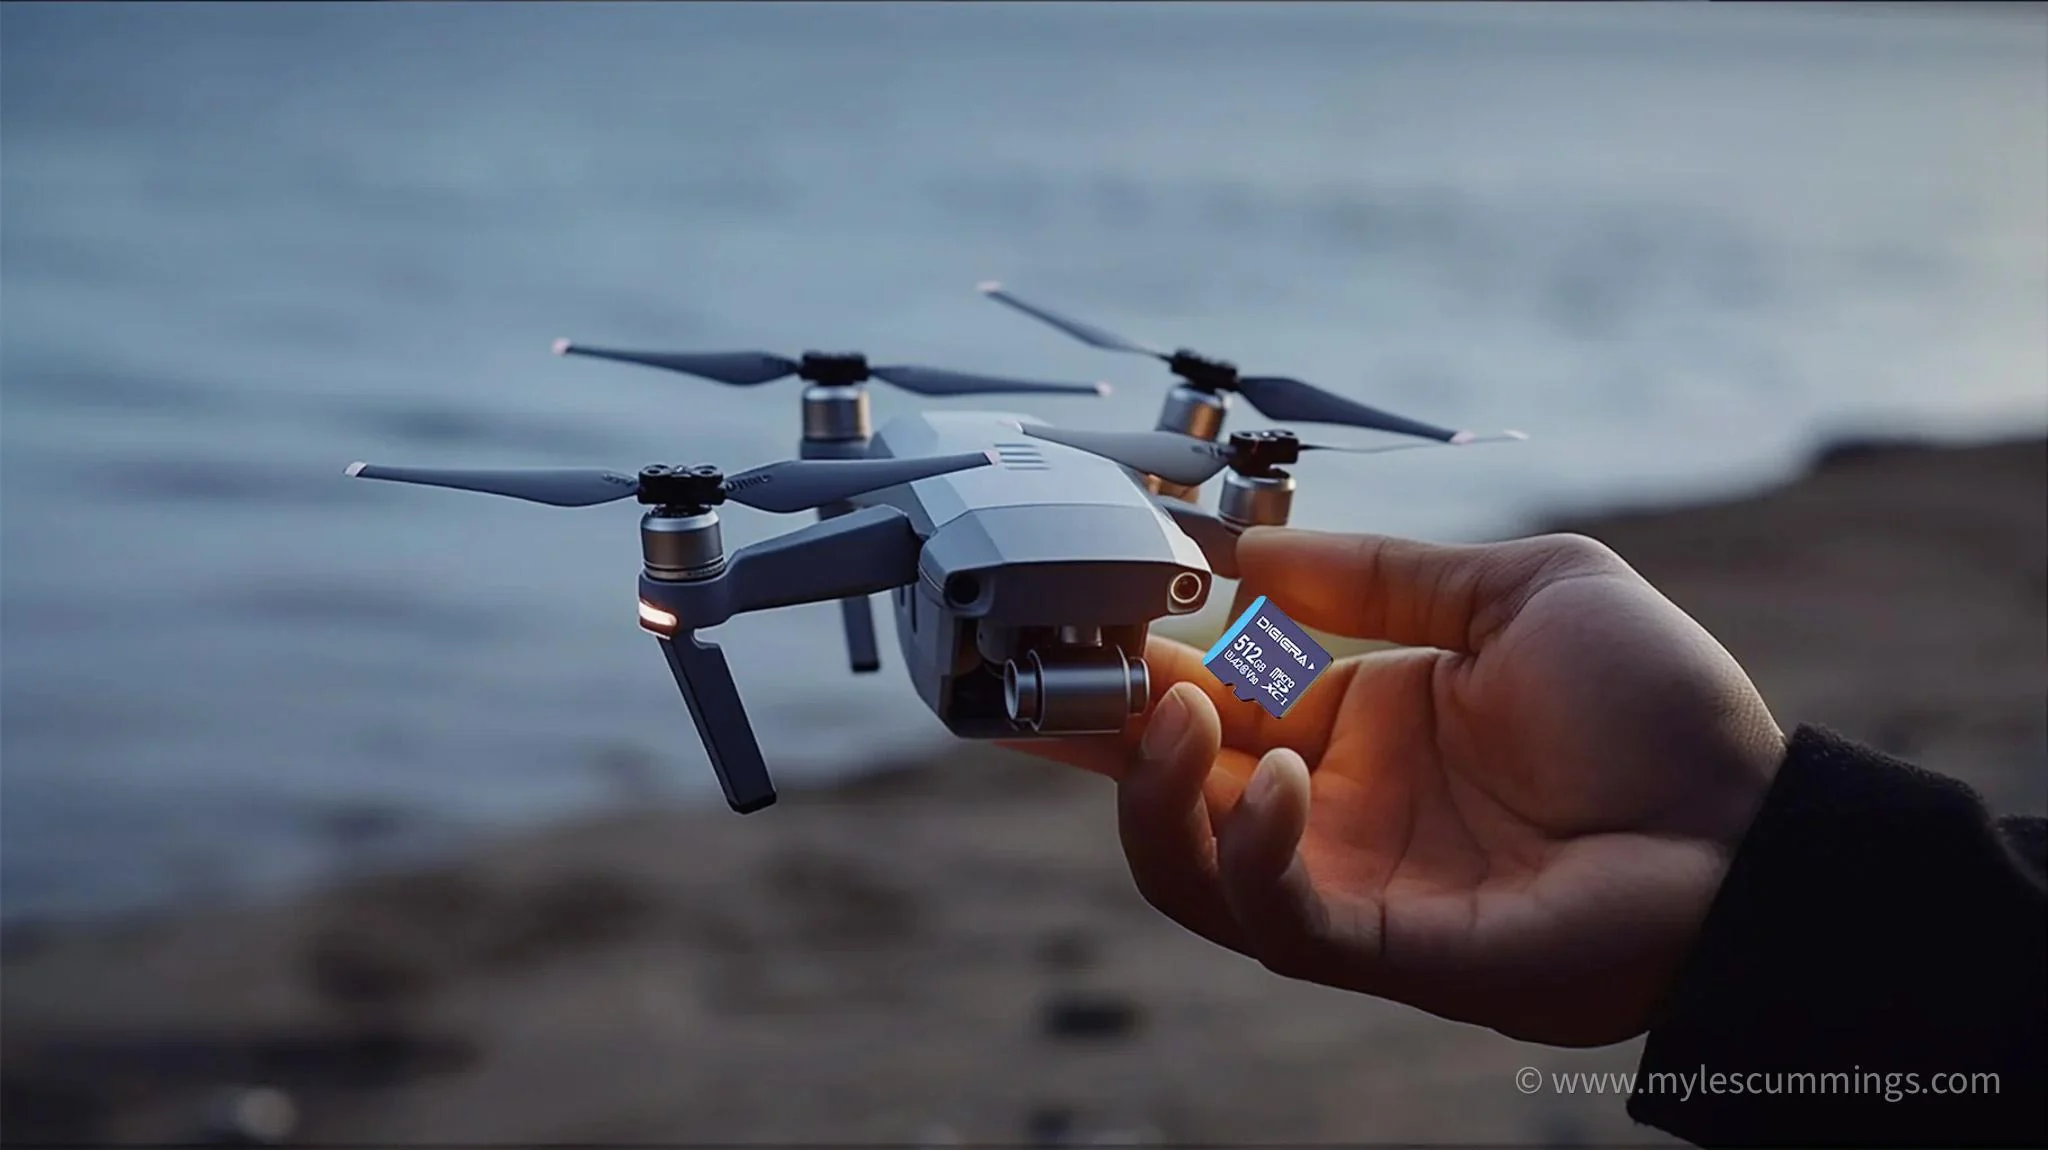
Nothing (apart from flat batteries/controller) is more frustrating than arriving at a drone-worthy location only to discover your SD card is still sitting at home. OK, so now more recent models come with built-in storage, but if your drone still uses an SD card, then make sure it’s flight-ready. Ideally, clear the card of data from previous flights (ensuring, of course, that you have downloaded/saved your files first). I usually just reformat the card from the controller menu options for storage just prior to takeoff. Ideally, you should carry a few SD cards and always leave one spare in your kit bag so that you are never caught out. It is also worth investing in high-quality, high-speed cards, since they capture footage more reliably and reduce the risk of data corruption mid-flight.
Drone Training and Licensing
Once you have your gear sorted, the next job is learning to fly with confidence. Until you have the sticks under control, shaky, erratic flying will get in the way of the shots you are trying to make.
Flying safely is not just another hobby skill to pick up; it is a regulated privilege, much like the license required to fly a full-size aircraft. You aren’t just a photographer up there; you are the commander of an aircraft.
To acquire that privilege, you need to attend a course that is accredited by the Federal Aviation Administration (FAA). Depending on your region, you should verify which local governing body oversees local drone regulations.
Getting certified is usually straightforward. You show that you have steady motor skills, and you pass an exam covering the fundamentals, such as basic maneuvers, emergency safety procedures, and handling. Plenty of prep courses and study materials are out there, and I would strongly recommend that any beginner take one before sitting for a licensing exam. In the United States, you must be at least 16 years old to sit the exam, and the minimum age may differ where you live.
Also, remember to research and abide by all the restrictions that may apply to flying drones in your area.
Scouting and Safety
Always scout your flight location beforehand. Beginners especially should prioritize clear, open spaces in the countryside, well away from water, buildings, and people to minimize risk. It goes without saying that you should not be flying anywhere near an airport. You can also get some idea of the terrain from Google Maps.
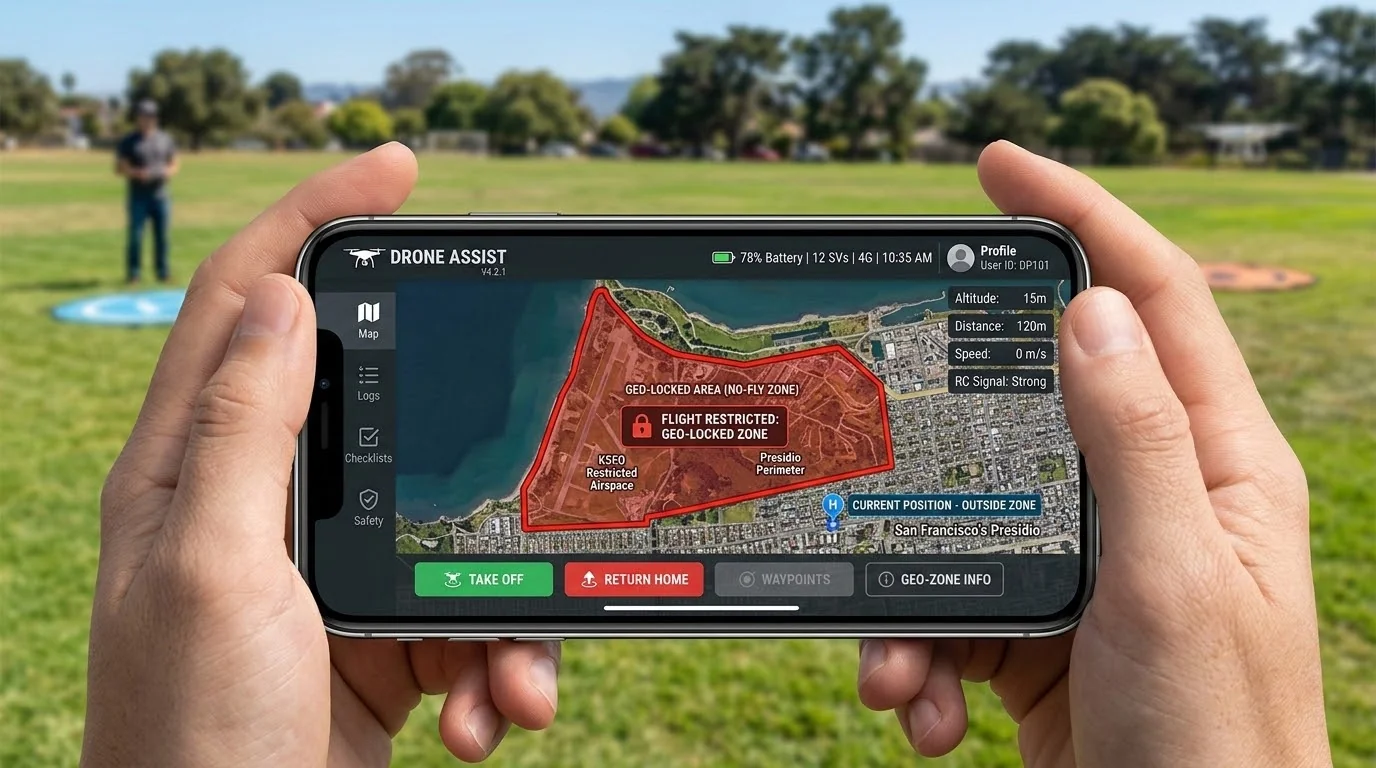
It’s also worth checking out apps for drone flyers that give information on restricted/geo-locked flight zones. Personally, if you are flying in the UK/Europe, I recommend “Drone Assist” by Altitude Angel as the top choice for checking NOTAMs and ground hazards, but check the apps available for your country. Many of these apps also include a simple, built-in pre-flight checklist, which is an invaluable tool for ensuring you’ve covered all necessary safety checks before takeoff.
Anatomy of a Drone
Knowing how to keep your drone steady in the air is a great skill, but it’s not everything. In order to capture expressive images with your UAV and avoid disappointing results, it’s also crucial for you to understand how your machine works.
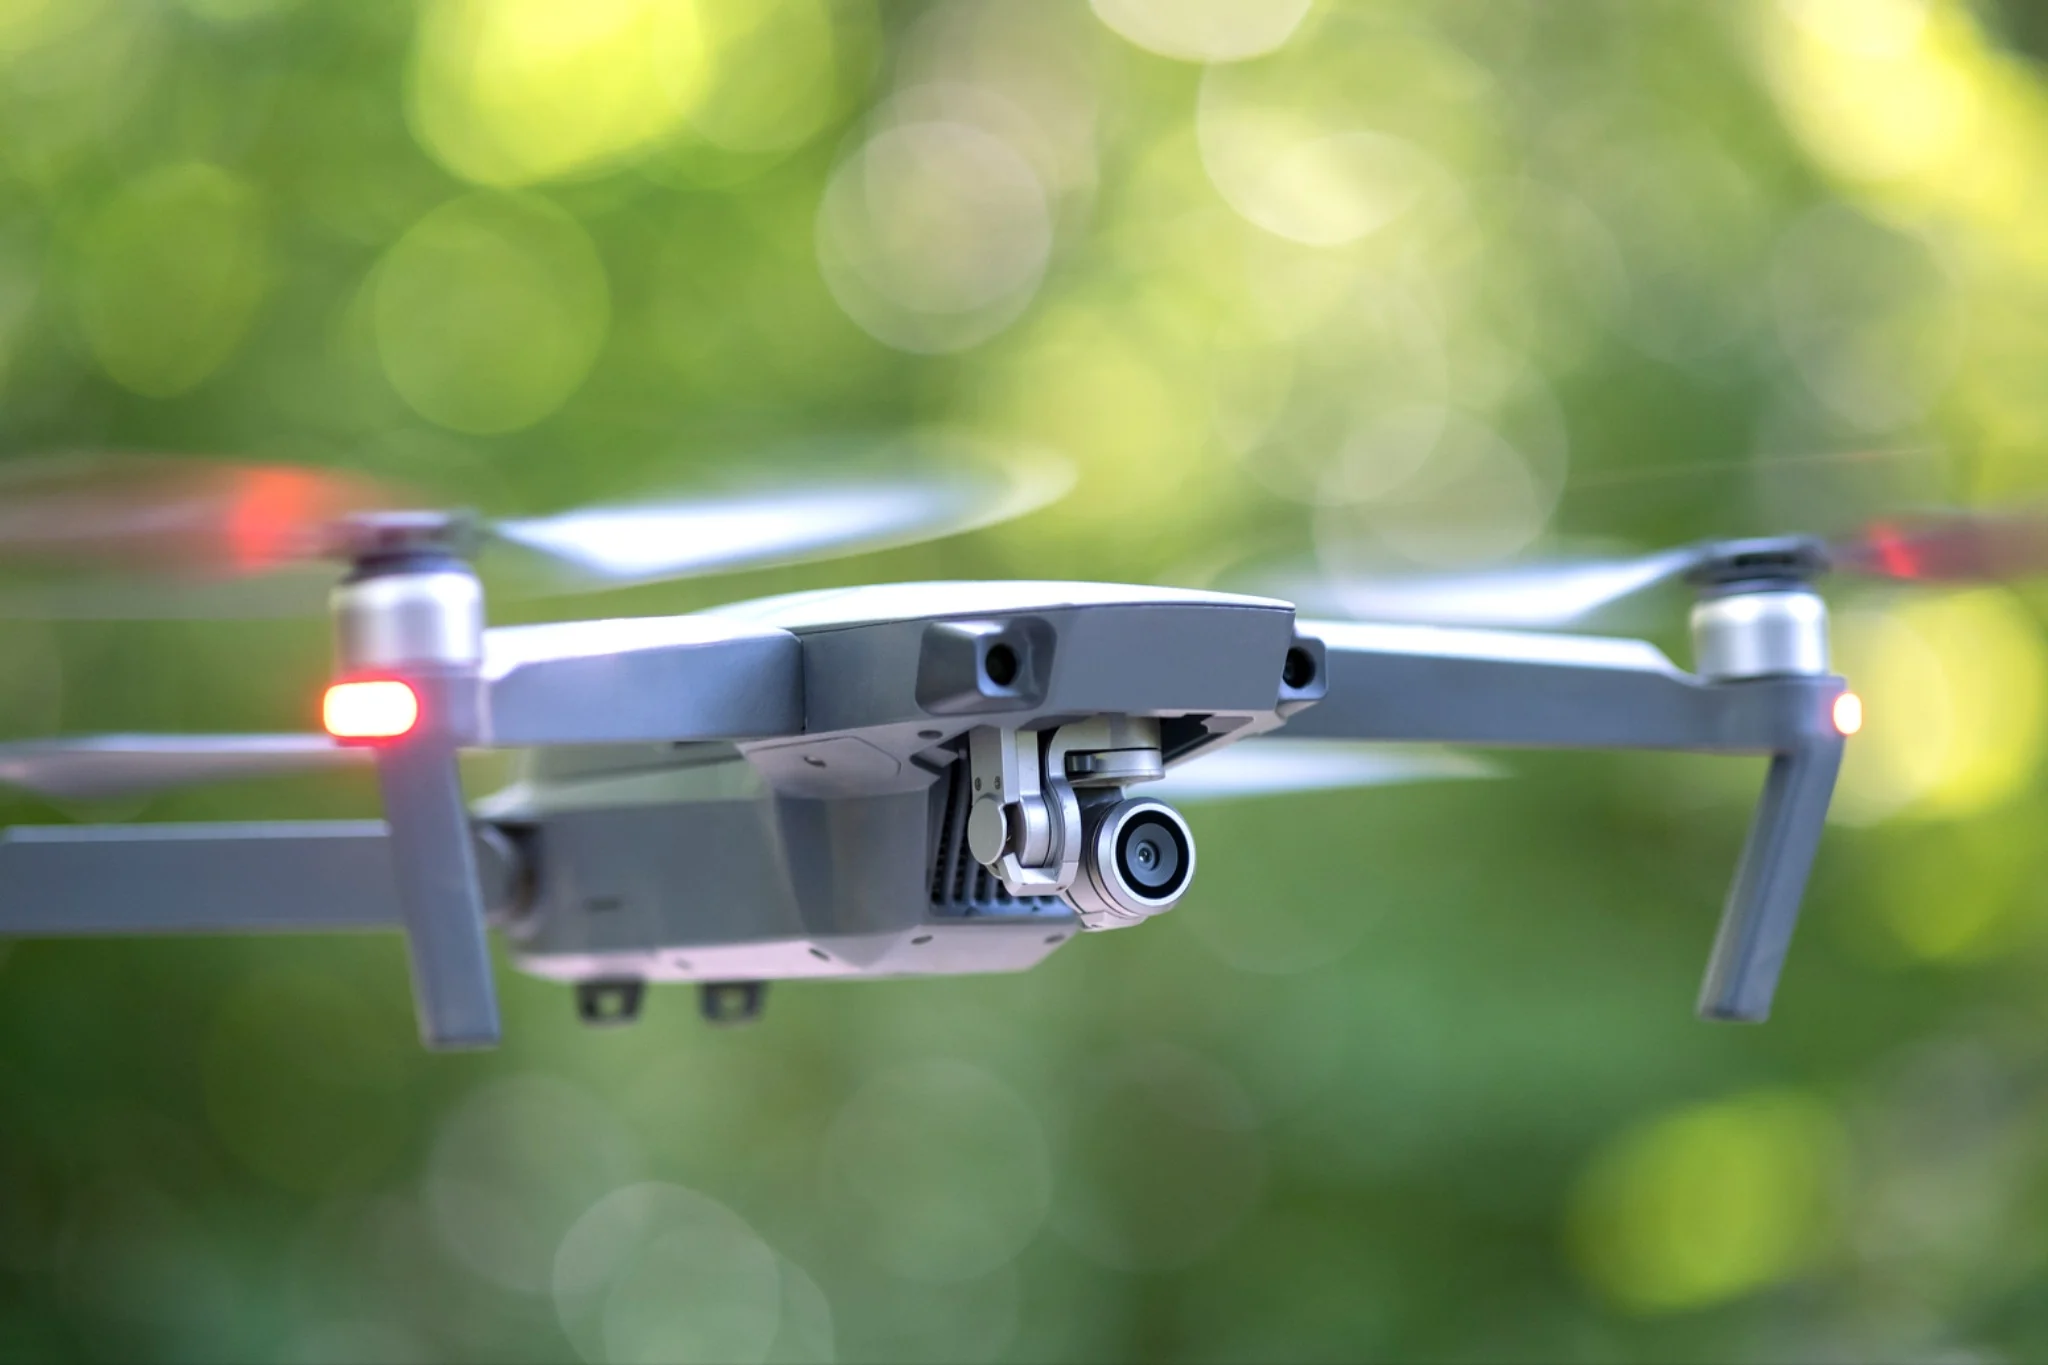
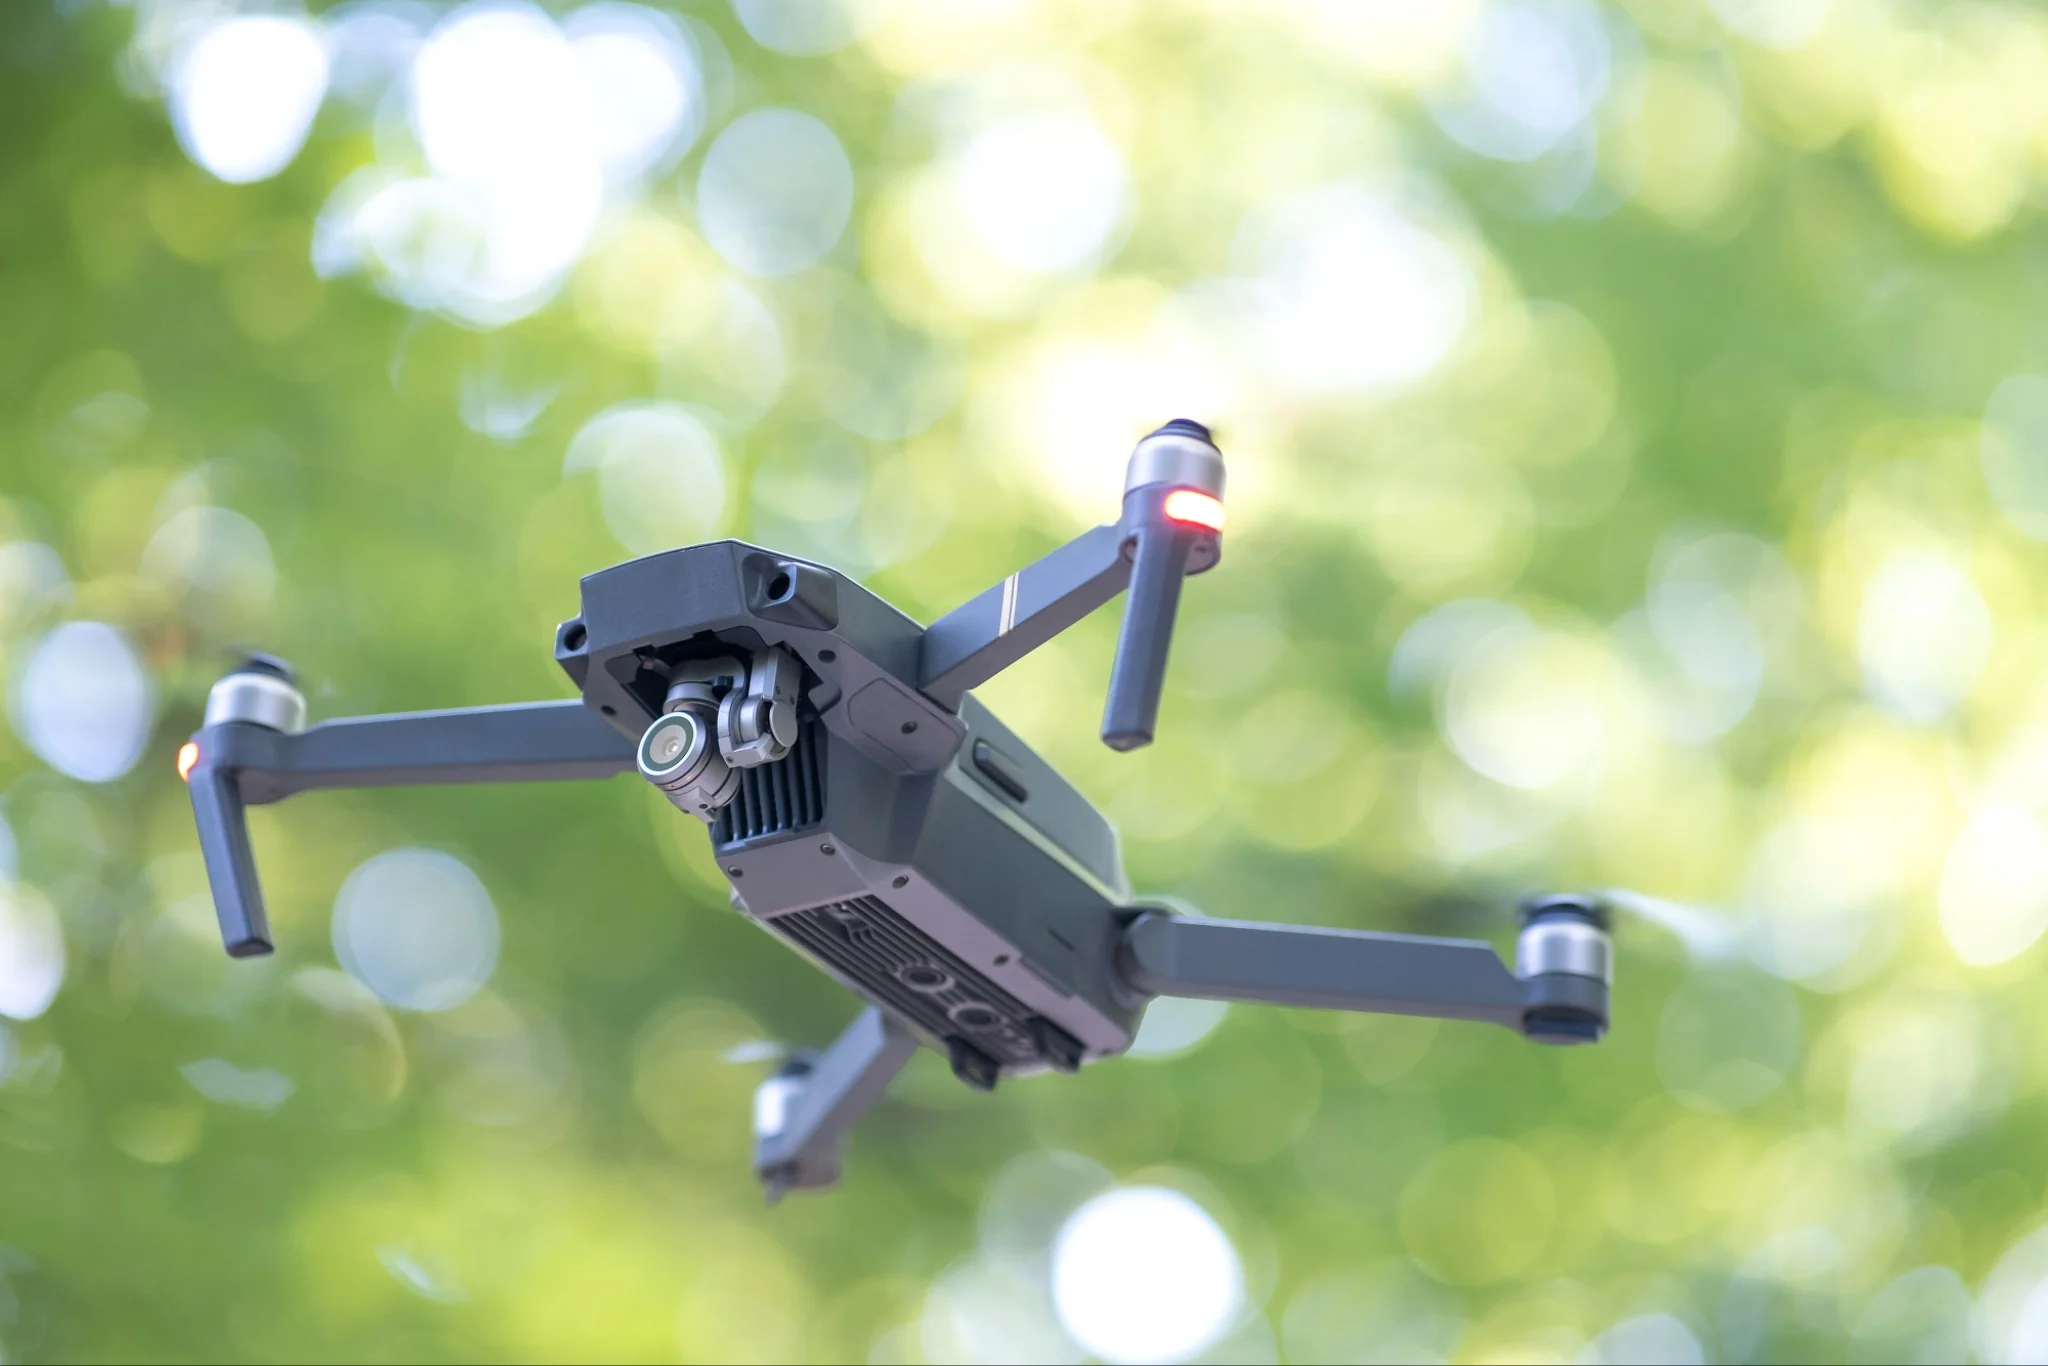
The common type epitomized by DJI drones consists of two basic parts: the drone itself and the included camera. Modern drone technology allows the vehicle to detect its own position, adjust for wind automatically, and perform structured maneuvers, powered by radio, GPS, gyroscopes, and various sensors.
GPS and Hover Stability
Modern drones rely heavily on GPS, gyroscopes, and internal sensors to maintain position against wind drag. However, when flying close to structures or under tree canopies, signal interference can cause sudden drifts. Always keep line-of-sight and be prepared to take manual stick control.
The Gimbal Core
The camera gimbal is highly sensitive. Sudden erratic movements or flying at top speeds can stress the motor, causing subtle micro-jitters in your photos. Smooth, deliberate piloting yields the sharpest results.
Props and Motors
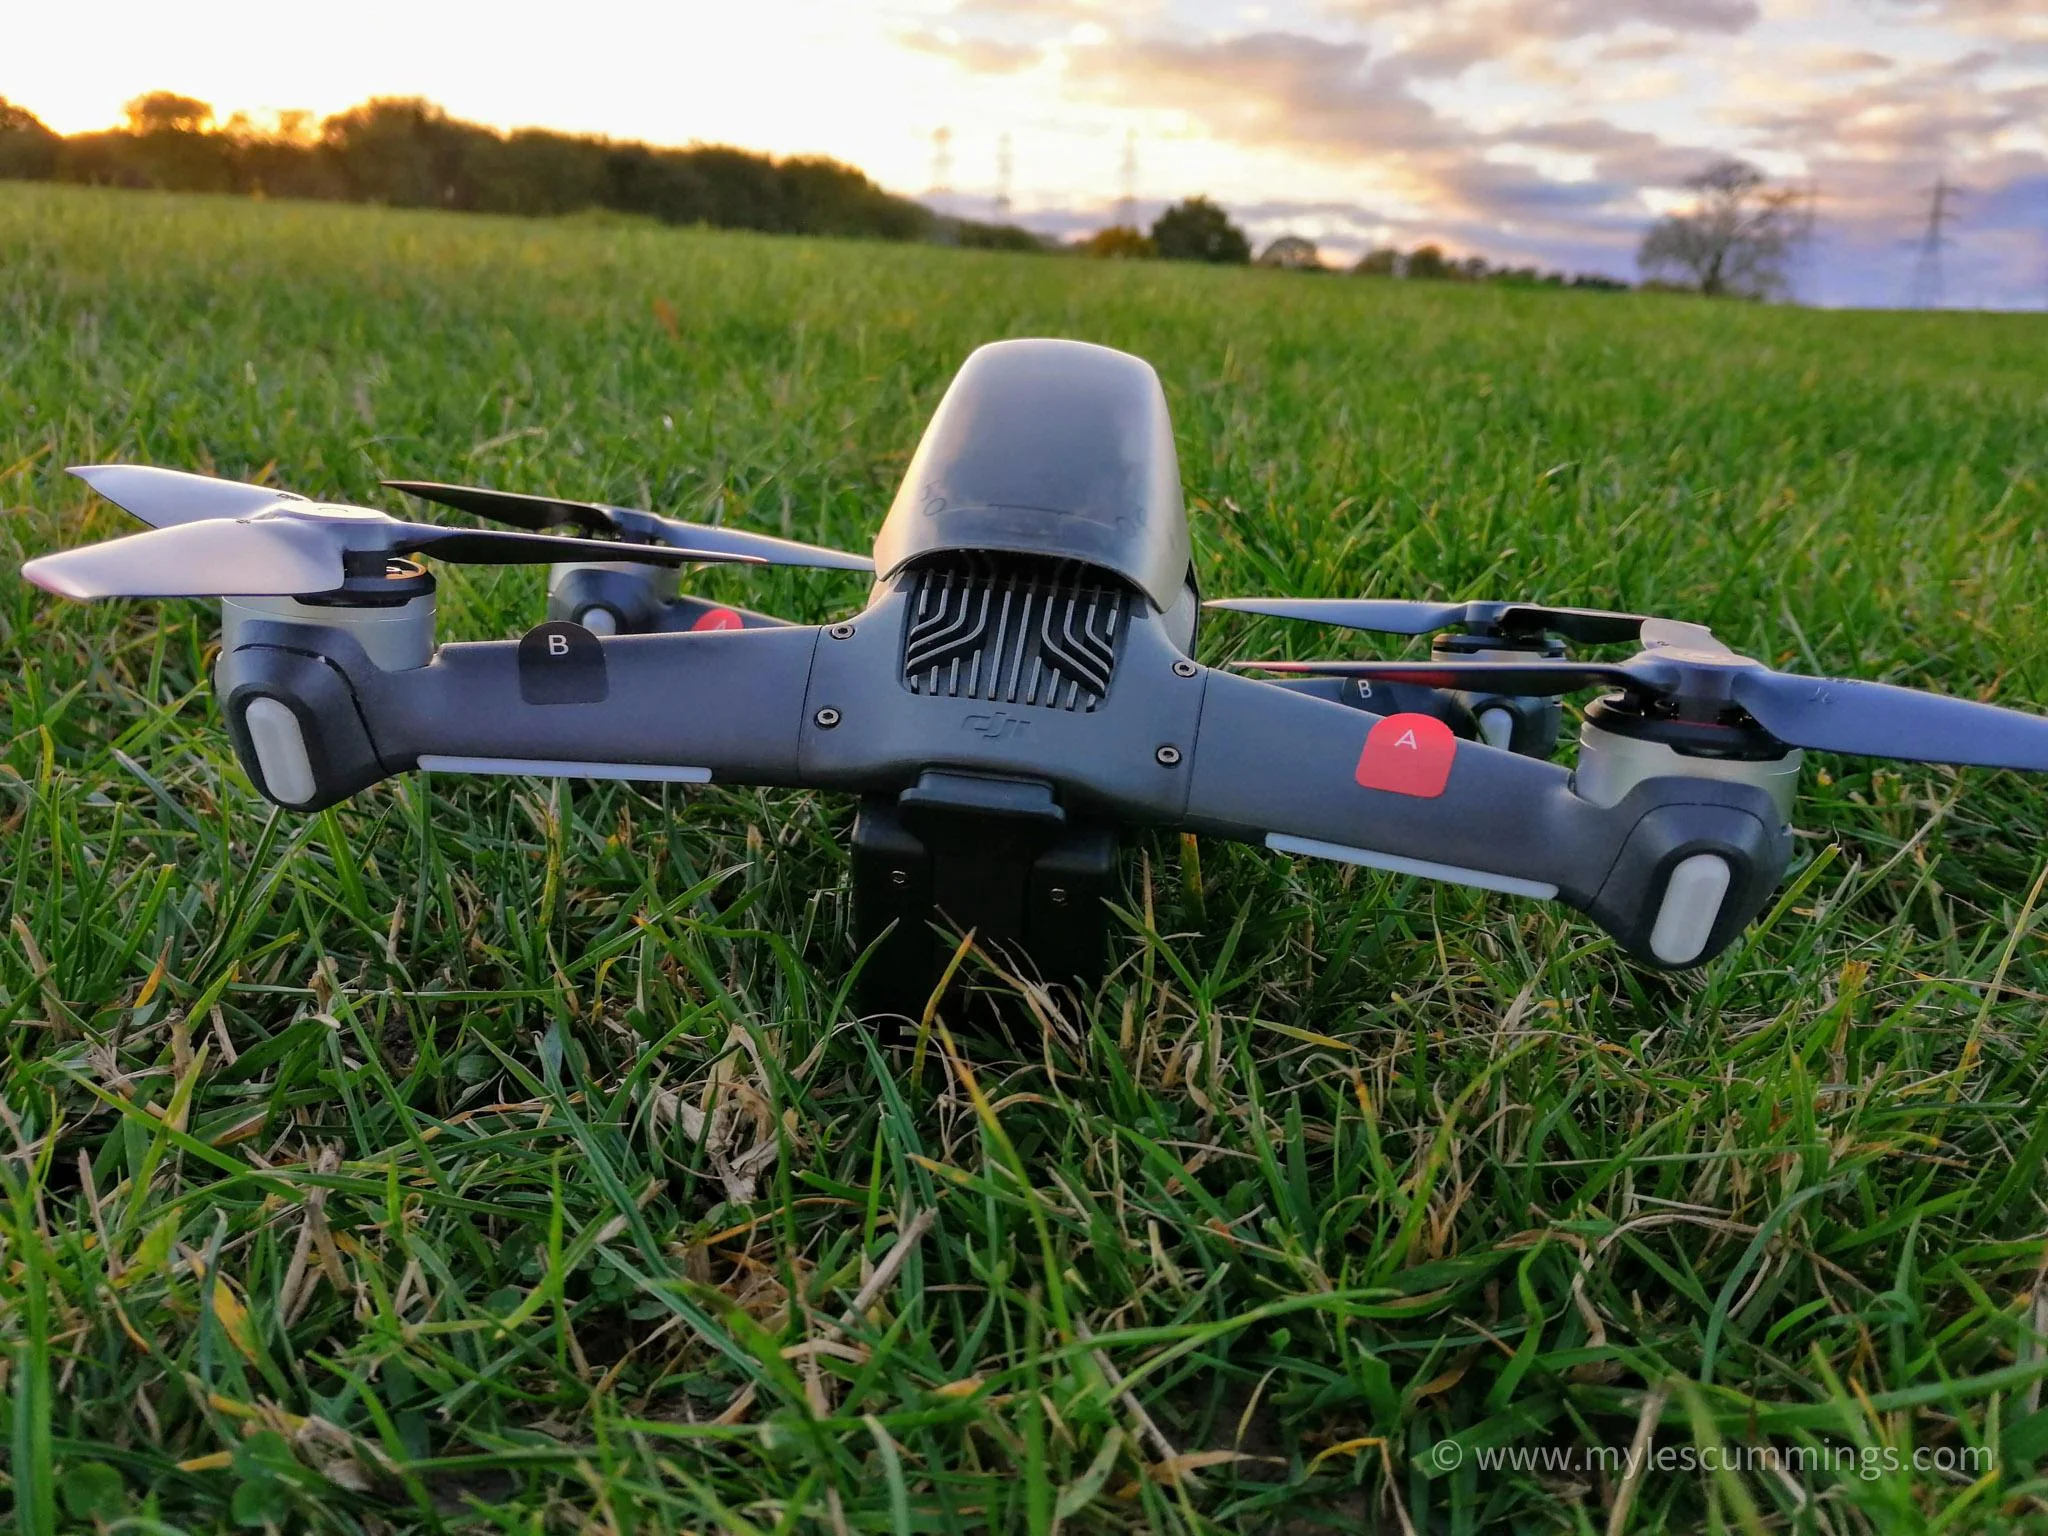
Your propellers and motors are the heart of your drone’s stability. Ensure propellers are free of cracks or chips before every flight. Even minor damage can cause vibrations that ruin image stability or, in worst cases, lead to flight failure. Periodically check that motor housings are free of debris to ensure smooth operation.
Obstacle Awareness
Most new drones feature sophisticated 360-degree obstacle detection. However, especially when learning to fly, it is best to pretend your drone does not have this technology. This approach ensures you build genuine piloting skills and avoid over-reliance on systems that can occasionally fail.
Sensor Size
Most consumer or compact drones use small sensors. This means their dynamic range is inherently limited compared to a ground DSLR. Recognizing this early changes how and when you shoot; midday sun, especially when it reflects off concrete or metallic roofs, will easily blow out your highlights, so aim for the soft light of early morning, the golden hour, when you can capture cleaner, lower-noise detail.
The Camera and Lens
Beyond the airframe, the camera is what really sets a modern drone apart. All the reputable models now ship with a capable built-in camera rather than a bare mount for an action cam, usually pairing a moderately fast zoom lens with optical image stabilization. In resolution, shutter speed, and burst shooting, today’s drone cameras hold their own against many DSLR and mirrorless setups; the main trade-off is still the small sensor we covered earlier.
Types of Drones Used in Photography
Most drones popular for photography today are quadcopters (four rotors), which are faster and more nimble. There are also fixed-wing drones that fly like an airplane. While they can stay in the air much longer, they cannot hover in mid-air, making them far less attractive for creative photography.
Choosing a Shooting Mode for Maximum Image Quality
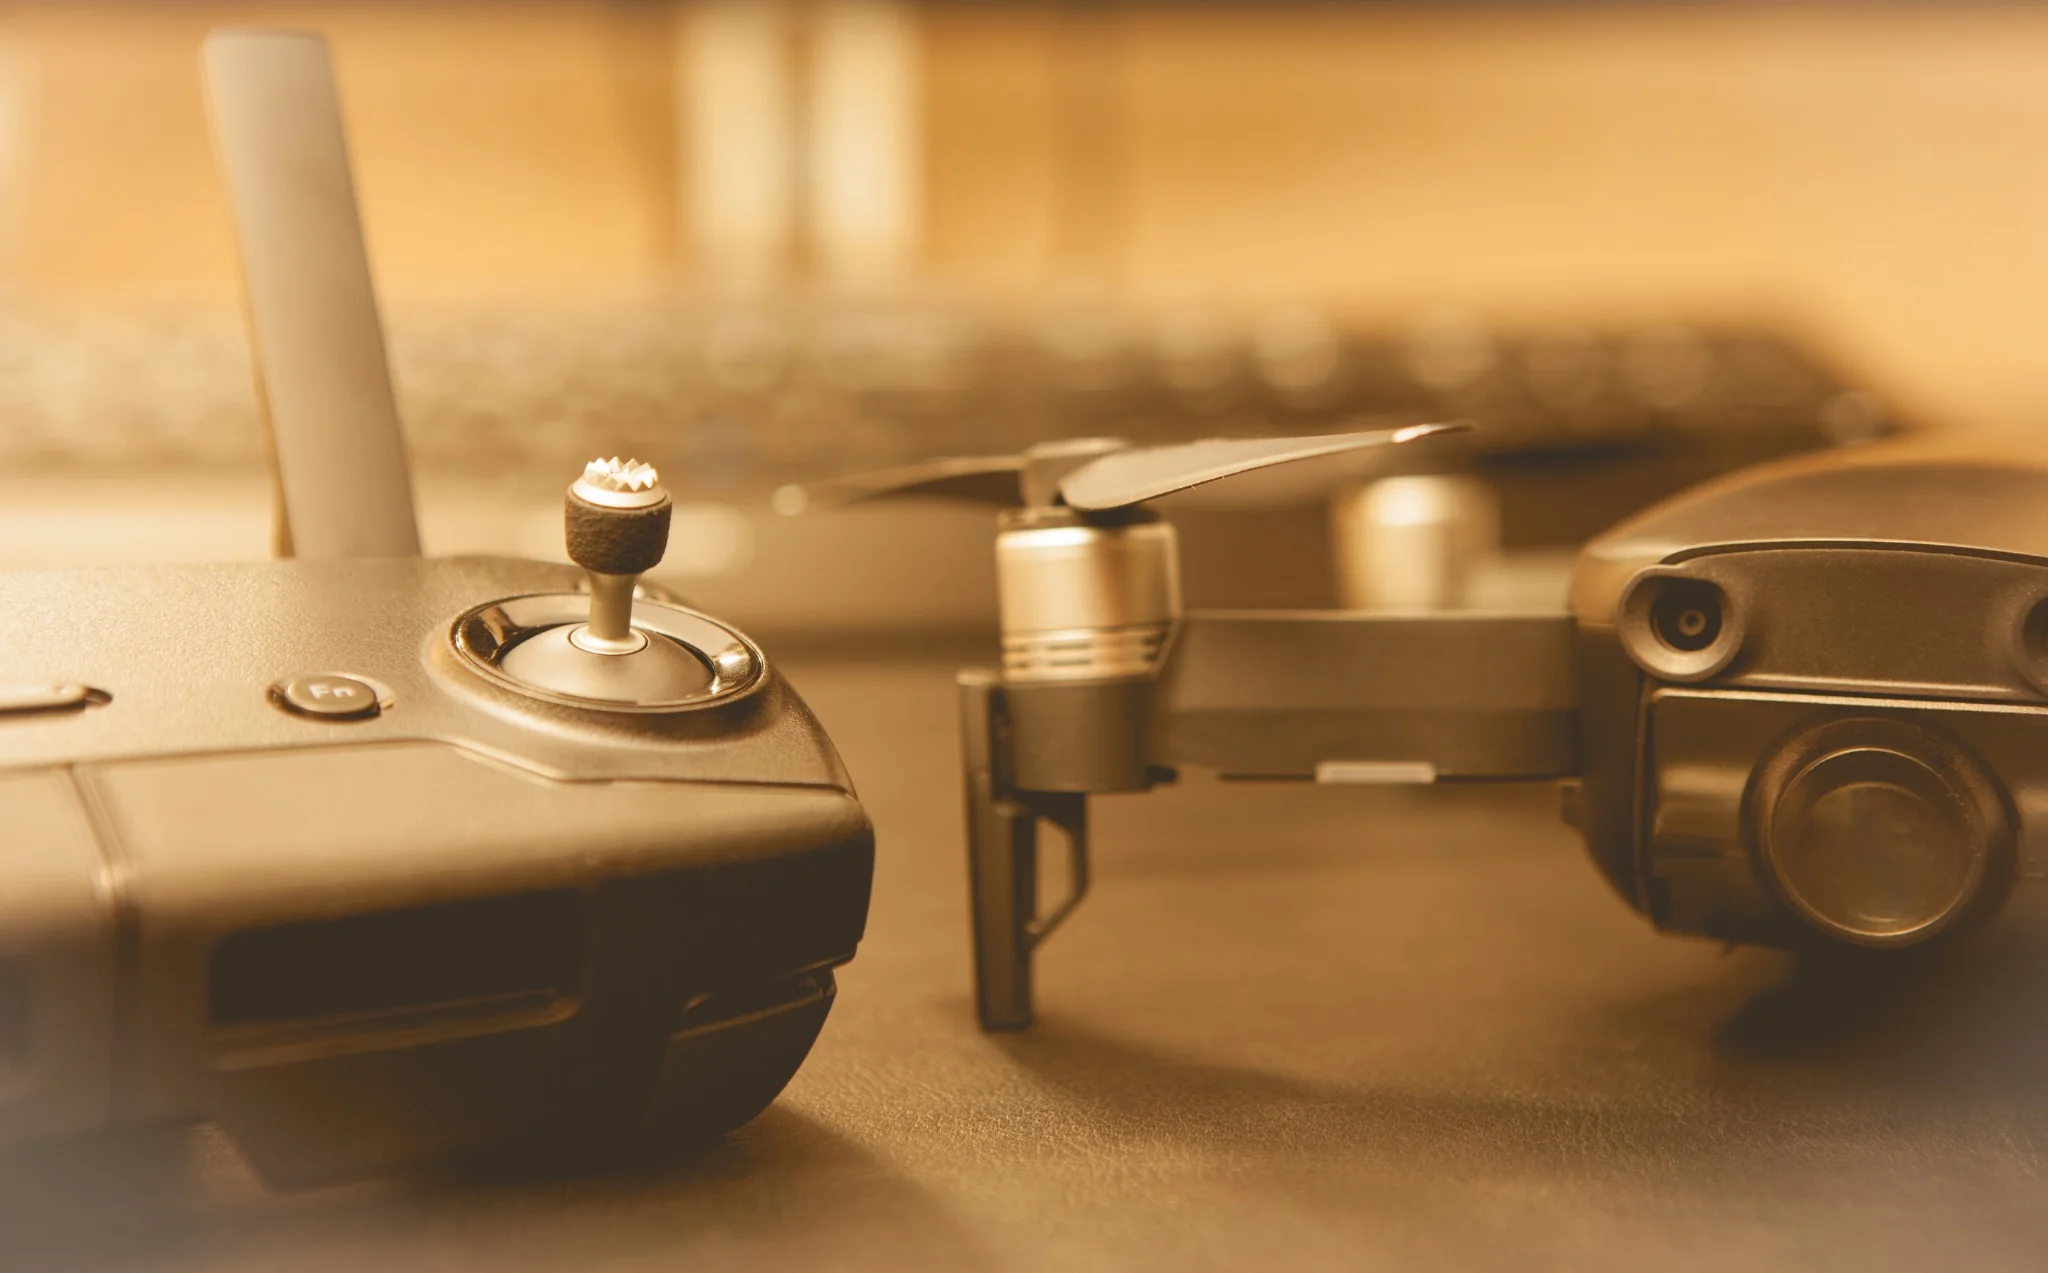
Stepping away from fully automatic settings is the fastest way to get professional results. Let’s cover the basic modes that are most essential to day-to-day drone photography.
Manual Mode and Its Benefits
Most beginner drone pilots are very unlikely to make much use of mode M. Understandably, it sounds like quite a challenge. Controlling your UAV in the air while trying to compose? All the while capturing images that are pleasing to the eye without any help from automatic settings? Obviously, not an easy feat.
However, there is a distinct advantage to going manual. Especially in high-contrast scenes, manual exposure settings can make it much easier for you to selectively expose for a certain aspect of your frame. For rendering landscapes and architecture at high dynamic range, this can make or break the shot!
Always Shoot in RAW
This is non-negotiable. RAW files preserve all the uncompressed color data and exposure details captured by the small sensor. This gives you the critical leverage you need later in post-production to recover details in deep shadows or bright skies.
Manage the ISO Judiciously
Because drone sensors are small, digital noise creeps in quickly. Keep your camera locked at its base ISO (usually ISO 100) to ensure your images stay sharp and free of grain.
Shooting Bracketed Exposures (AEB)
Auto exposure bracketing (AEB) is a technique whereby you take a series of pictures in quick succession with the exact same framing, only altering the exposure settings between them. Armed with AEB, you can overcome nearly any lack of dynamic range. In drone photography, automatic bracketing can very effectively provide stunning HDR results.
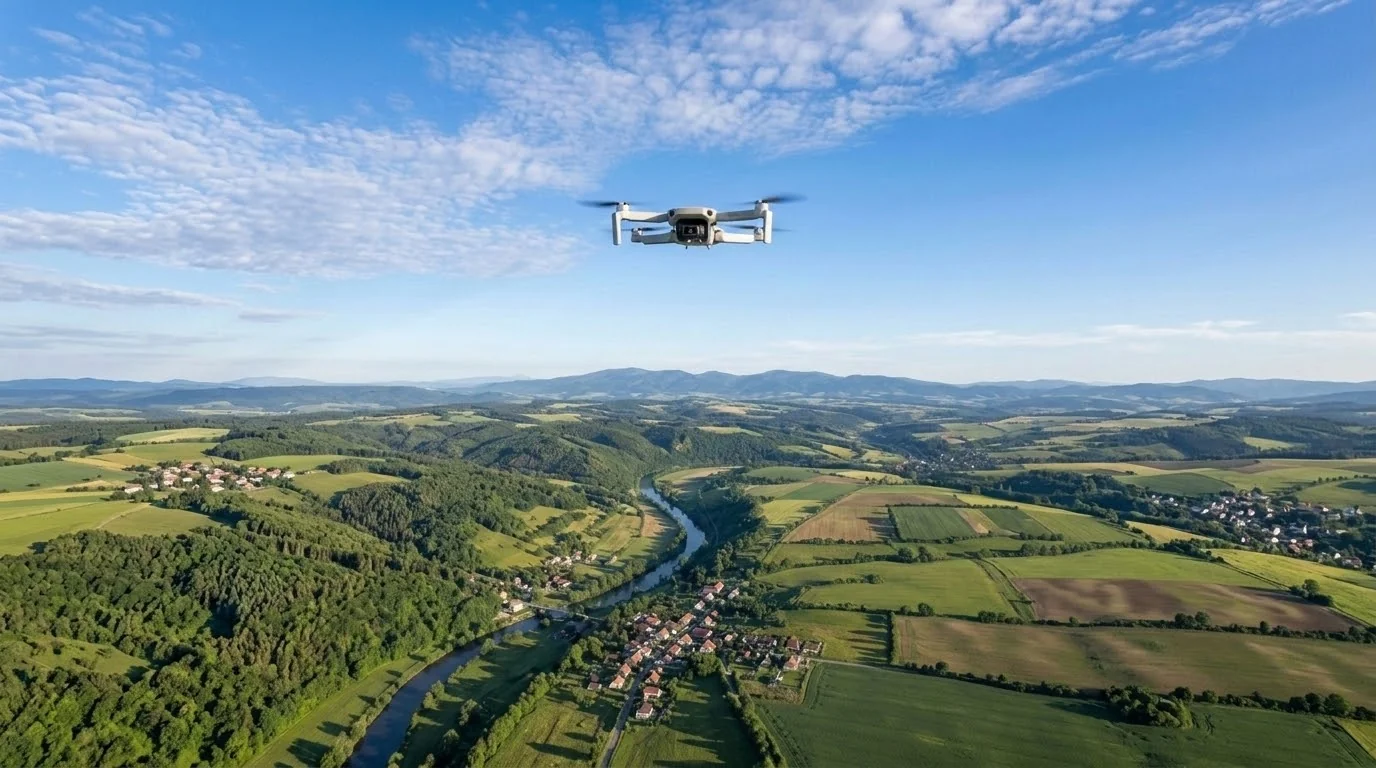
Remember that your drone needs to be perfectly stable for bracketed exposure to work. Use a high shutter speed to minimize movement while your UAV is hovering in place against wind currents.
Utilize Drone-Specific Filters
Enhance your image quality by using dedicated drone filters. UV filters help protect your lens and reduce haze, while polarizing filters are excellent for cutting down glare from water or glass surfaces. Neutral Density (ND) filters are essential for controlling light in bright conditions, allowing you to maintain optimal exposure without sacrificing your desired camera settings.
The Best Uses for Tripod Mode
In this mode, the drone engages a speed limiter that reduces acceleration in all directions, allowing for more precise movements when setting up a shot from a (more or less) fixed position.
I also suggest turning Tripod Mode on when shooting drone footage indoors or navigating tight visual airspace such as framing narrow alleyways in historic urban quarters. That way, you can minimize the risk of accidents.
Compositional Techniques for Punchy Aerial Photos
Many cite composition as the hardest aspect to train when coming to grips with their new drone. Not only because of their limited battery life and resulting narrow flight time, but also their sheer speed and agility, drones put a lot of constraints on composing aerial shots.
On the other hand, the sheer freedom afforded by the extra dimension of flight creates possibilities for drone shots that could never be replicated with other kinds of photo equipment.
Appreciate the Change in Perspective
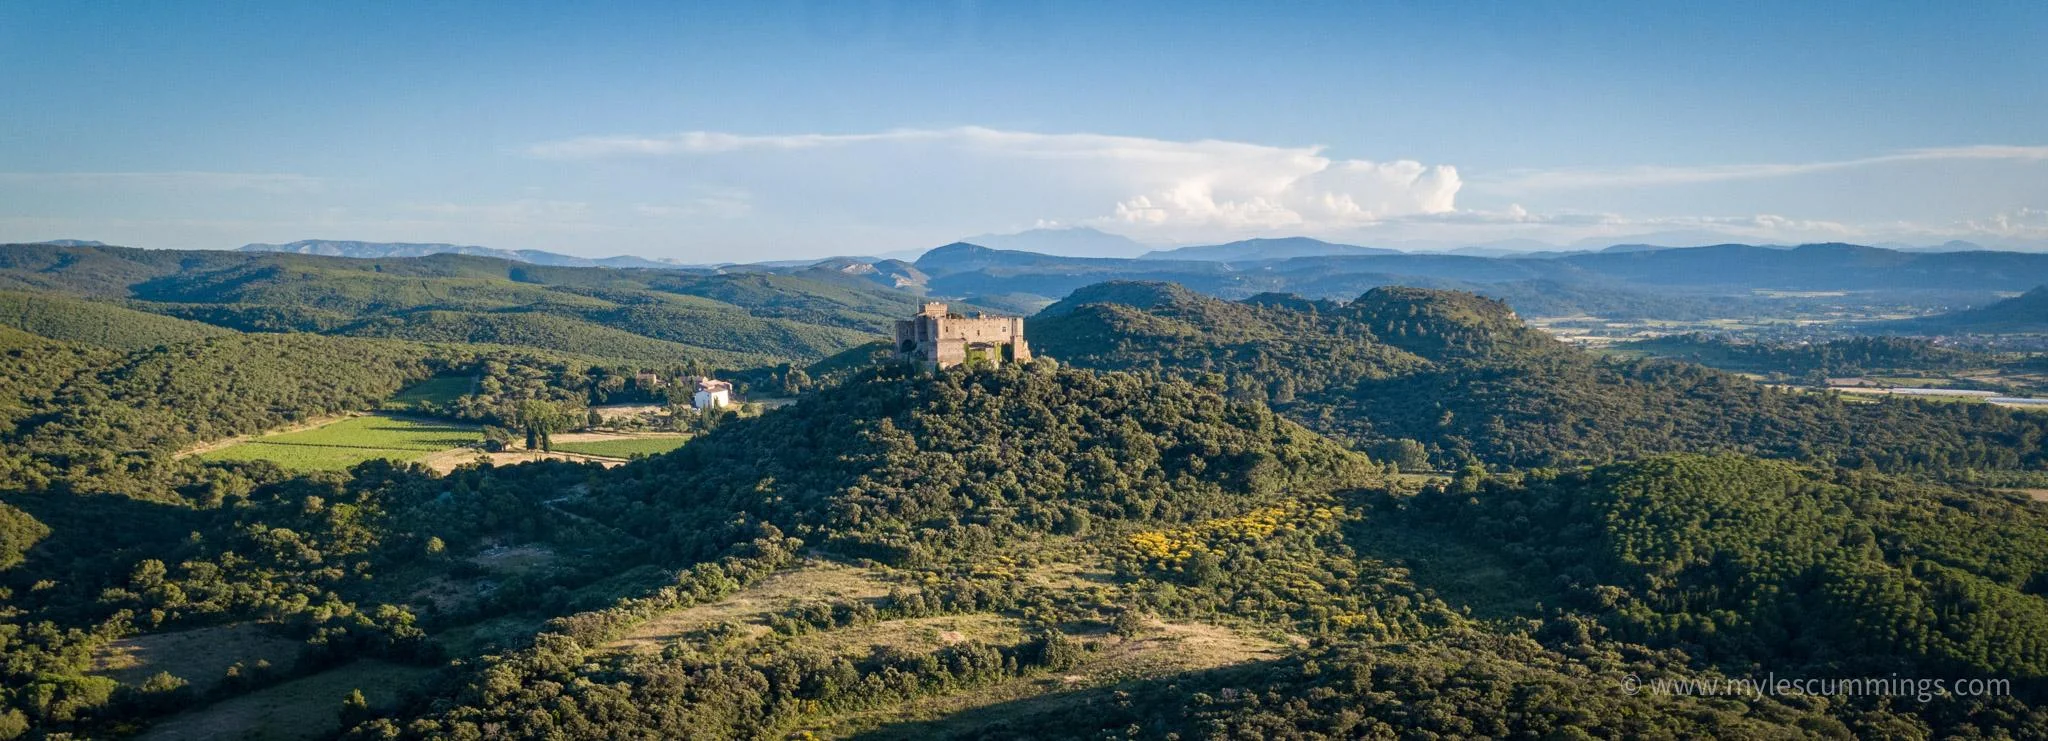
Carefully scan your environment for elements that particularly stick out in the air. These tend to be larger, more dramatic features, such as rivers, mountain ranges, and valleys.
Watch out for Interesting Geometry
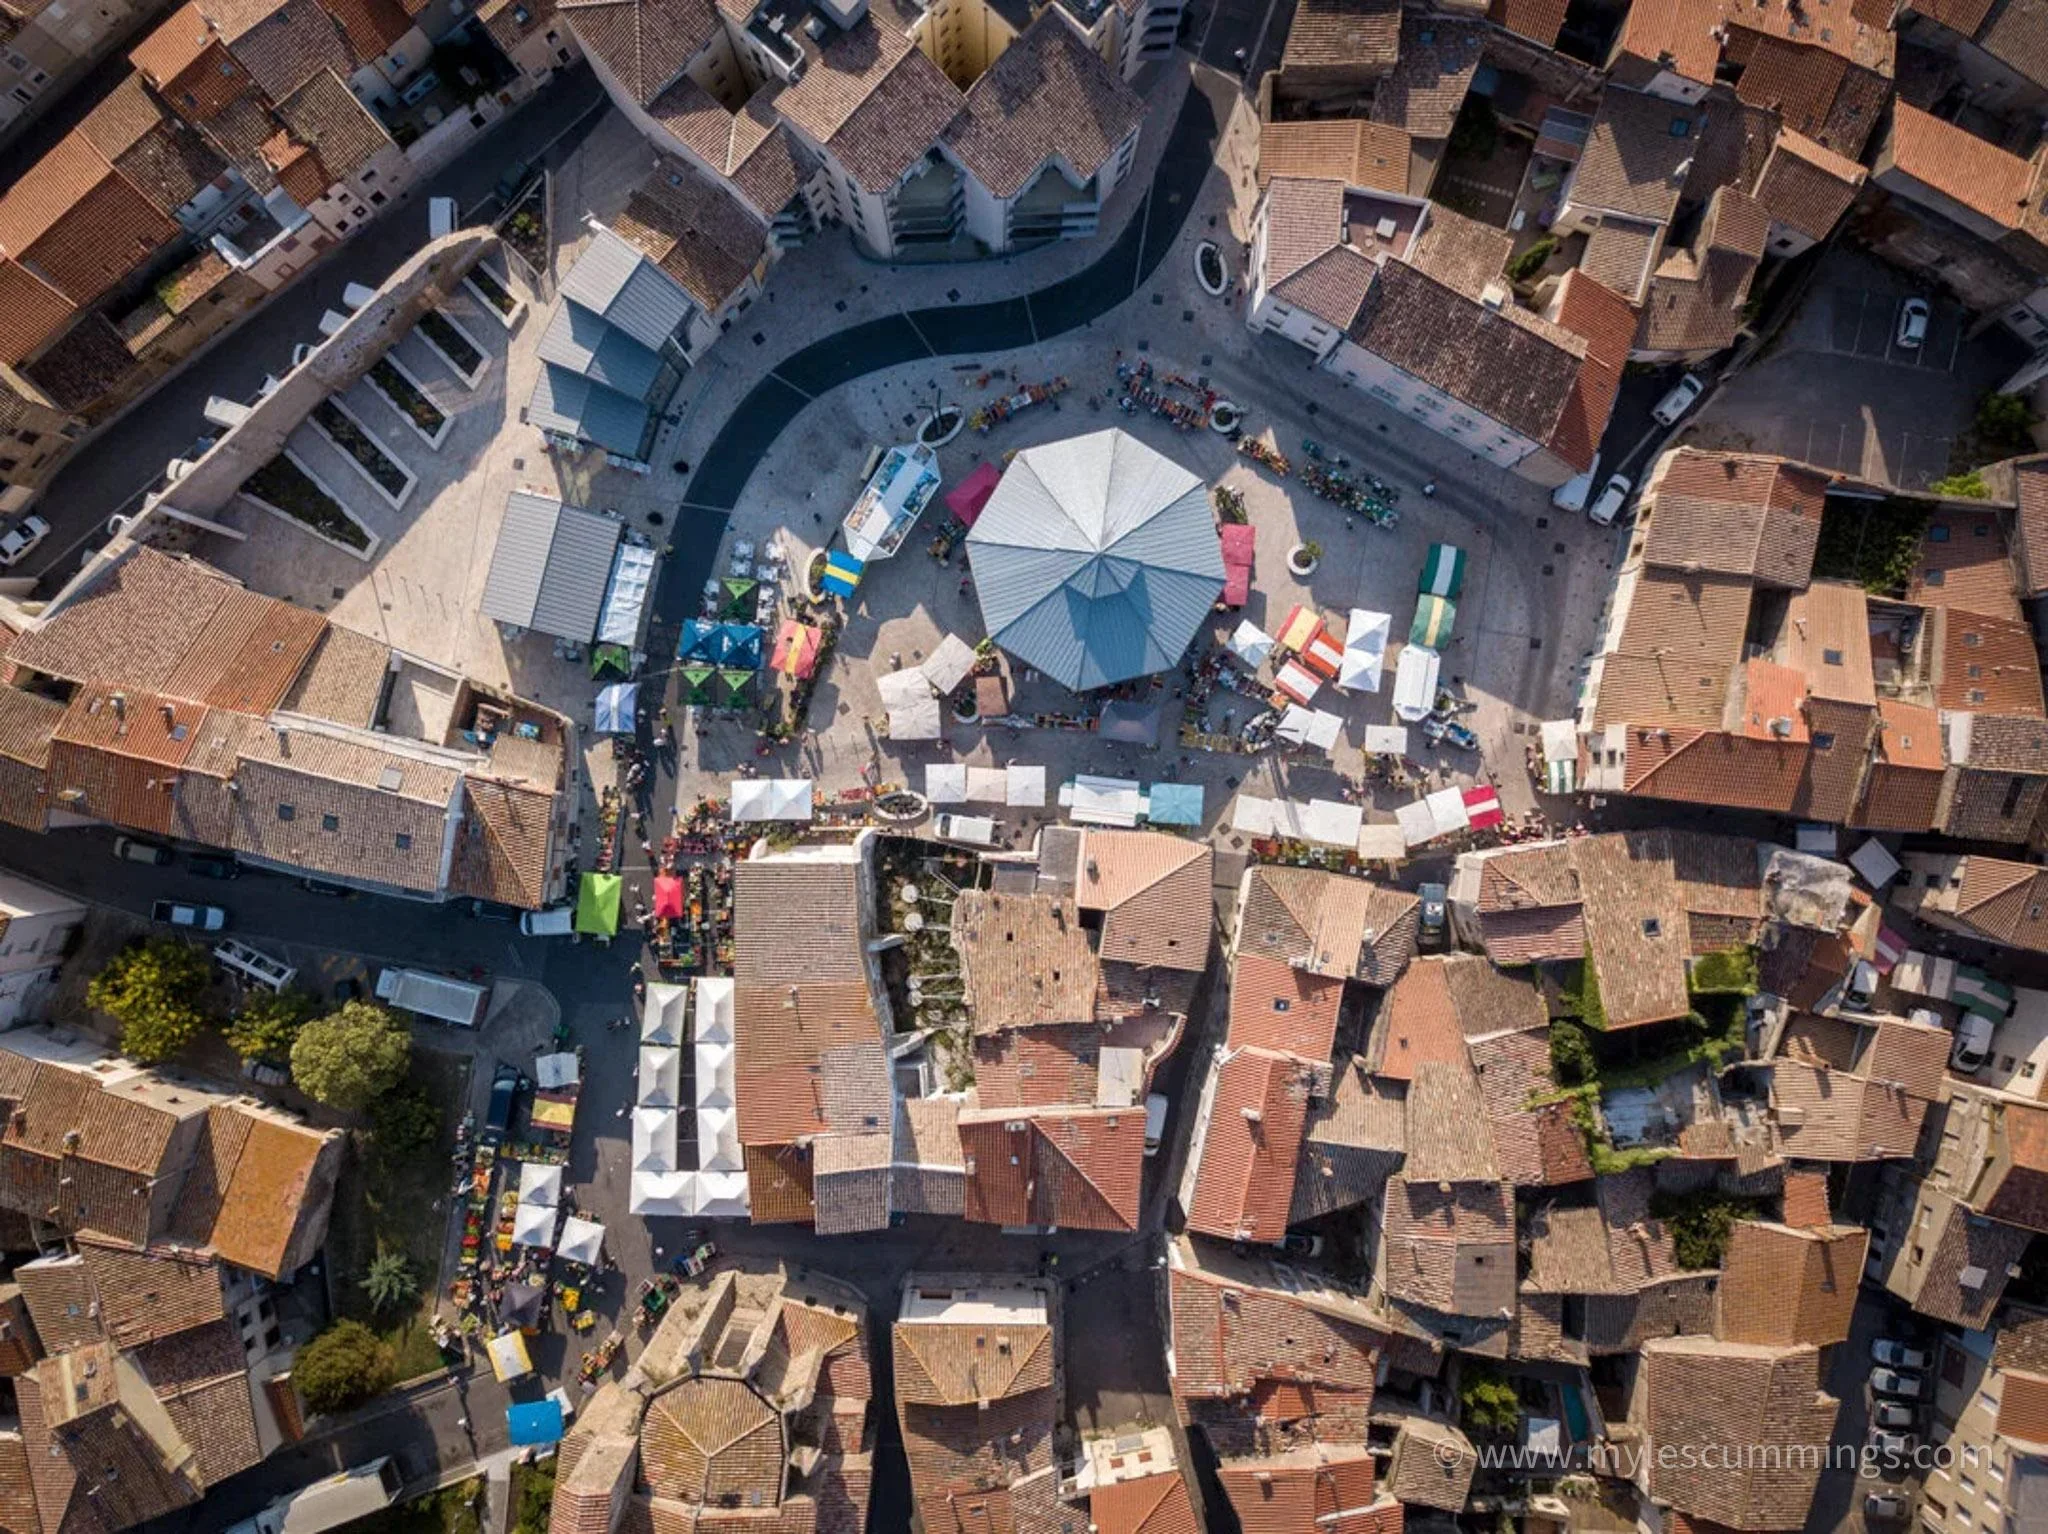
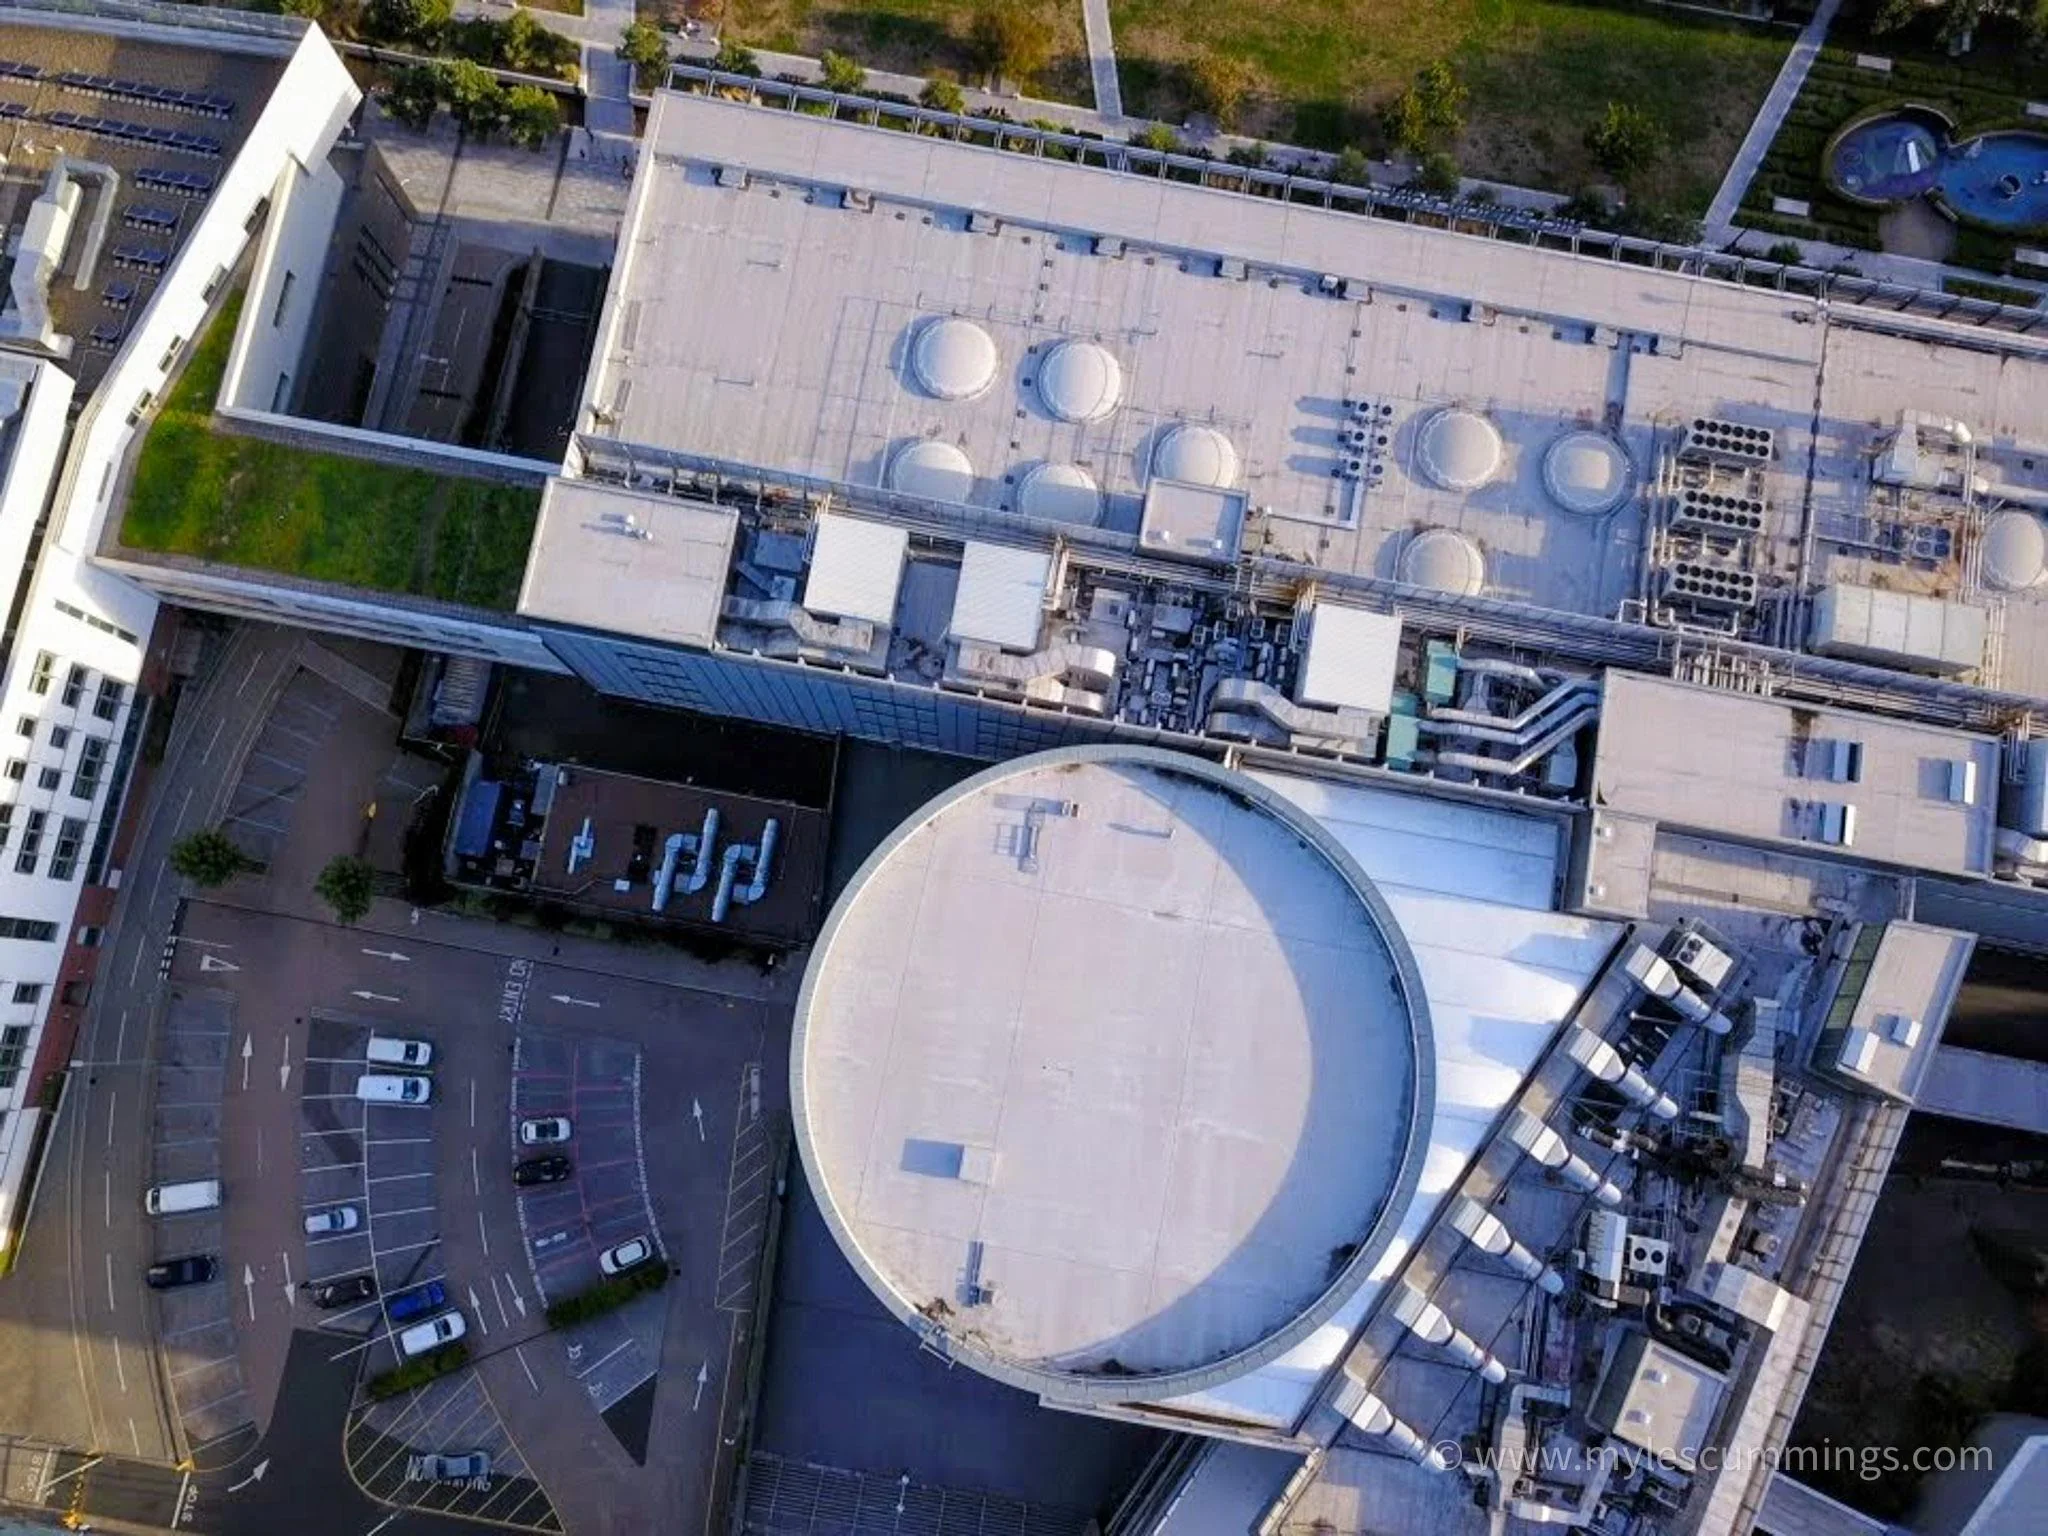
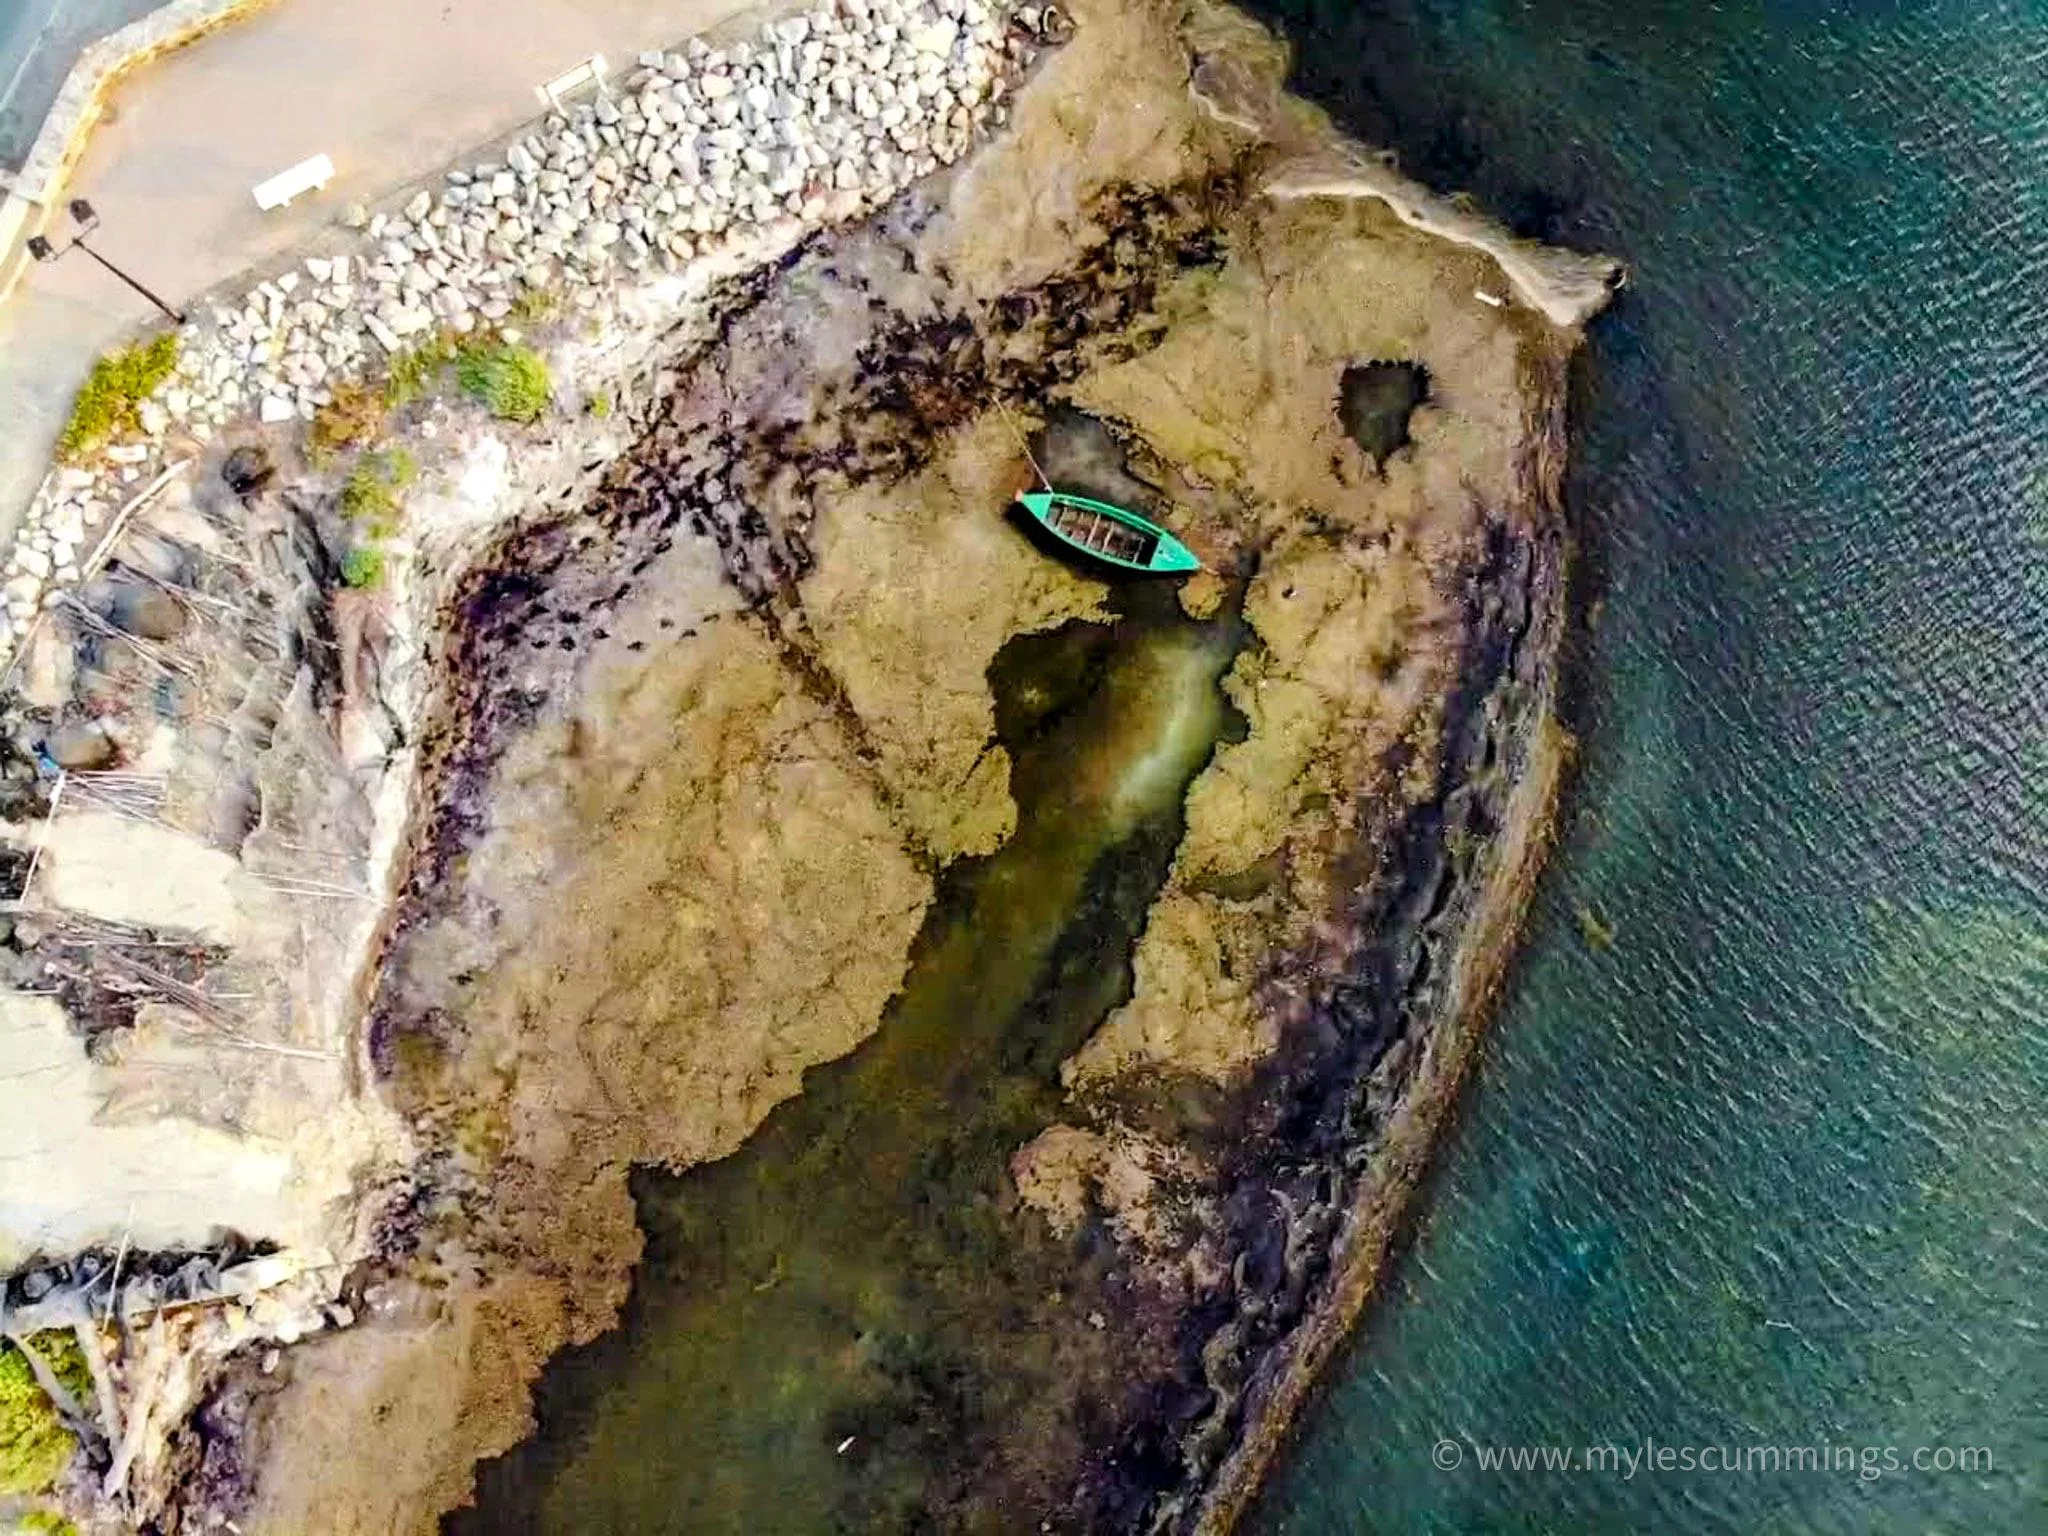
Because the natural shooting position for a drone hovering level to the horizon is with the camera’s lens pointed straight at the ground, you might notice that landscapes appear sort of two-dimensional. You can use this to your advantage and scout for intriguing geometric patterns in your surroundings, such as colorful ‘patchwork’ patterns caused by grain fields, or the striking symmetry of traditional overlapping tile roofs.
Foreground Framing and Scale
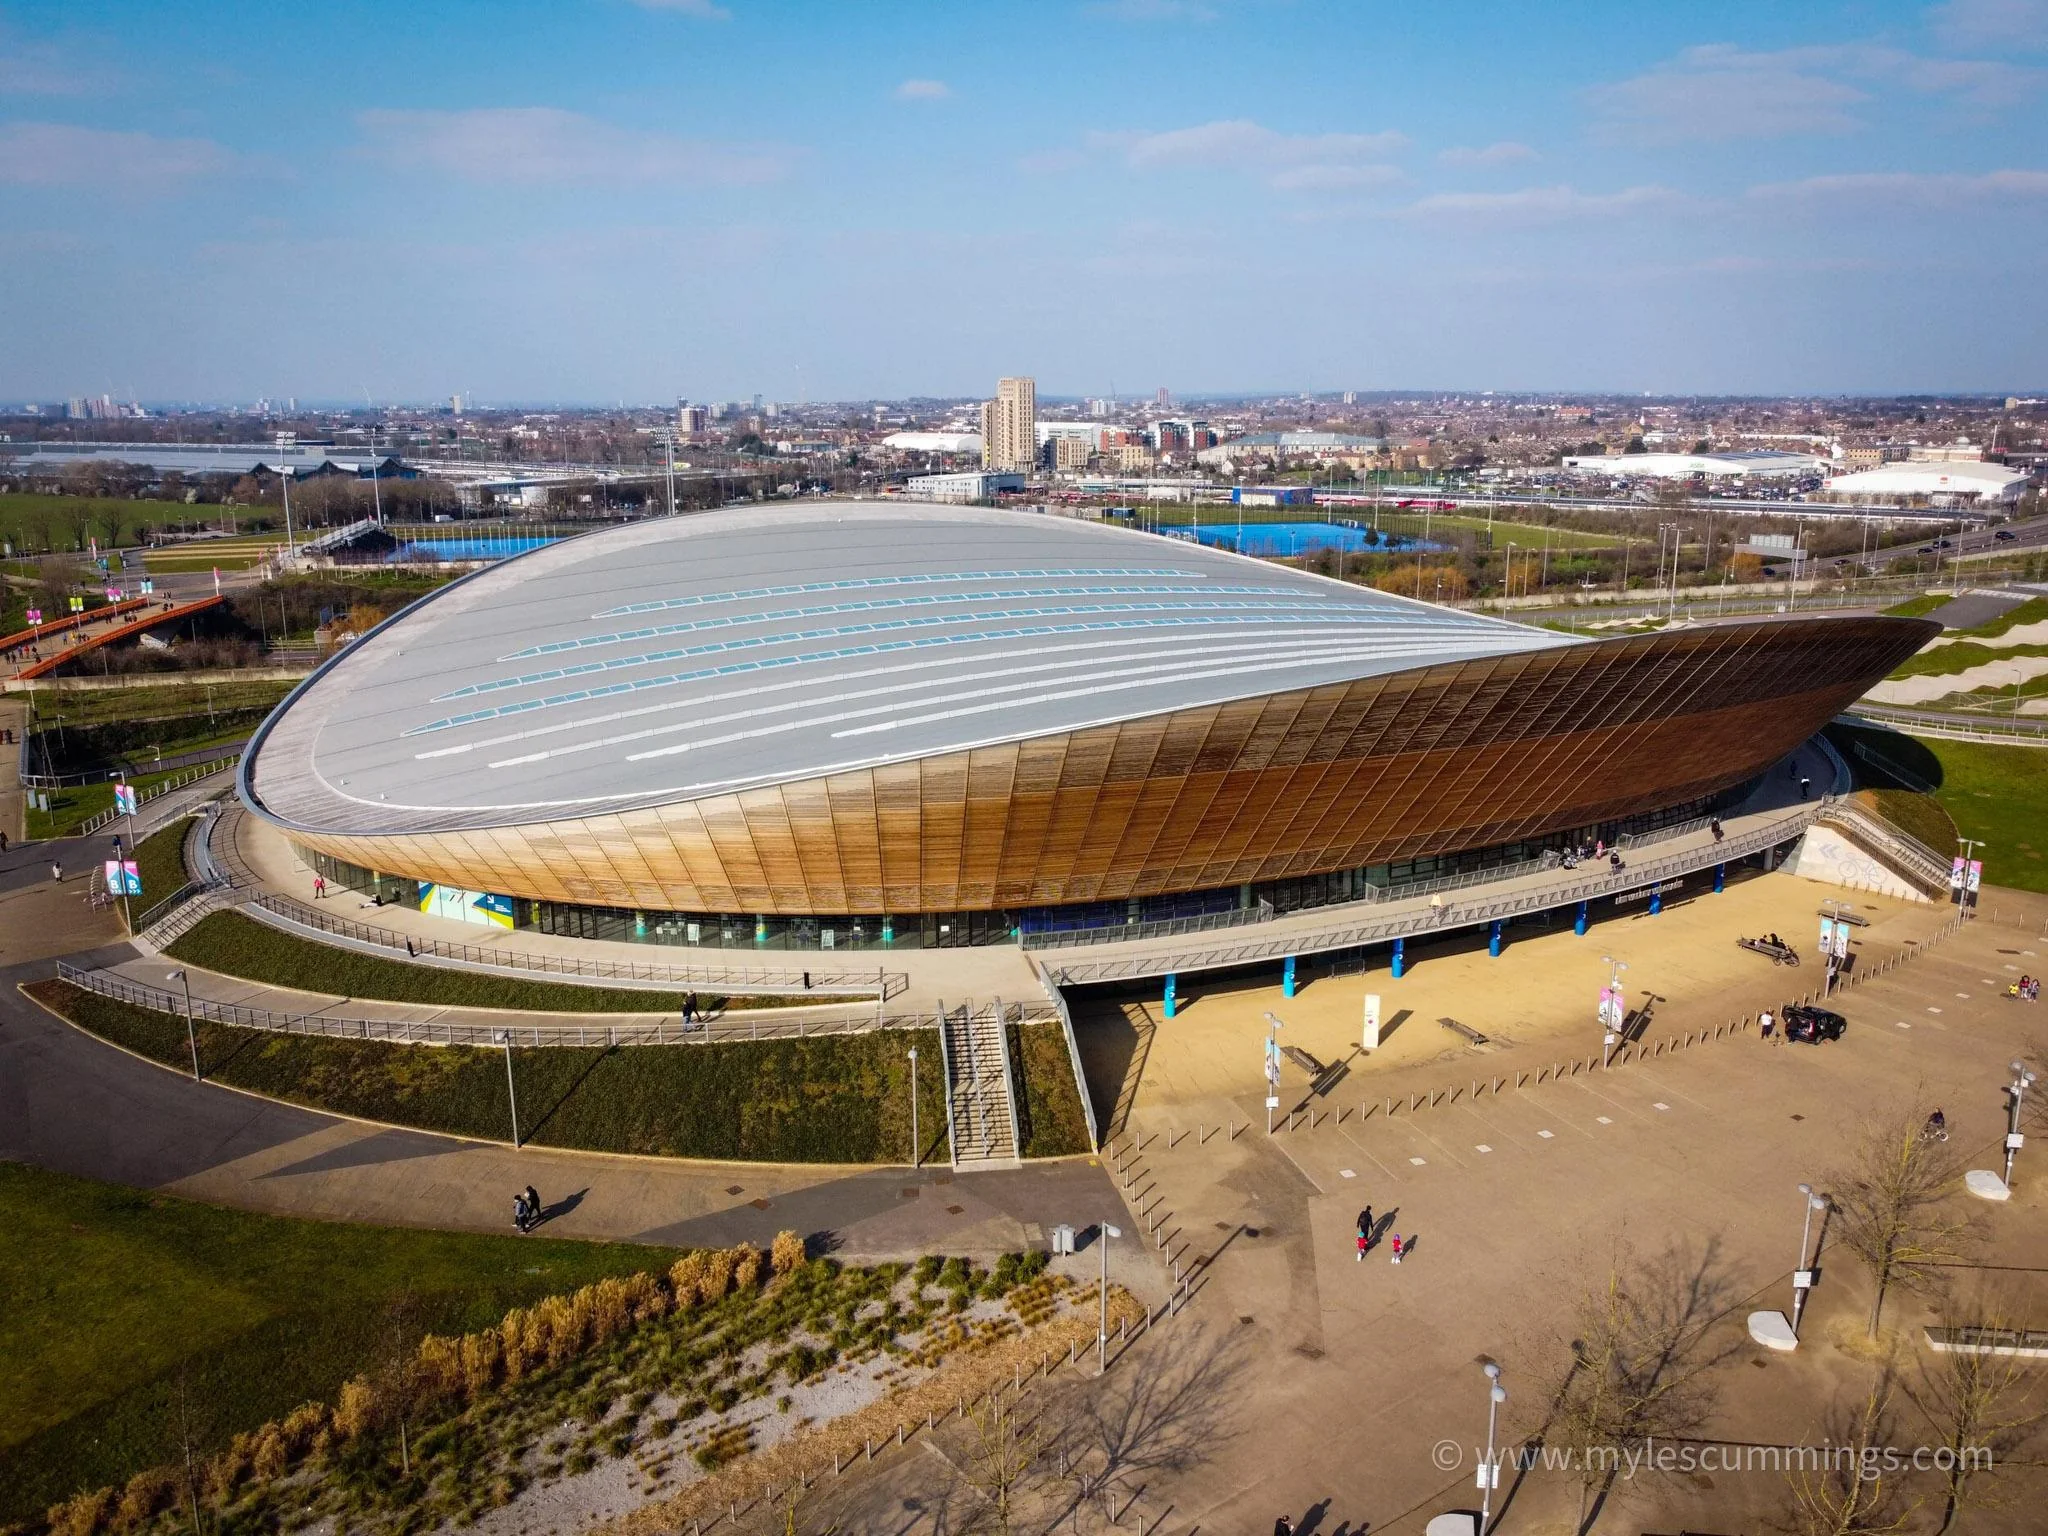
Beginners often fly as high as possible, which ironically makes the world look tiny and flat. Instead, try flying lower and positioning a tree canopy, a ridge line, or a rooftop edge in the immediate foreground. This creates depth and gives a dramatic sense of scale to the background.
Utilize Leading Lines and Contextual Framing
Use natural lines, such as bodies of water, historic road networks, or light hitting scenery from a certain angle, to grab the viewer’s attention and lead them through your composition.
Post-Processing Drone Photography
After a day of shooting, your drone photography heads to the same place that your usual RAW files and JPEGs end up in as well: the digital darkroom. Editing allows you to iron out potential flaws and polish raw photos into something more presentable.
Applying Masks to Aerial Images
Masks are useful for ironing out defects and small mistakes across the whole frame. For example, the unsharp mask is incredibly popular with drone photographers for its ability to cure blurry photos that often emerge when photographing faraway subjects from high altitudes.
Other popular masks include noise reduction algorithms to help compensate for small sensor sizes and poor low-light performance.
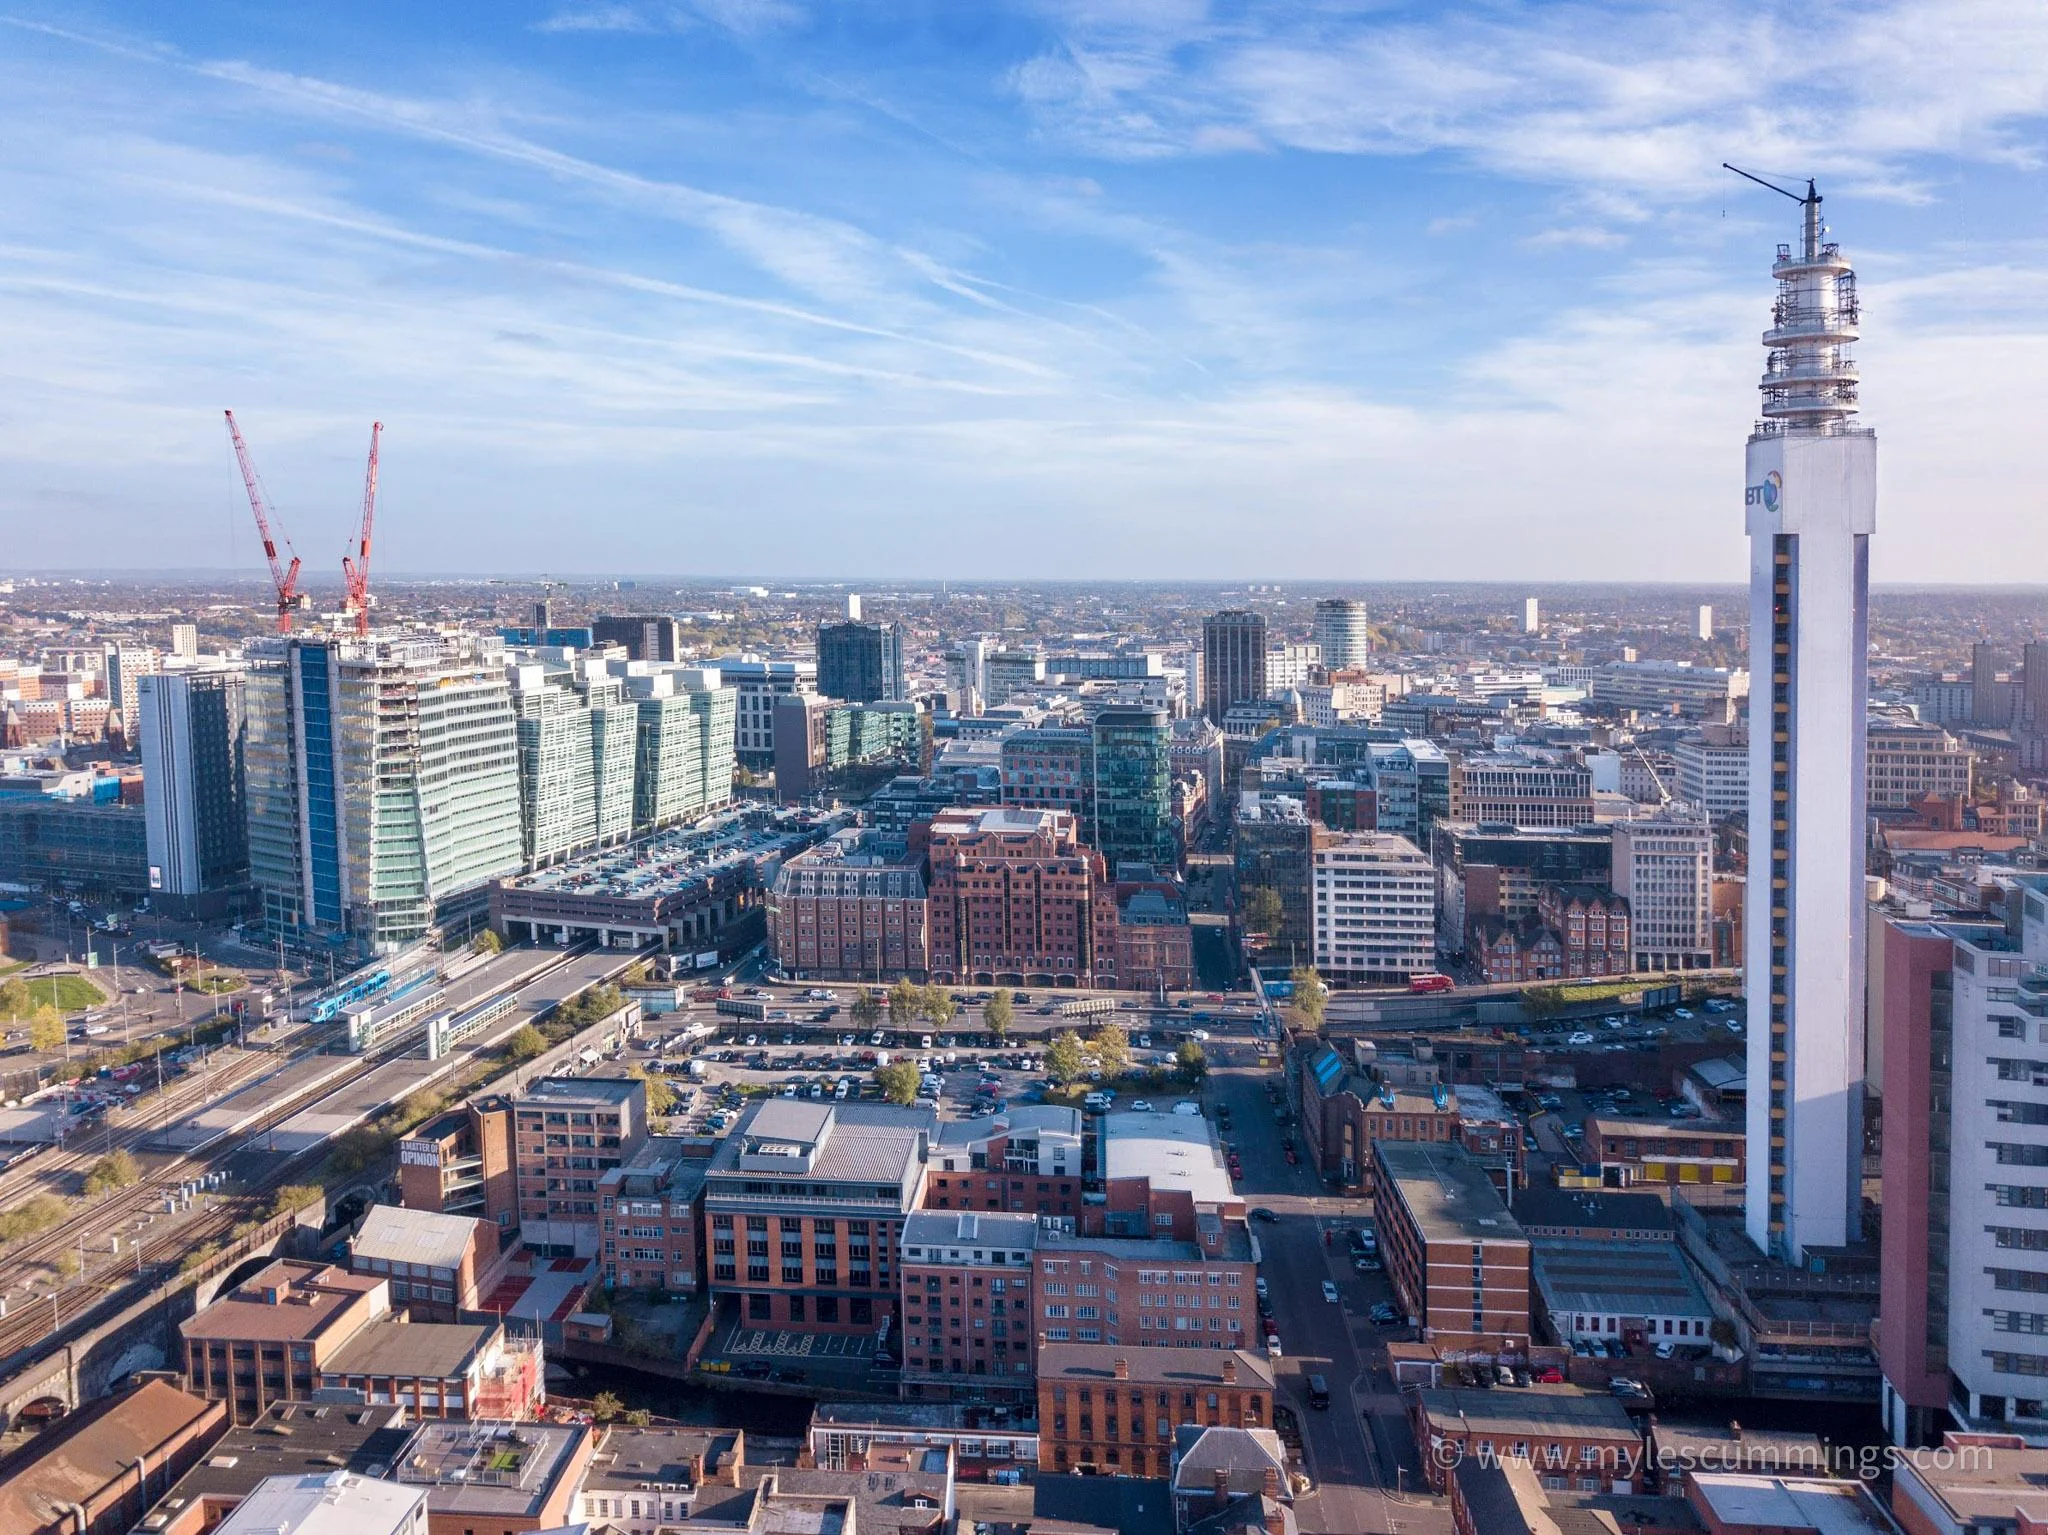
Beyond global adjustments, modern localized tools such as Linear Gradient Masks in Lightroom are essential for balancing aerial frames and allowing you to drop the exposure of an overly bright sky without losing the rich details of the landscapes or architecture below.
Tackling Haze and Noise
Because drone lenses frequently shoot through thick layers of atmospheric haze, which reduces contrast, a subtle application of the Dehaze tool can instantly snap the contrast back.
Finally, remember to crop diligently to get your composition just right. You probably had no time in the air to fine-tune every last inch!
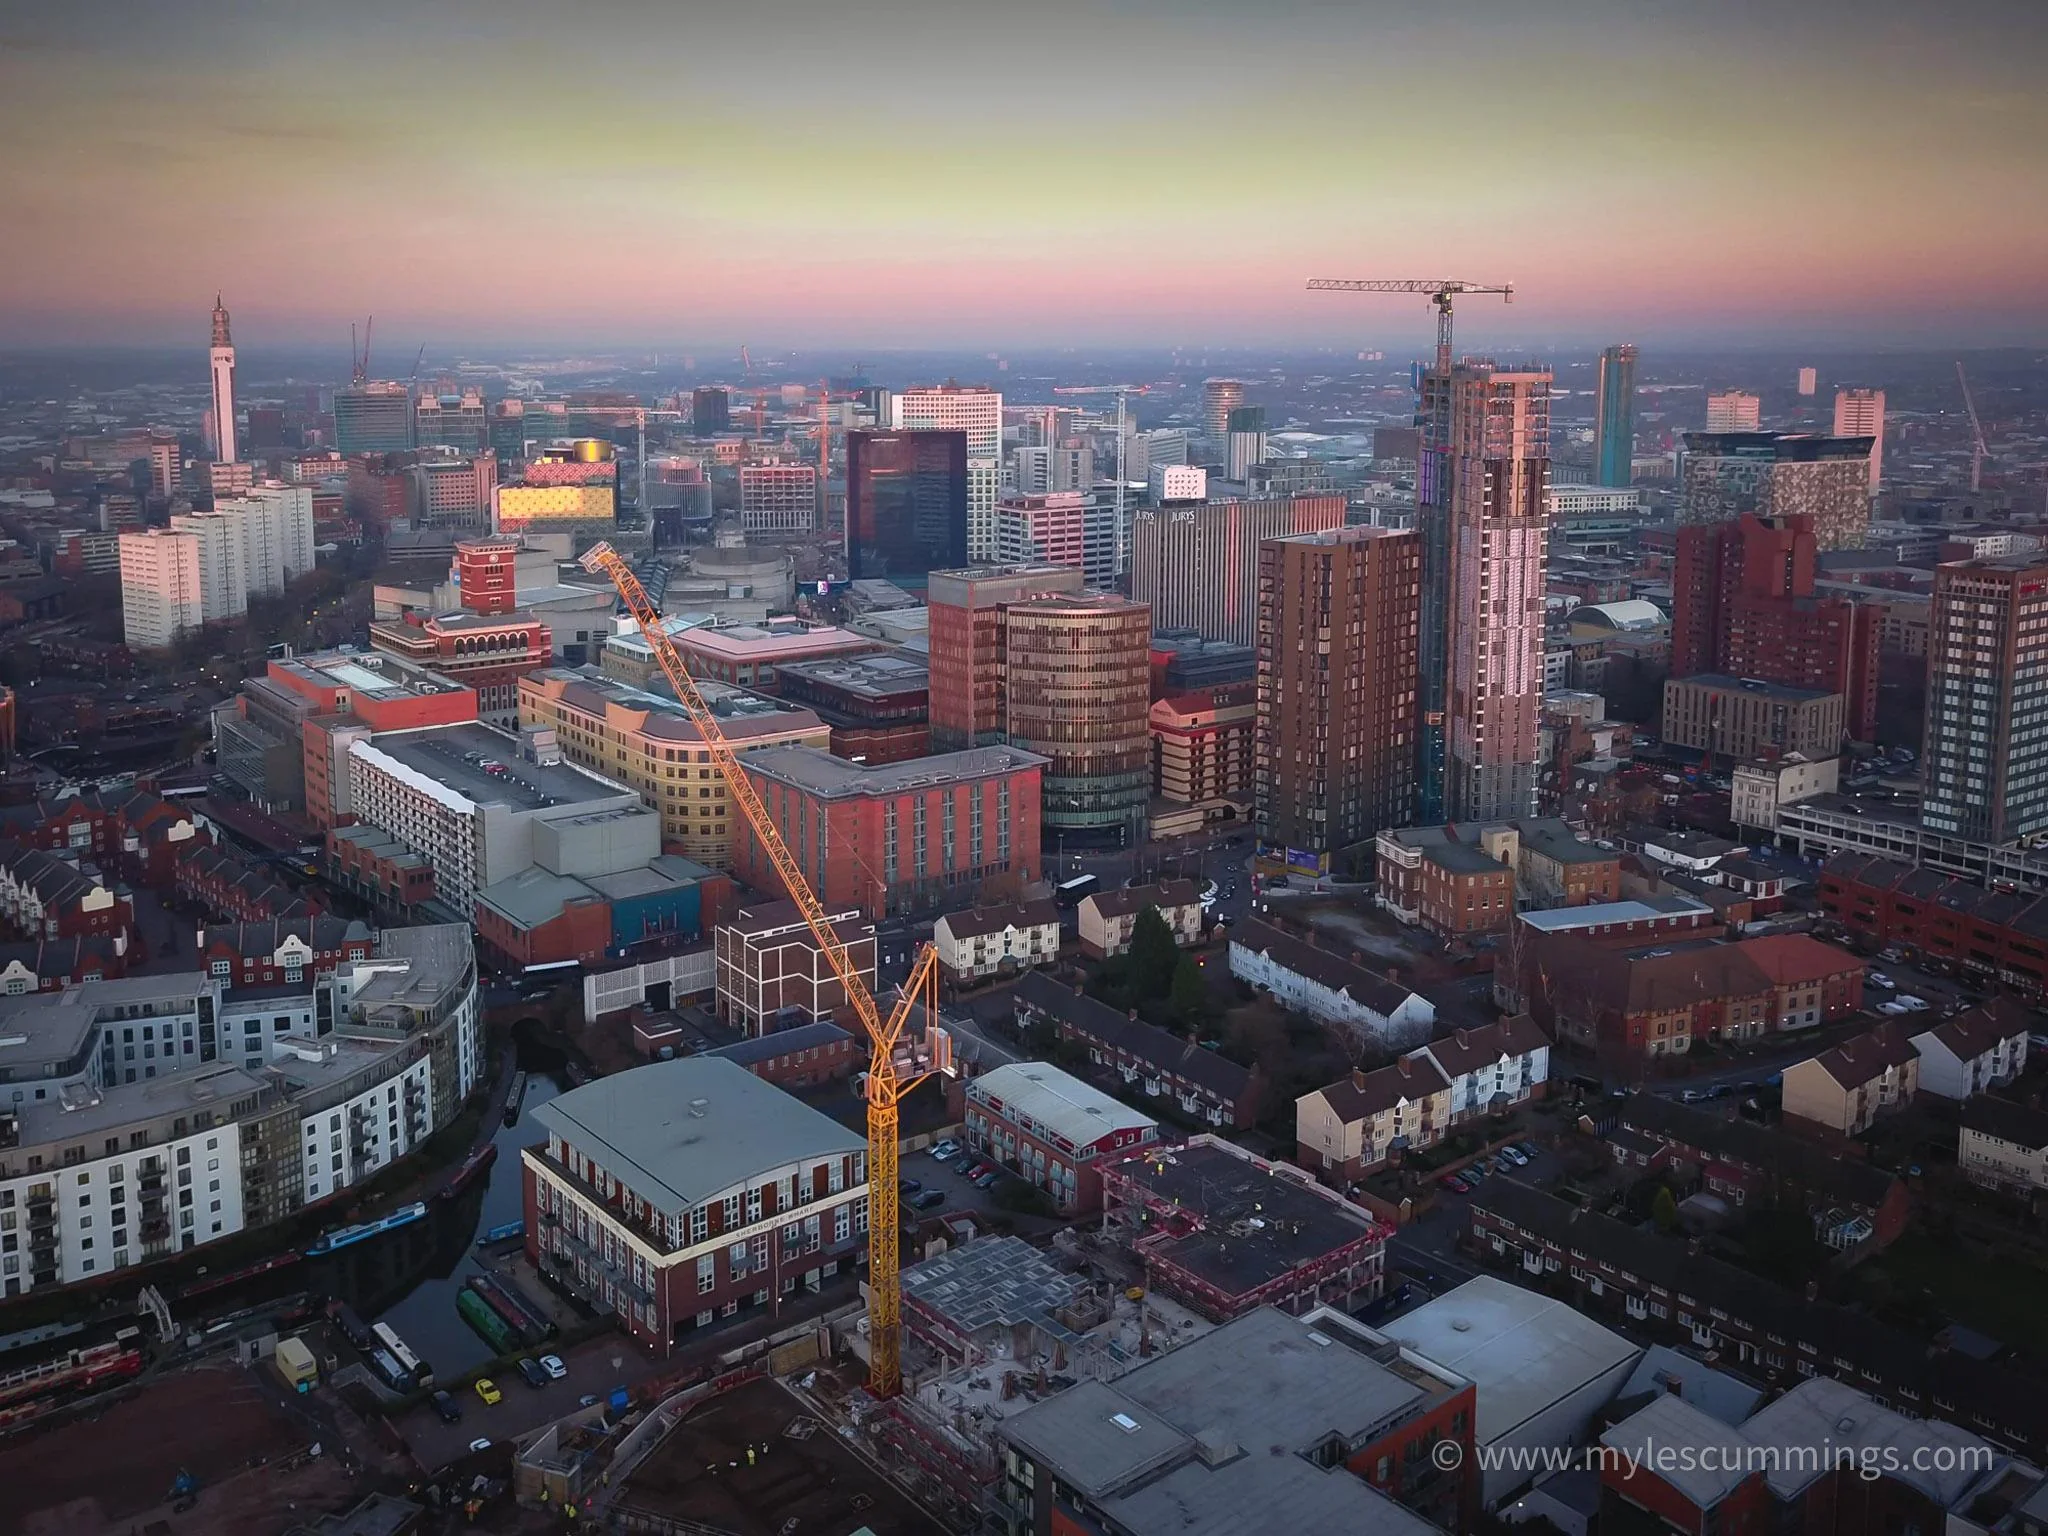
Incorporating Drone Photography into Your Creative Vision
Drone photography is not just a great tool. It can be an art form and a discipline all of its own! Whichever your goal may be, I hope that with the help of this guide, you managed to get one step closer to realizing your photographic goals.
Always keep in mind what brought you here and what your goals are with regard to aerial photography. As long as you can manage that, I am sure you will have a great time. Good luck!