


One of the most useful things about photographing trees and forests is that they are in a state of constant flux. In one moment, light filters unevenly through a thick canopy. The next moment, colors are bleeding into one another, and every direction you turn offers a slightly different version of that same scene. It’s this inherent complexity that makes the forest so beautiful. It also makes it one of the most difficult natural environments to pull interesting compositions out of.
Being from Kansas, we are used to singling out a lone tree on the prairies. I had some experience with forests because of my trips to Colorado to photograph the aspens, but that was early in my photography career. On my first trip to the West Coast, I photographed the ocean and the redwoods for the very first time. I came away from both thinking I had hit the jackpot on amazing locations to photograph, only to come home and find a few ocean photos from Big Sur that were decent and zero “good” scenes from the redwoods.
What I thought was an easy shoot quickly made me realize the complexity of the forest and how you have to be really intentional with compositions, light, and color when both photographing and processing this unique landscape. That first trip taught me that a great experience doesn’t always mean you are telling a compelling story with your photography. It doesn’t help that the redwoods are massive trees, and you have to be very intentional to convey this experience in-camera!
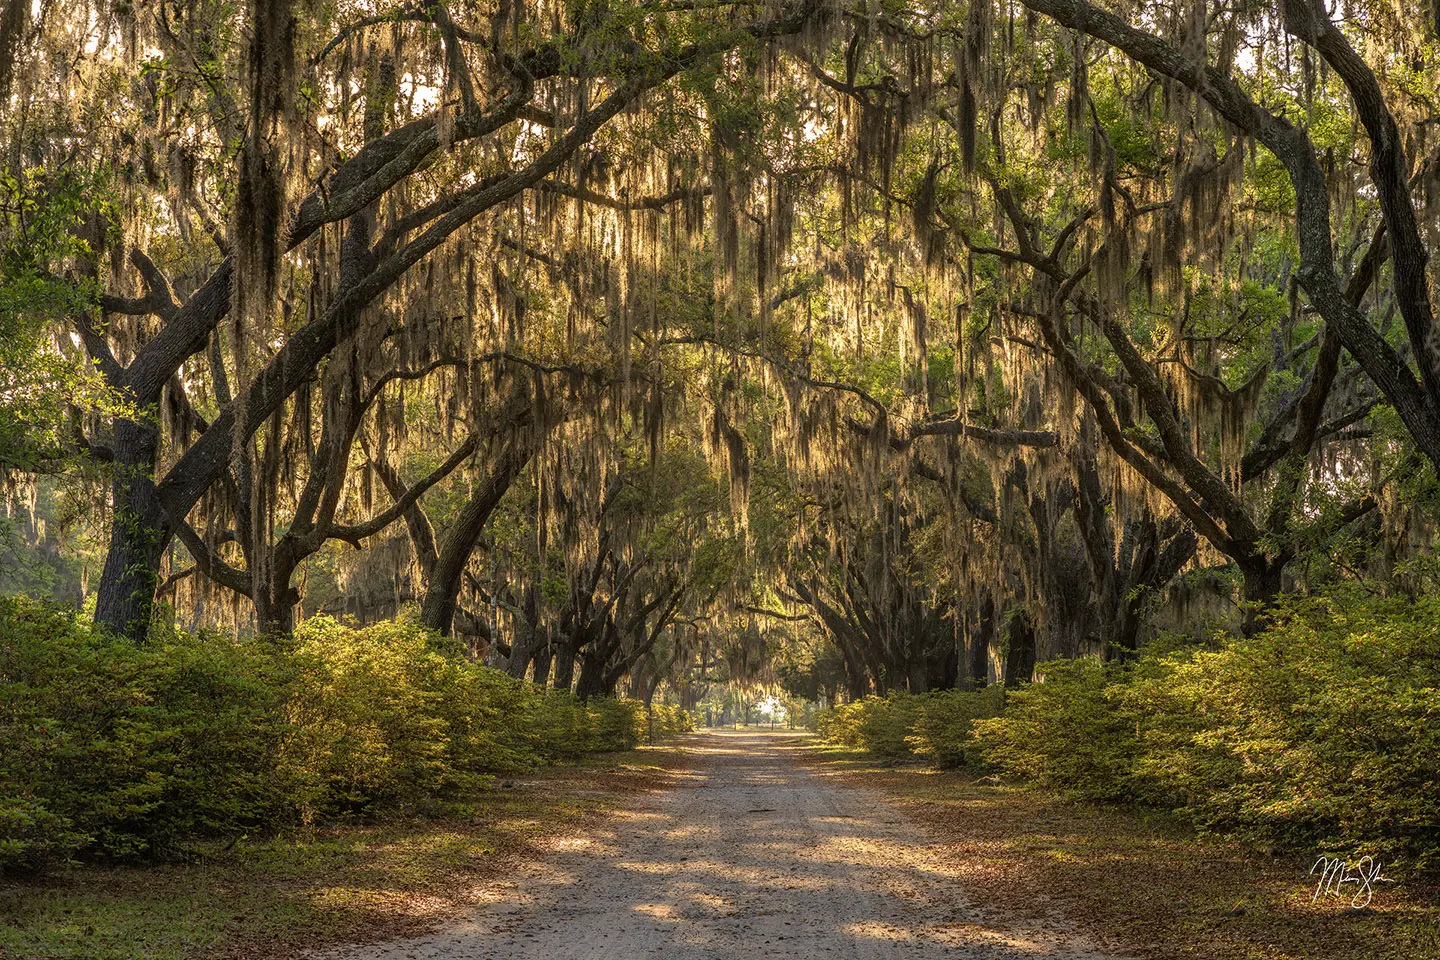
This gap between the amazing experience of being in the forest vs what your final frame shows is exactly what we are going to bridge in this article. Photographing strong forest scenes isn’t about technical perfection or even finding the most exotic location. It’s about decision-making and the process of taking the visual noise and chaos of the forest and shaping it into a compelling and beautiful composition that evokes emotion from the viewer. In the following sections, we will walk through how to simplify a scene and different methods of using your creativity when the environment isn’t always cooperating with your vision.
Why Forest Photography Is So Difficult (Even When the Light Is Beautiful)
At first glance, walking into a beautiful forest would seem like a dream for any nature photographer. With rich textures, tons of deep layers, and potentially beautiful light, you would think it would be easy to capture a great image. But it’s that same rich level of layers and textures that tend to trip up most photographers when they step into the trees and cause many to struggle to make sense of it all.
Unlike an open landscape where a flat ocean creates an easy horizon or a jagged mountain makes for an easy and natural focal point, the forest rarely offers obvious subjects. Everything in a scene can compete for the viewer’s attention and create a sensory overload. It’s not so much the technical aspects that prove difficult. Trying to establish a visual hierarchy is the real key.
The Problem of Visual Overload
When you first step into the woods and look around, branches are crisscrossed everywhere! Highlights break through in random patches while layers stack endlessly from the foreground to the background. Your eyes can wander freely in person. However, a photograph requires structure to make sense of it all. Without a clear decision on what matters most, the image will fall flat or feel too “busy” with the many layers presented.
Forest Photos Fail When the Story Gets Lost
A successful photograph in the forest should communicate a primary idea or feeling. In the woods, it can be easy to fall into the trap of simply trying to document what is there instead of spending a little time interpreting the scene. As I said above, I made that mistake on my first trip to the redwoods. If a viewer cannot identify the point of focus within a second or two, the impact of your image is lost. This is where the story gets buried under the weight of too many details.
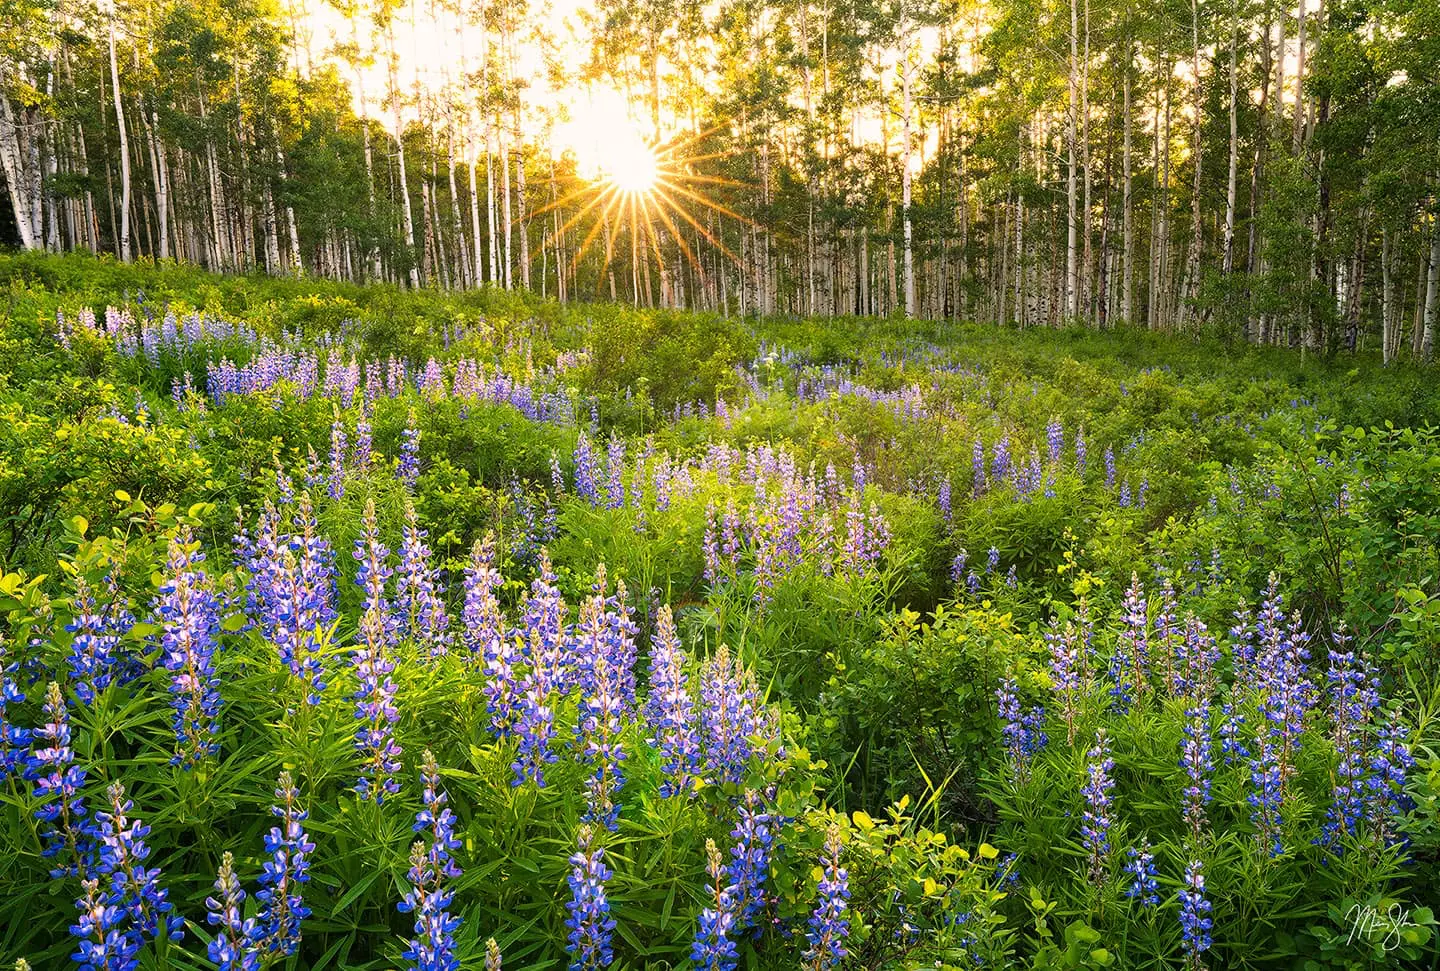
When the Forest Fights Back (Real Conditions, Real Constraints)
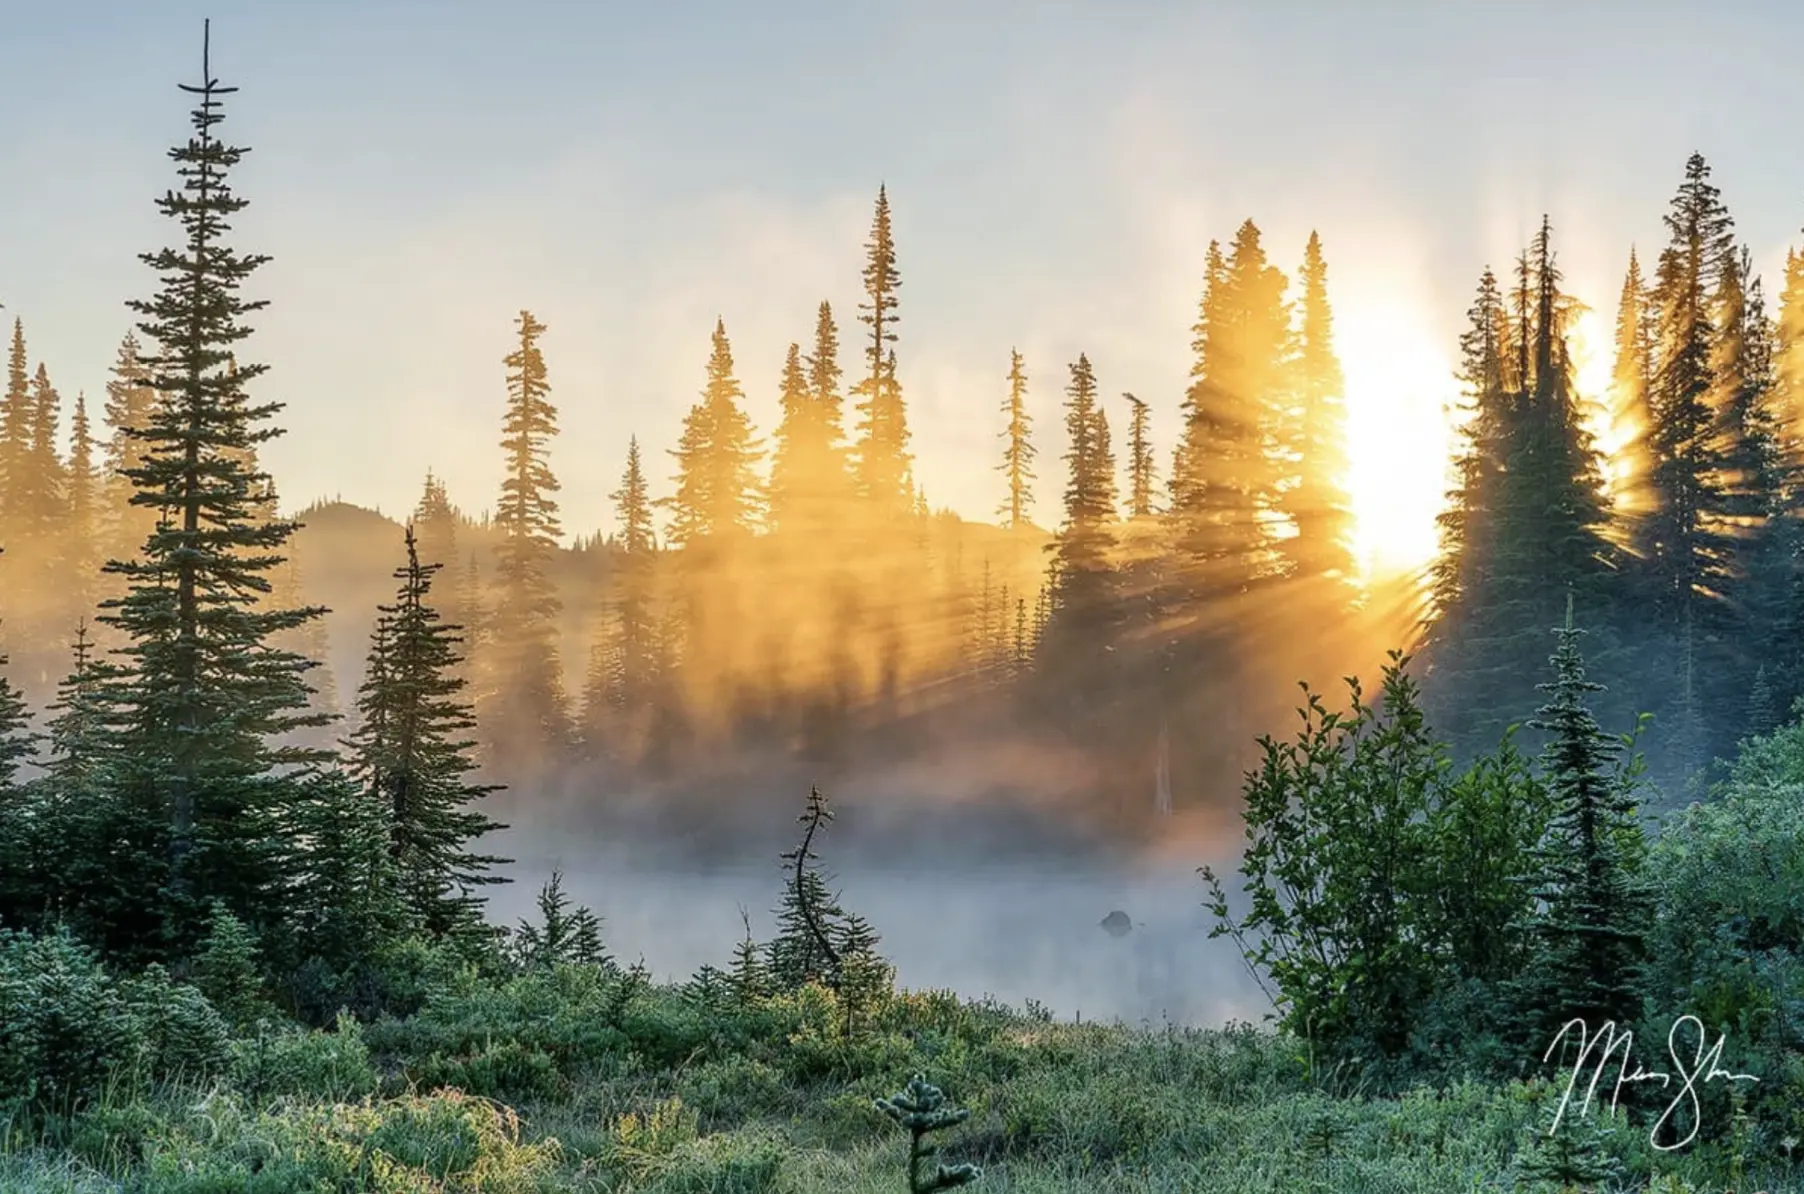
Even when you understand the need for simplicity, the environment often changes, making it difficult to work with a pre-planned vision. Conditions can often feel less than ideal. Sometimes the physical constraints of the terrain can also limit your movement. This is where the process becomes less about rigid planning. Being able to plan and adjust can pay dividends in the forest. It becomes more about an honest response to the world that has been presented to you.
Low Light, Contrast, and the “Green Fog”
Compared to the open terrain near the ocean or in the desert, forests are naturally dark places. Much of the time, the canopy acts as a giant umbrella. Because of this, very little direct light reaches the forest floor in many scenes. You can often find yourself dealing with deep shadows in places while piercingly bright areas where the sun breaks through the leaves.
This creates what many call the green fog, which can make everything look flat. Without enough directional light to create shadows or highlights that define shape, it creates a mid-tone green mush in places. In those situations, you have to look for subtle tonal shifts and use a polarizing filter to cut the glare on wet leaves, which can also help restore color saturation and contrast.
Weather Shifts: Mist, Rain, Wind, and Mood
If you wait for a sunny day to photograph the woods, you might be setting yourself up for failure. Harsh sunlight creates a mess of distracting shadows. Instead, seasoned forest photographers celebrate the days others stay inside.
Mist: This can be the ultimate tool when photographing the forest!. It can not only physically hide the background clutter, but it also adds a bit of saturation to the scene, along with nice layers between the mist and fog.
Rain: Like in misty settings, wet bark and leaves have a deeper, richer color than dry ones. Rain can also add a tactile quality to any image. It makes textures of things like moss and stone pop out.
Wind: While mist and rain are usually gifts, wind is often the enemy. It causes large amounts of movement in the leaves and smaller branches. This shows up in your photos as small blurring during anything even remotely long in exposure, when you often need those longer shutter speeds in a dim or dark forest scene. Patience becomes a requirement in situations like this. You might have to wait out extra time for lulls in the wind and quickly take advantage between the gusts to grab the short moments of stillness required to capture the image.
Terrain, Fatigue, and Limited Movement
Unlike the coast or an open field, you can’t always just walk ten feet back to get a wider view. When you’re standing in a dense forest, you often get closed in by fallen logs, brambles, tree branches, underbrush, and steep slopes. These limitations can be frustrating, but they often force you into more intimate, creative compositions. Compositions that you wouldn’t have found if you had total freedom of movement.
Learning to See Order in the Chaos
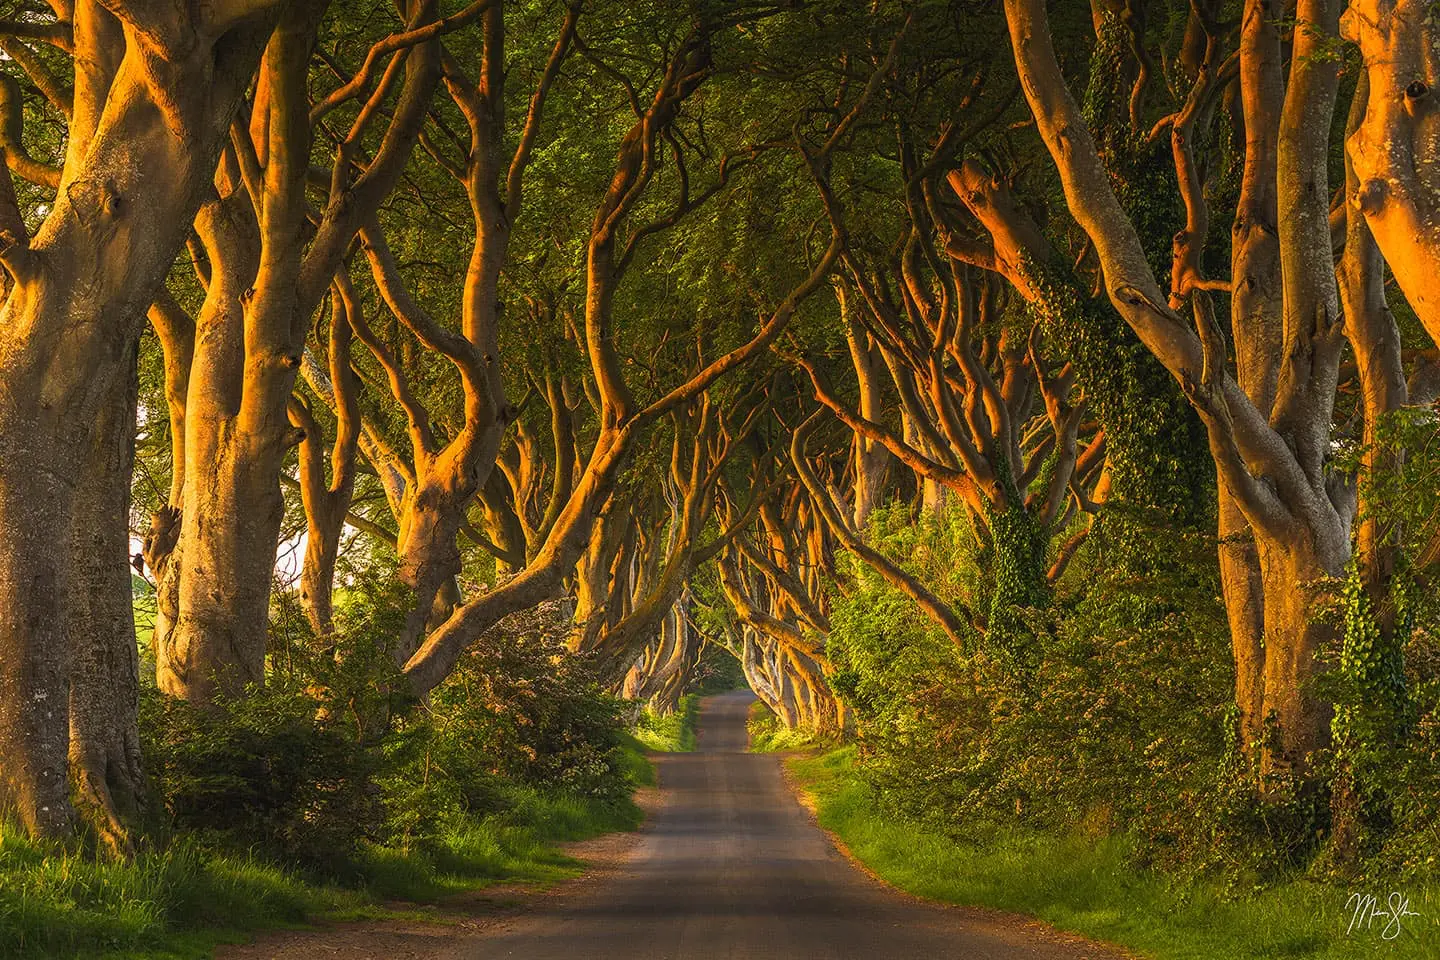
The goal is to move past the feeling of being overwhelmed and start seeing the underlying geometry of the woods. When you first step into a dense woodland, your mind is overwhelmed by a million competing details. Every leaf, twig, and even the shadows fight for your attention, making it easy to feel lost in the visual noise. The key is to stop trying to document everything you see and start looking for the simple ideas and basic shapes that can pull a scene together.
To find this order, you have to mentally strip away the clutter, revealing the structure of the scene. Look for the “hero” of the frame. It might be a single vertical trunk or a leading line created by a fallen log. Or it could be a specific patch of light that creates a focal point. Once you identify these structural anchors, it becomes easier to build your composition around them and treat everything else as supporting material. By learning to see this way, you can create images that feel intentional and organized, even when the environment itself is chaotic.
Start by Choosing the “Hero” of the Frame
Every strong forest image needs a clear subject to act as an anchor. It might be a single tree catching a sliver of light, a specific line of trunks creating rhythm, or a splash of color breaking through the green. By identifying the hero of the image, everything else in the frame becomes secondary. If a branch is crossing through your hero in a way that feels like a distraction, you might have to move your camera and tripod or change your focal length to fit.
The Power of Subtraction
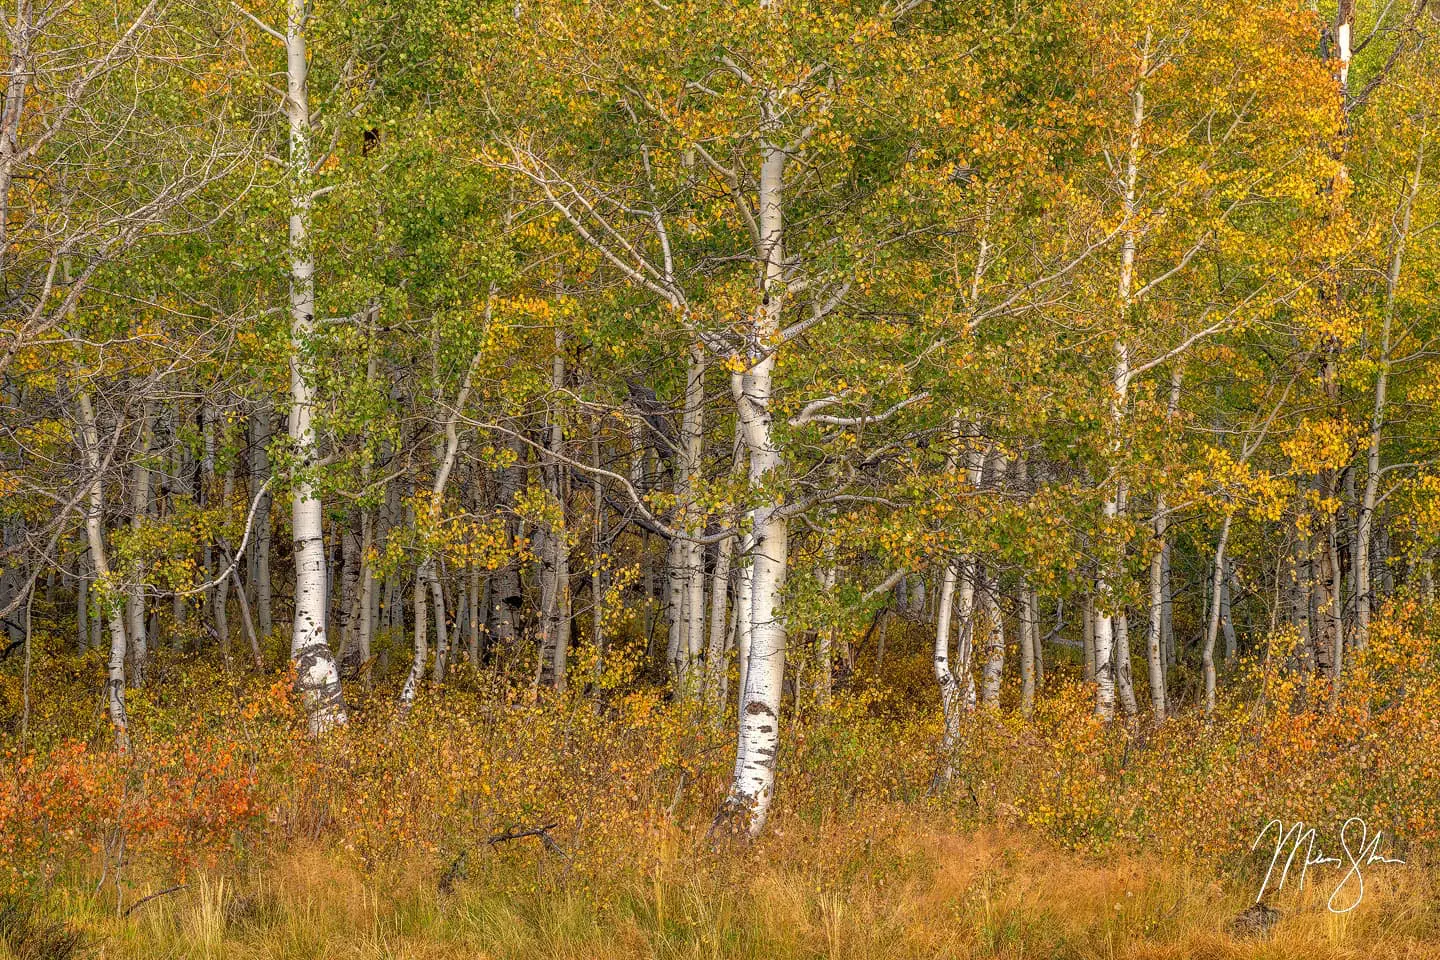
One of the most powerful things you can practice when photographing the forest is exclusion. I made this mistake the first few times I was photographing the forest. Instead of asking how much or what else you can jam into the frame, see if you can eliminate things to simplify the scene. Sometimes, increasing the focal length can push a distracting branch out of the frame. Or moving just a few inches to the left or right can prevent two trees from overlapping awkwardly. By shifting your perspective in this way, you can transform a scene into a much more compelling story.
Working With Layers Instead of Fighting Them
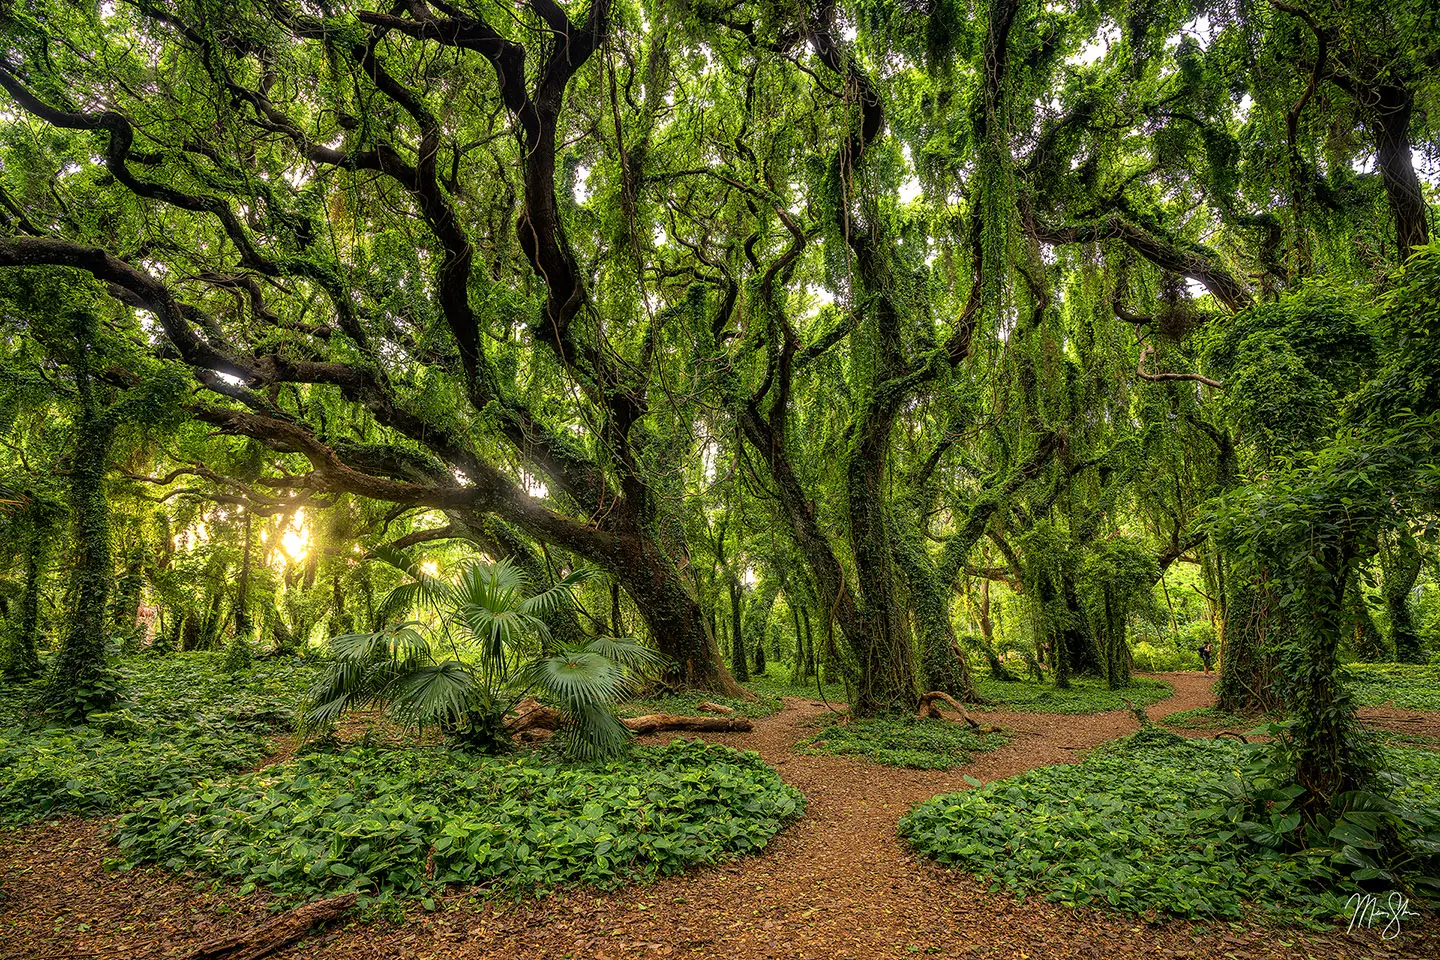
Think of your image like a stage play. That stage includes a foreground, a midground, and a background. When these layers are smashed together into a giant single mass, chaos ensues. Practice using different focal lengths or finding a different vantage point that can put space between trees. This can create breathable layers and often gives a new structure for the viewer to follow a clear path through the woods. This can unclutter an image and really set it apart.
Slowing Down Changes Everything
Rarely is the first composition you see the best one. It might be the most obvious, and is worth considering, but work the angle or subject and see if you can find an even better composition for a scene. You really have to slow down when photographing in a dense forest.
Forest photography rewards the stillness of slowing down and, to borrow a popular saying, helps you see the trees in the forest. By staying in a small area for half an hour, you begin to notice subtle relationships in the scene. The light shifts slightly, and different lines connect in a way you didn’t notice earlier. It helps a chaotic scene be distilled into a single, quieter, and often better idea.
Behind the Scenes: Forest Images Explained
Below, I’m going to share with you some single moments I’ve had when out exploring the forests and trees. From unexpected moments in tree tunnels to the perfect light amongst the golden aspen trees of Colorado, I’ve been photographing the forest for many years. I have some favorites to share here, along with the stories behind those images that might give you ideas on how an image might come to life.
Fawn in the Forest: A Lesson in Luck and Being at the Right Place at the Right Time
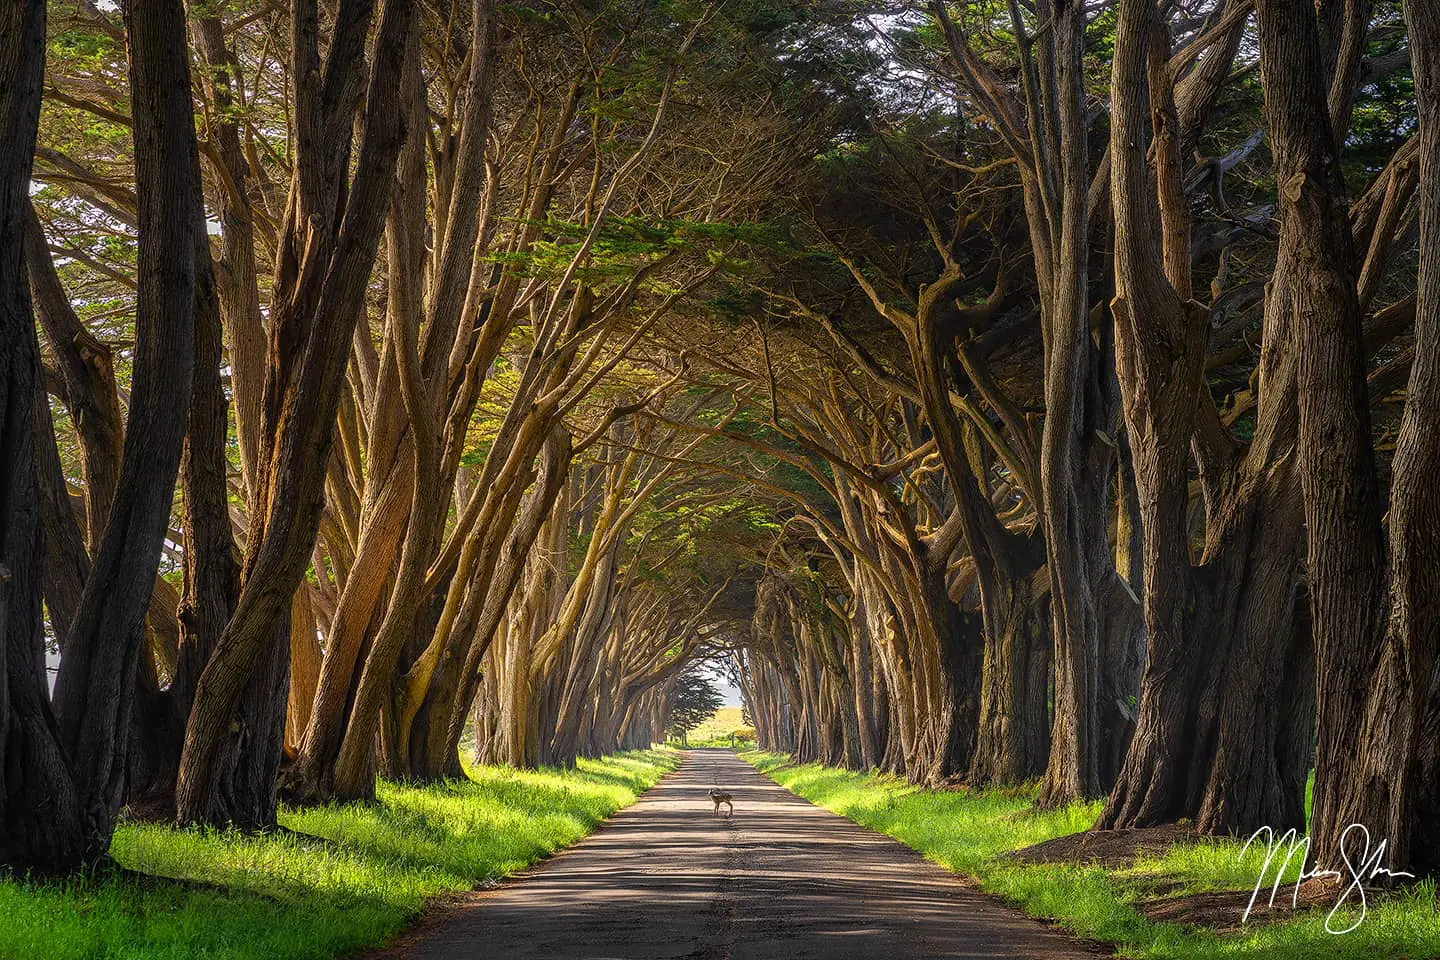
One of my favorite moments in my entire photography career was photographing this tree tunnel in California. I showed up hoping to catch a foggy May morning with fog-infused sunrays cascading through the trees. But what little fog from the nearby Pacific Ocean was around was mostly burned off by sunrise. Still, there was a hint of it in the air, so I set about trying to capture the best image I could with the time I had. After photographing the tree tunnel, I turned to photograph a smaller scene elsewhere.
After a few moments, I looked back to see a deer with her baby fawn slowly walking across the tree tunnel. I couldn’t believe my luck! I tried to quickly (and quietly) get back into position to get the image. I snapped off a few shots, realizing my shutter speed was a bit too slow for any real movement. Sadly, the shot of the mother and the baby left the mother in a blur as she was walking through. However, one frame out of the ten or so I fired off managed to capture the baby deer right in the center before it bolted after its mother, giving me one of my favorite images I’ve ever captured!
Aspens near Telluride: Using the Time of Day to My Advantage
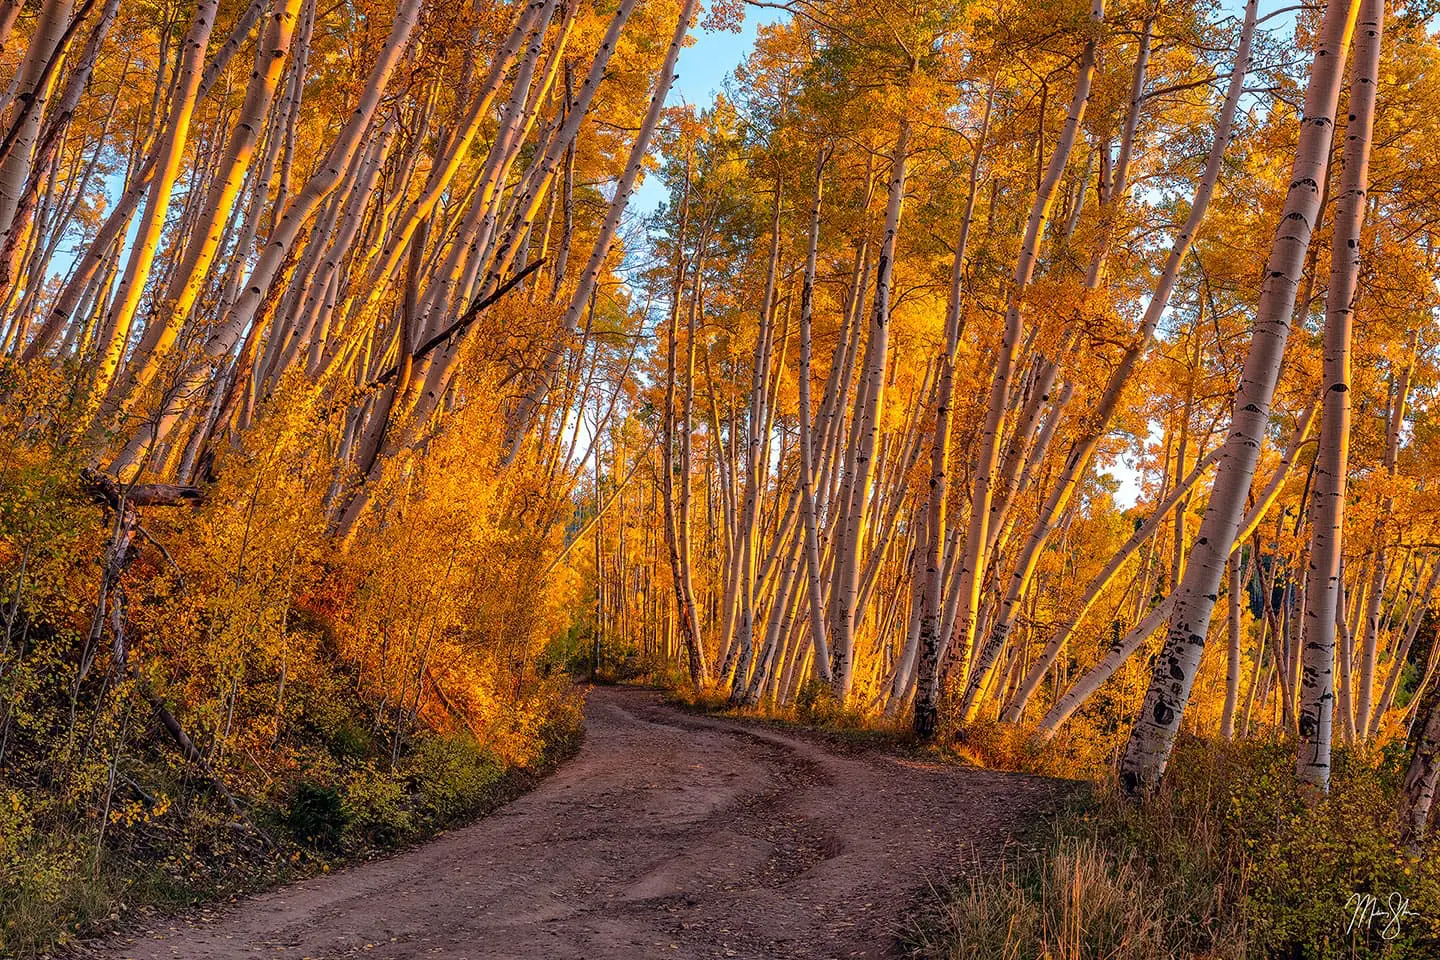
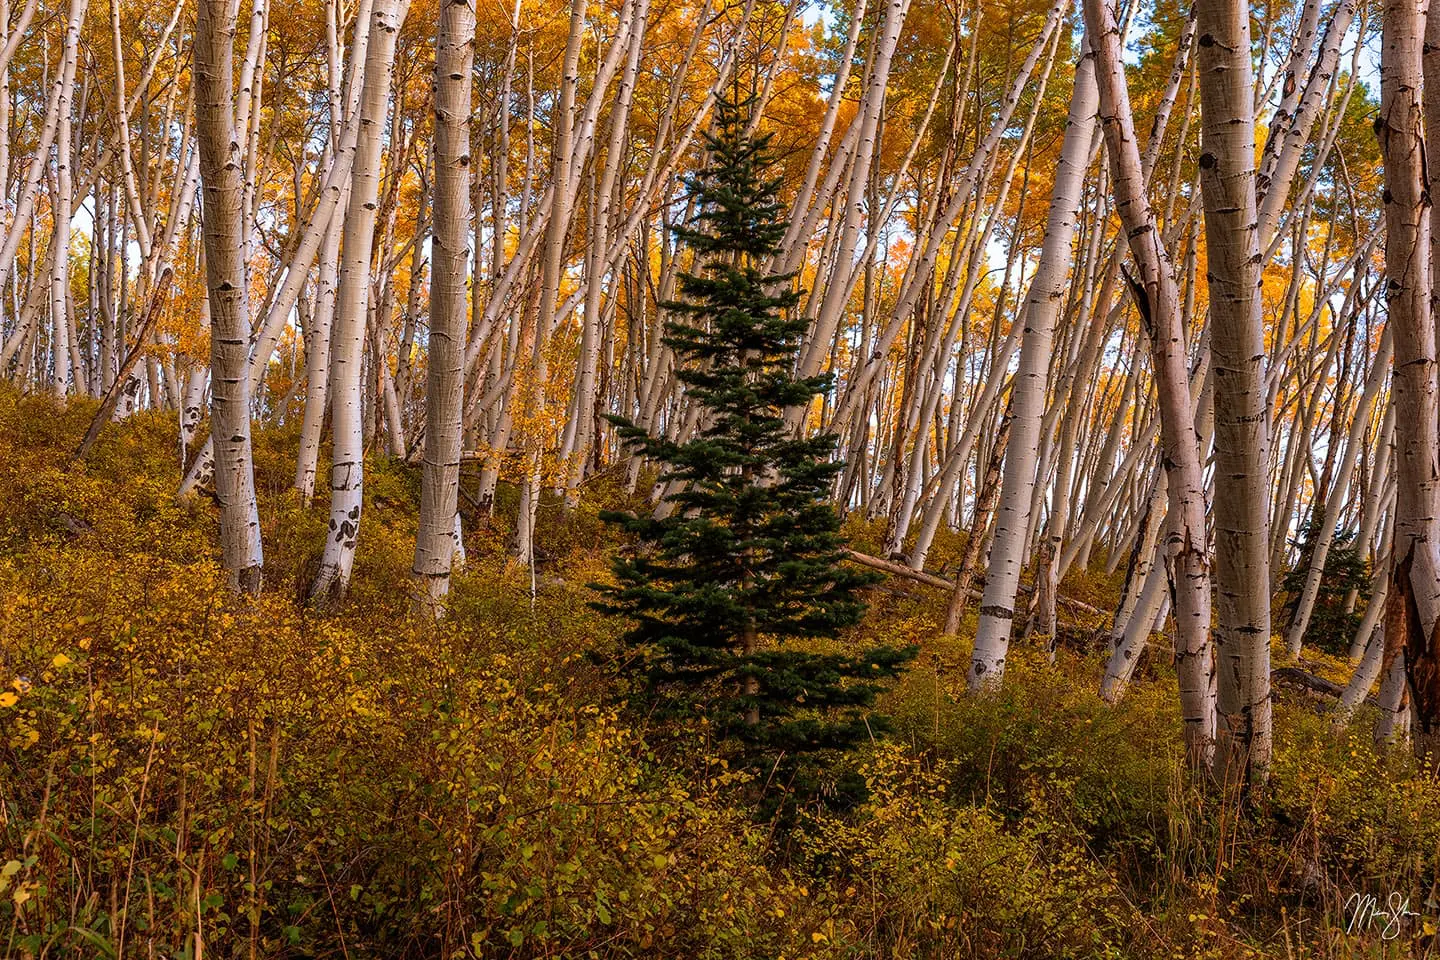
Not only do the seasons and weather matter, but the time of day can be super important! These two images above were taken about ten minutes apart during the height of fall colors in the San Juans of Colorado. The first was taken just minutes before the sun crested the horizon. The second was taken a few minutes after the sun had set, and blue hour was just starting to take hold. The kind of light you get in these moments can define an image. For the forest, it can make or break the image.
In this case, I was happy with both. I liked the warmer light that the last few moments of the sun provided on the curvy aspen tree-lined road. The slope faced west, allowing the sun to bask the trees in warm light. But because it was in the final moments before the sun dipped below the horizon, it wasn’t harsh. Just nice and golden to add to the already golden aspen leaves. By waiting another ten minutes and wandering into the forest a bit, I used the soft glow of post-sunset light with a hint of coolness to frame the lone pine tree in a sea of white-barked aspen trees.
Using the different light of the day can really help or hurt an image.
Rhododendrons Amongst the Redwoods: Knowing the Season
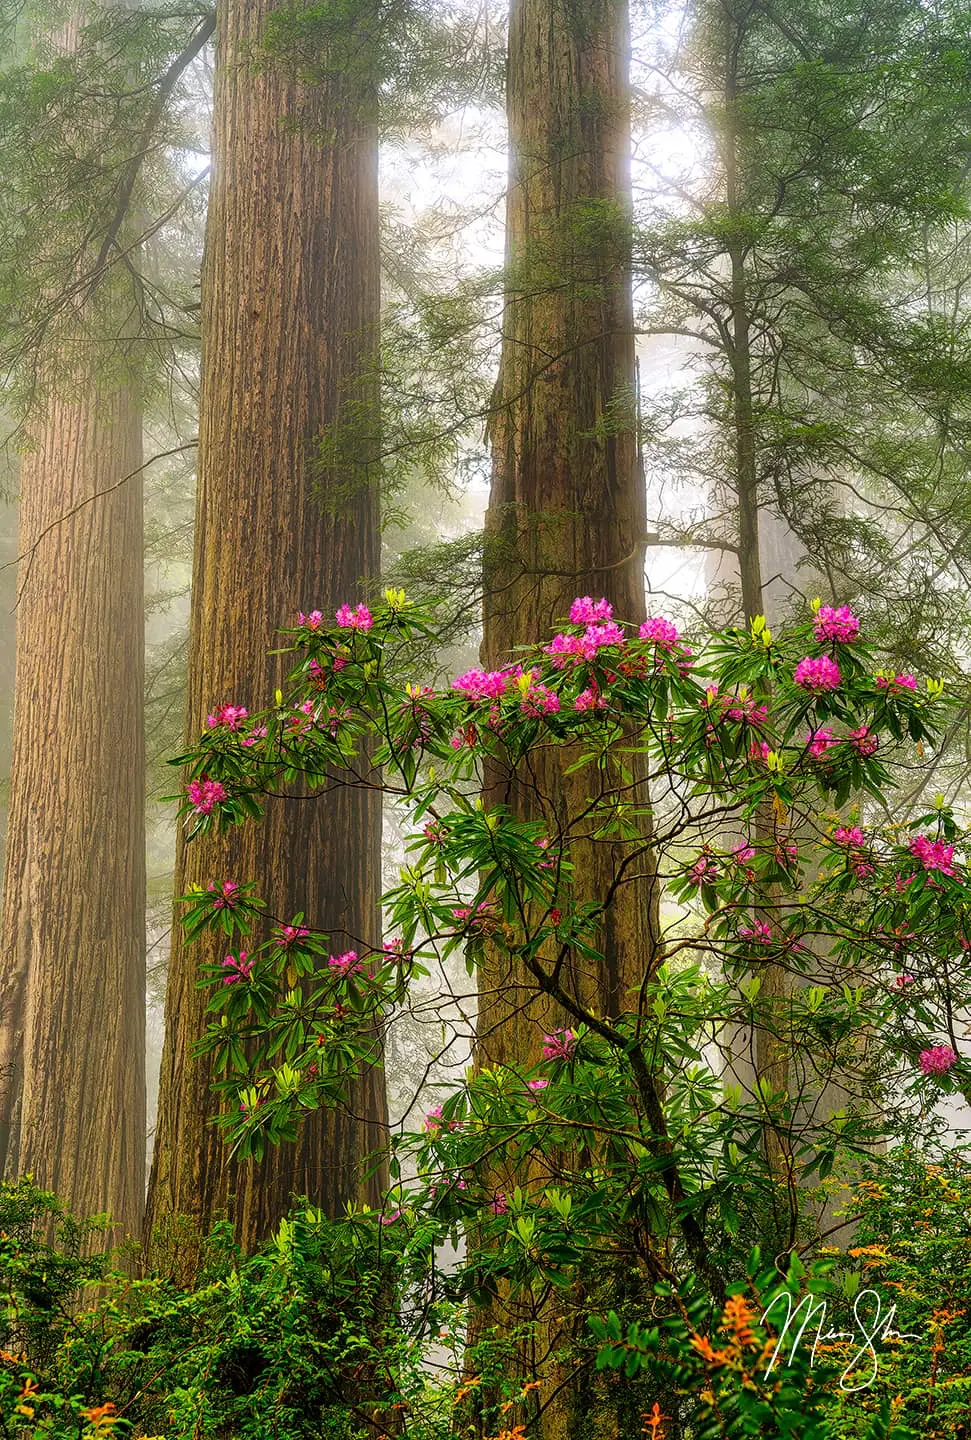
This scene wasn’t a surprise, nor was it a particularly difficult composition to make. As I’ve stated earlier, my first few visits to the redwoods left me disappointed when I returned home. When I visited a number of years later, I did a little research and found out the best time for the blooming of the rhododendrons. These beautiful pink flowers add a nice contrast to the greens of everything in the forest and stand out quite nicely from the foggy elements that exist in late spring along the northern coast of California.
By showing up during the right season, I just had to do a little scouting to find some nice patches of flowers. It wasn’t a banner year by any means, and I was a bit early for peak bloom, but you don’t always need peak bloom of flowers to come away with something nice.
With this image, I created three layers. By isolating a branch of rhododendrons as a foreground, I added that element of pop, making it the hero of the shot. The second layer included the soft light on the giant trucks of these remarkable trees. A third, more subtle layer was created by the fog as the sun attempted for hours to break through the coastal marine layer.
Helpful Tools and Conditions (Support, Not the Main Story)
Your gear should be an enabler of your decisions, not the focus of the story.
Light: Soft, overcast light is a gift. Much like the redwood scene above, it reduces harsh contrast in an image and can unify the scene. Mist and fog are even better as they create natural separation. Also, photographing early in the morning or late near sunset can also create optimal lighting. That said, you have to keep wind in mind during these hours, as you are likely having to increase shutter speed to allow for available light. If there is much of a breeze, it can start to cause lots of movement in the branches and brush.
Focal Length: While sometimes a scene might call for a wider view, it can also often exaggerate the chaos by including too much. You might be tempted by your wide-angle when in the redwoods or tall forest, but considering a longer focal length sometimes helps isolate the hero of the shot and compress layers. It can make it easier to create more structure in an image.
The Tripod: The most important piece of gear for me, besides my camera and lenses, is my tripod. A tripod is a tool for precision as well as sharpness. It forces you to slow down and really work the framing of your composition instead of just reacting quickly to the scene. This can pay dividends when photographing in the forest.
Other Gear: I don’t use a lot of gear in the forest, but there are a few things to potentially consider. The only other tips might be to have a circular polarizer handy if you need to fix reflections on wet leaves, etc. It also might be worth it to have a waterproof camera bag in case it’s raining, along with a microfiber cloth to help clean any mist that might get on the lens as you are shooting.
What Forest Photography Teaches You About Photography Everywhere
The lessons you learn while standing among the trees don’t stay in the woods. They eventually seep into just about every other type of photograph you do. By using some of the theories and practices I’ve mentioned above, photographing in the forest can be a fantastic teacher of visual discipline. It forces you to find clarity where none seems to exist. If you can navigate the chaos of a forest scene, a wide open mountain range, or a scene over the ocean can feel much more manageable.
Restraint Over Coverage
If there is one takeaway from this article that you should consider the most, it is that you do not need to show everything in a photo to tell a powerful story. The more you try to cram into a single frame, the weaker and more diluted the final image will likely become. When it comes to photographing the forest, choosing less is often more. By narrowing your focus, you can allow the viewer to see what you felt. By trying to include everything, you make the viewer hunt through the cluttered mess of a location instead of telling a single story.
Observation as a Skill
Photographing the forest often trains your creative eye to notice the small, quiet things that another person might walk right past and never even notice. By spending time photographing in the forest, you develop a heightened sense for little relationships. Things like the spacing between two tree trunks and how it creates a rhythm, how light catches a leaf just right and creates a focal point, or how layering can create a sense of three-dimensional space to an image. These skills of deep observation can be a universal asset that will not only improve your forest photography but also make you see new things in all aspects of photography, whether it’s grand landscapes, architecture, or even portraits.
Letting Go of Control
When you’re amongst the trees, the canopy of redwoods, aspens, or oaks can teach you the humility of letting go. Much like mountains, you can’t move the trees. You can’t control the “green fog” or the shifting of mist, fog, or rain. Conditions will always change, and light will come and go. There is a real art in photography in learning how not to fight those changes, but to respond to them creatively.
Being able to adjust to whatever is right in front of you at the moment is a learned quality that is taught by photographing in the forest. You have to be present enough to see the conditions you are presented with, rather than the ones you wish for. Many times, you’ll end up with better images for it.








great article Mickey